Wow! It's already the 11th of June! I haven't been updating for 3days now! Time flies so quickly, don't you think? Anyways, meet Jeanette. She's a little bubbly girl from CHCKL's Children's Church. Recently, CHCKL held a children's event called 'The Amazing Kid's Race'
The entire event took place from 10am - 3pm on the 9th of June 2012 and was a success! Everyone including the children, teachers and volunteers had a blast! Prizes were won by every team and huge smiles grew on the kid's face as their team names were called. Anyways, before I blabber on too much about this event (I shall talk about it in another post when more pictures are available), let me introduce my role in this event. I was appointed as a station leader. In my station, children are to work together and build a house model as alike as they could make it. The teachers are not allowed to help as this station is intellectual and the children are to learn to be more observant and find their way around things.
The best thing about this station is, it involved a total of 720 pieces of CANDY! (For 8 Groups). That is the largest amount of candy I've ever seen at once in my house! Well, because of this event, I've gotten this lovely opportunity to bring this tutorial to you - Building A Candy House. Let's begin!

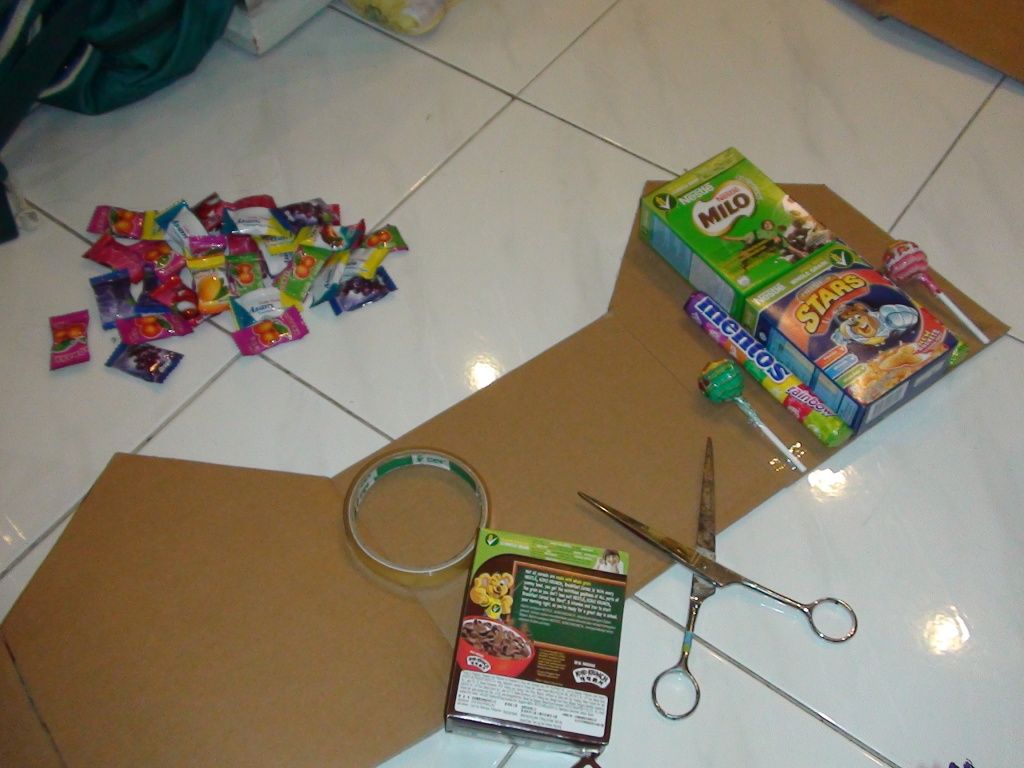
Most important of all, you've got to prepare the CANDY. You won't need a total of 720 candies as that was for 8 groups, and you can also modify your own design if you wish.
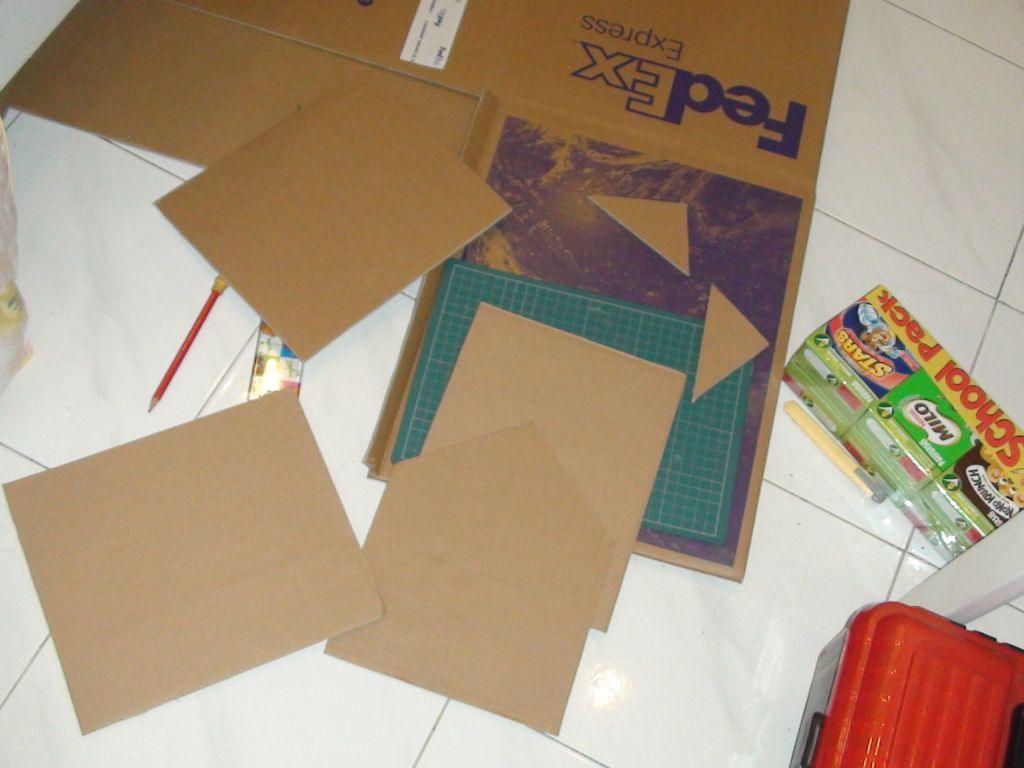
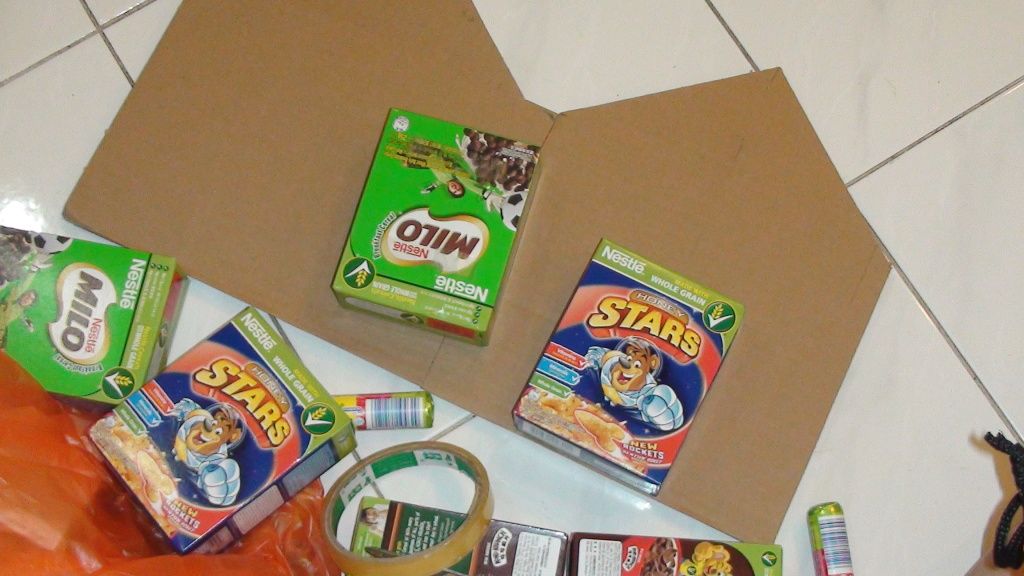
The first thing you would have to do is to cut out some cardboard pieces. Make 1 rectangular piece for the roof, 2 pieces for the front and back wall of the house (with triangle tops), and 2 rectangular pieces for the walls on the side. You can use your own measurement as to your likings of how big the house model should be. When you have your roof, you would need to lightly cut a slit in the middle of the board. Do not cut the whole way through, the light slit is just to allow the cardboard to be able to bend when placed on the walls of the house.
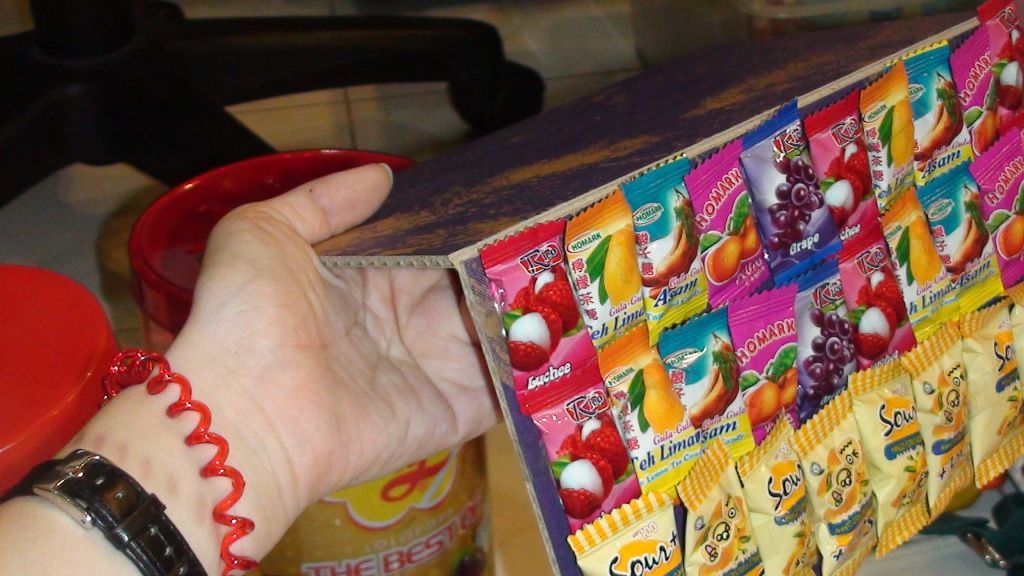
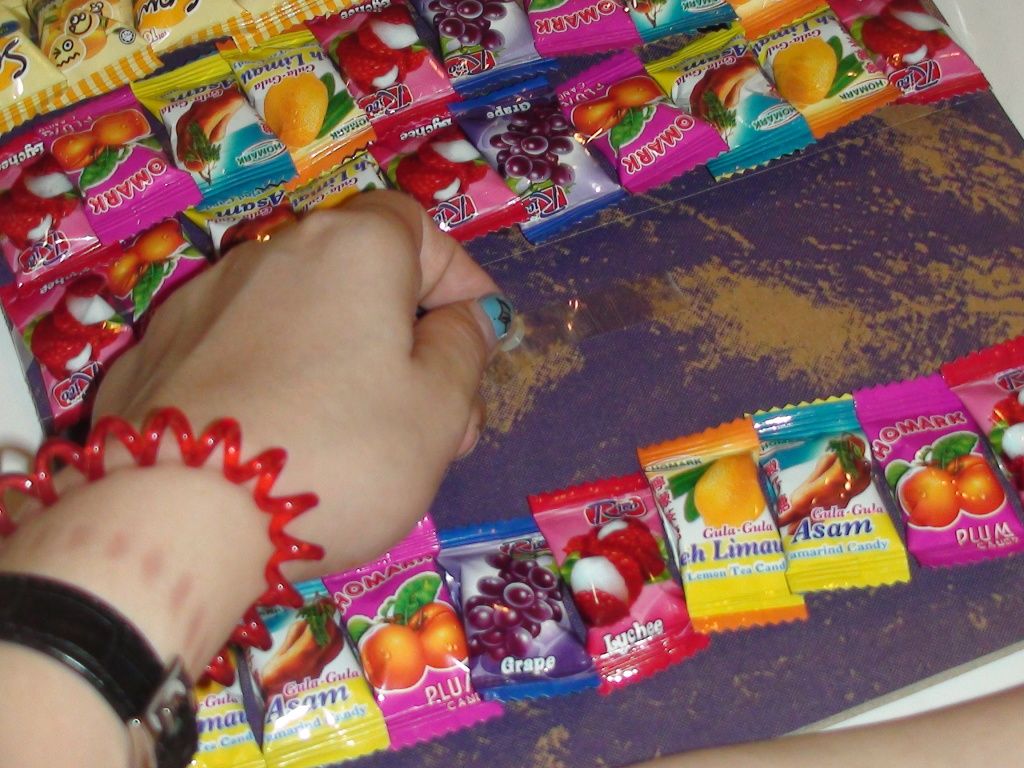
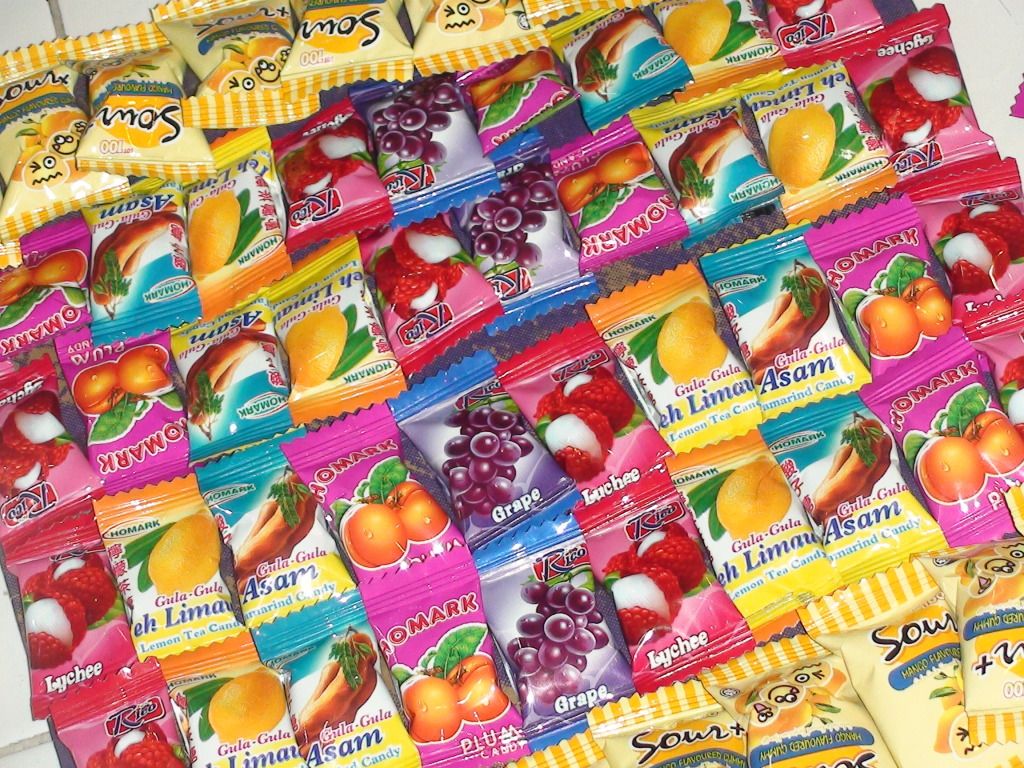
I started out with by filling the roof with candy. In order to keep it staying on the roof even when it is tilted, I looped the cellophane tape so that I could stick it to the bottom first. Then, I'll add the sweets and finally secure them with a long piece of cellophane tape on top.
Don't the candy look delicious? I love the colours. If you'd notice carefully, all the candy are placed facing outwards from the middle line except for the last row of the sour sweets. I placed the sour sweets facing in and out all the way as to see if the kids would be that observant.
Once the roof is done, place it aside and start working on the body.
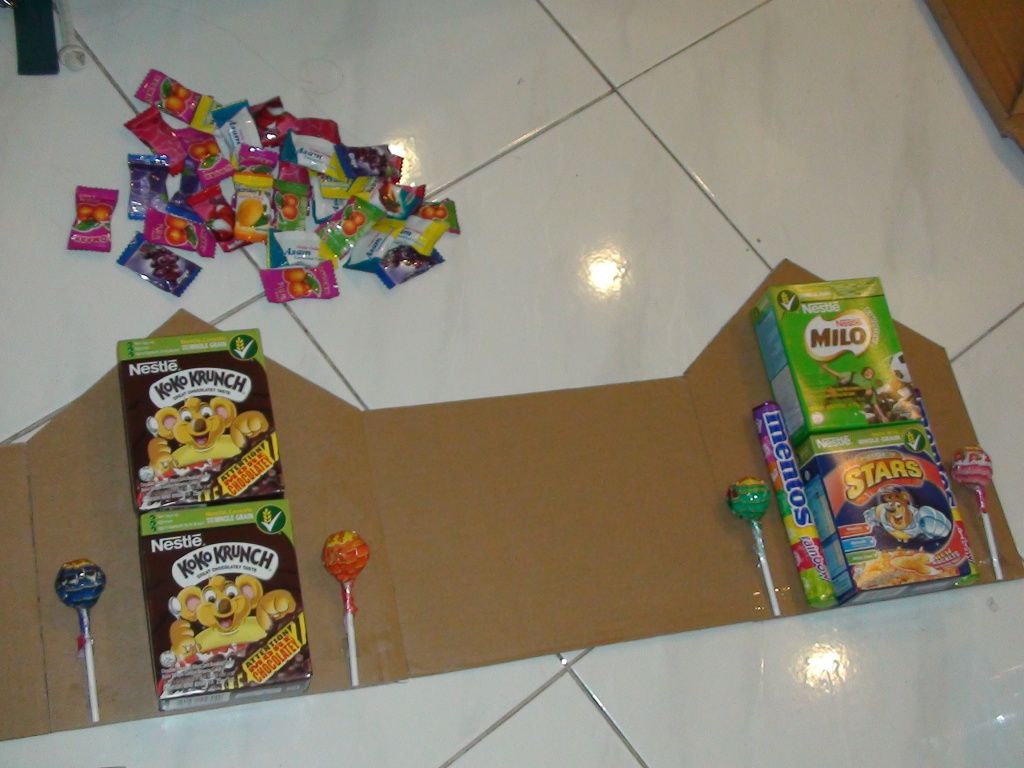
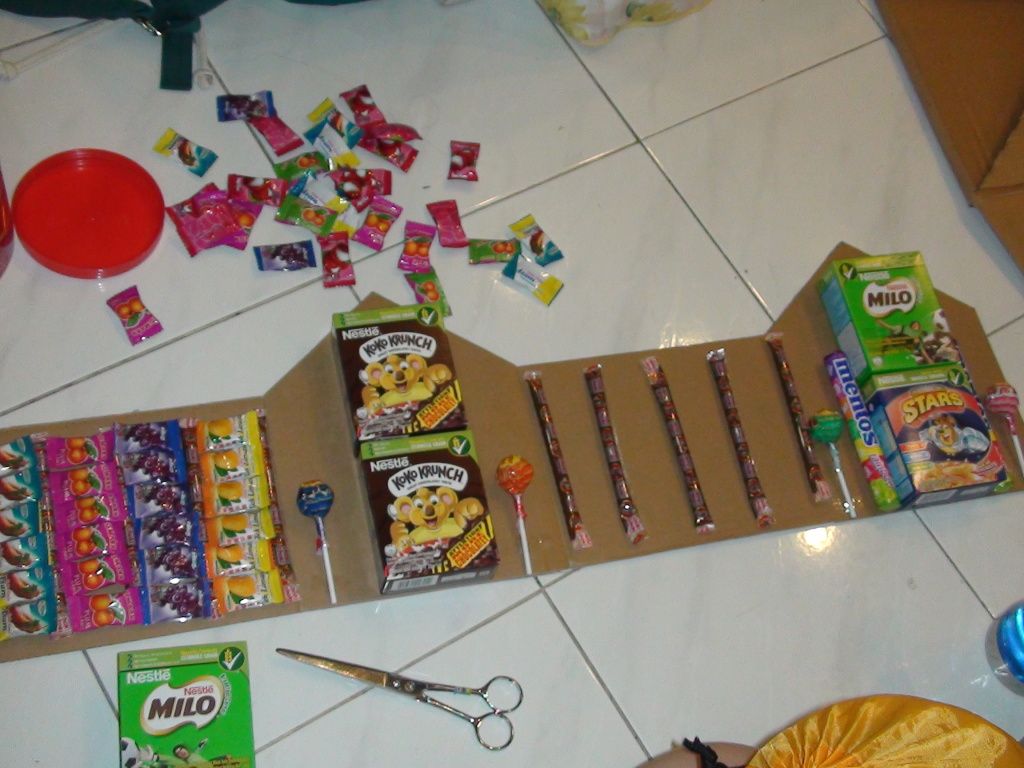
I placed 2 mini cereal boxes on top of one another for the front sides of the wall. 2 rainbow mentos stood beside them together with different flavoured lollipops.
This is how it looks like. You can have yours in a totally different design.
I did the same for the other side. I did not have enough Mentos then, so I did not add them on the 2nd piece. It still looks as good.
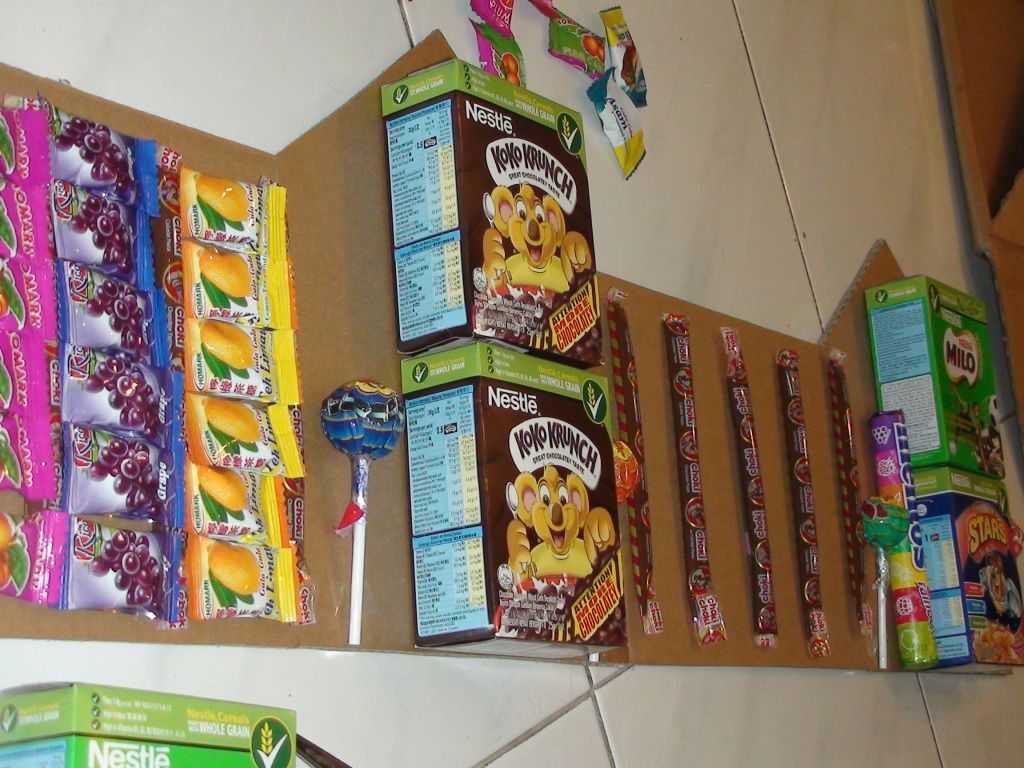
Choki Choki was added.
Place more candies on the wall till it's filled. I changed the area with choki choki into a candy flower piece after. Here's the end results :
The front & back walls.
The side walls. (Just noticed one of my blue candy fell off.)
Well, this is it! The Candy house done for The Amazing Kids' Race 2012! Due to budget, there were modifications in the design for the ones in the actual event. Still, the children enjoyed it and had tons of fun building such a lovely colourful candy house!
Here are some photos from my station & such:
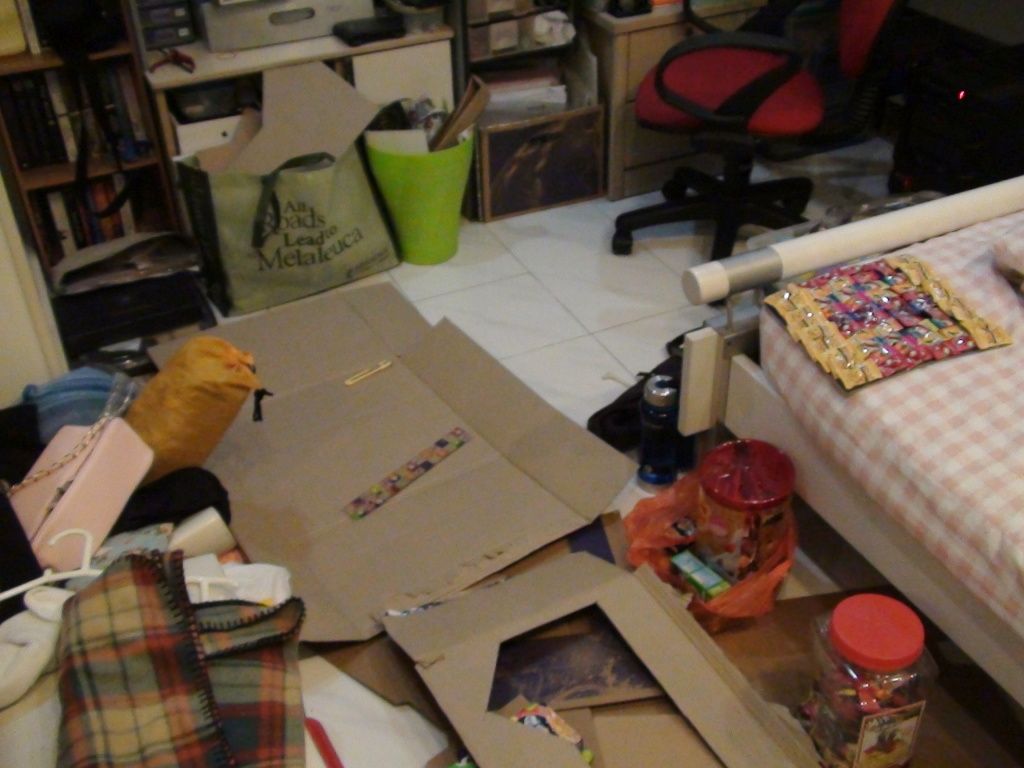
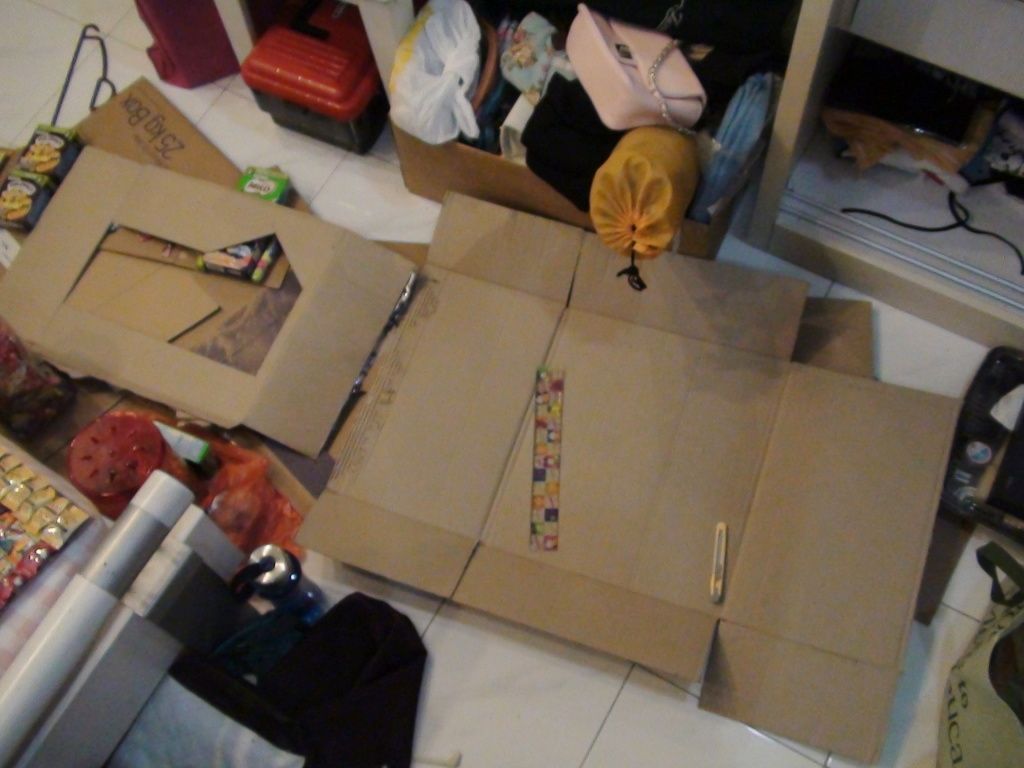
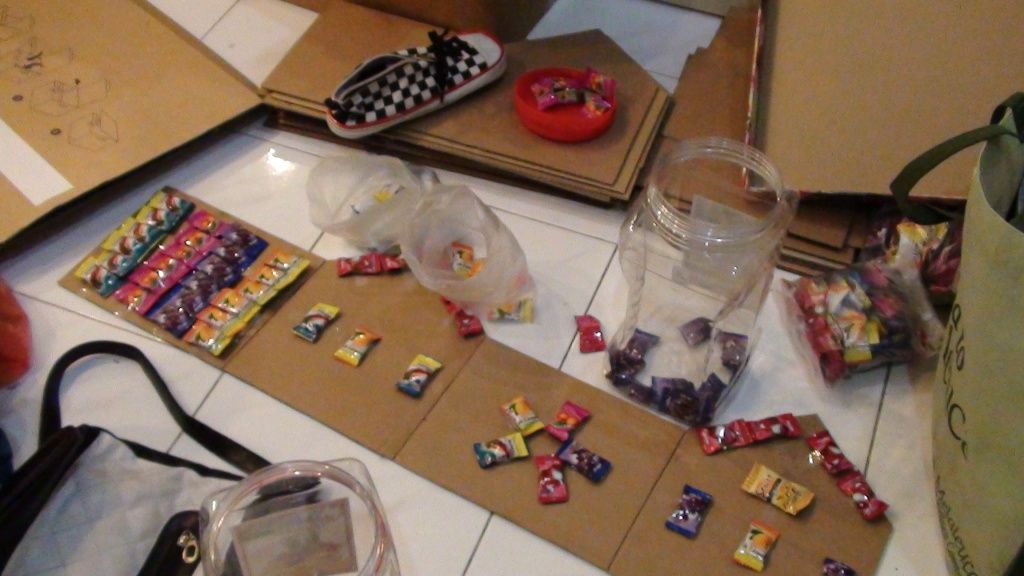
Preparation for the station. I had to cut out a total of 8 sets of the cardboard pieces. This means 8 x 4 = 32 pieces of cardboard pices. And to squeeze them all in this small room of mine. Wow! It's not easy. Felt so crammed up those few days. Cardboard all over my floor.
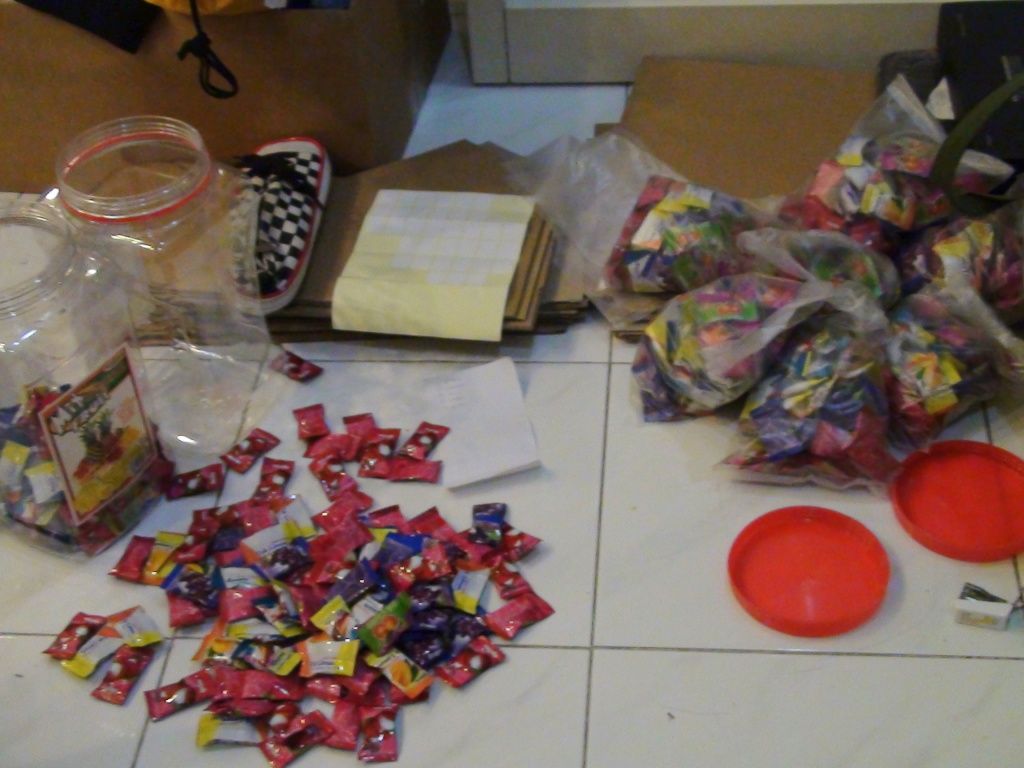
Counting the candy and separating them into bags.
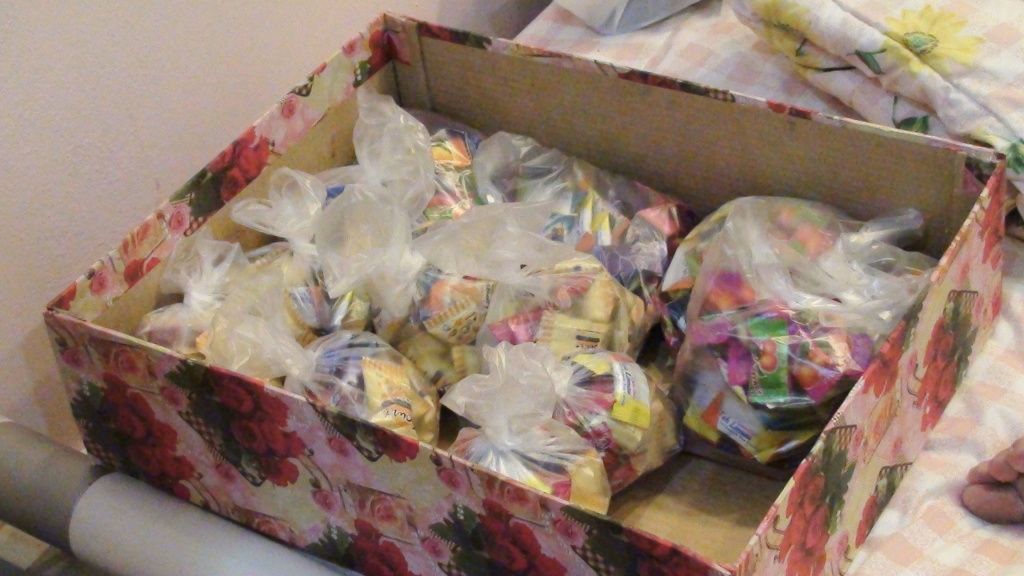
The bags are packed and kept in a huge box placed on the side of my bed.
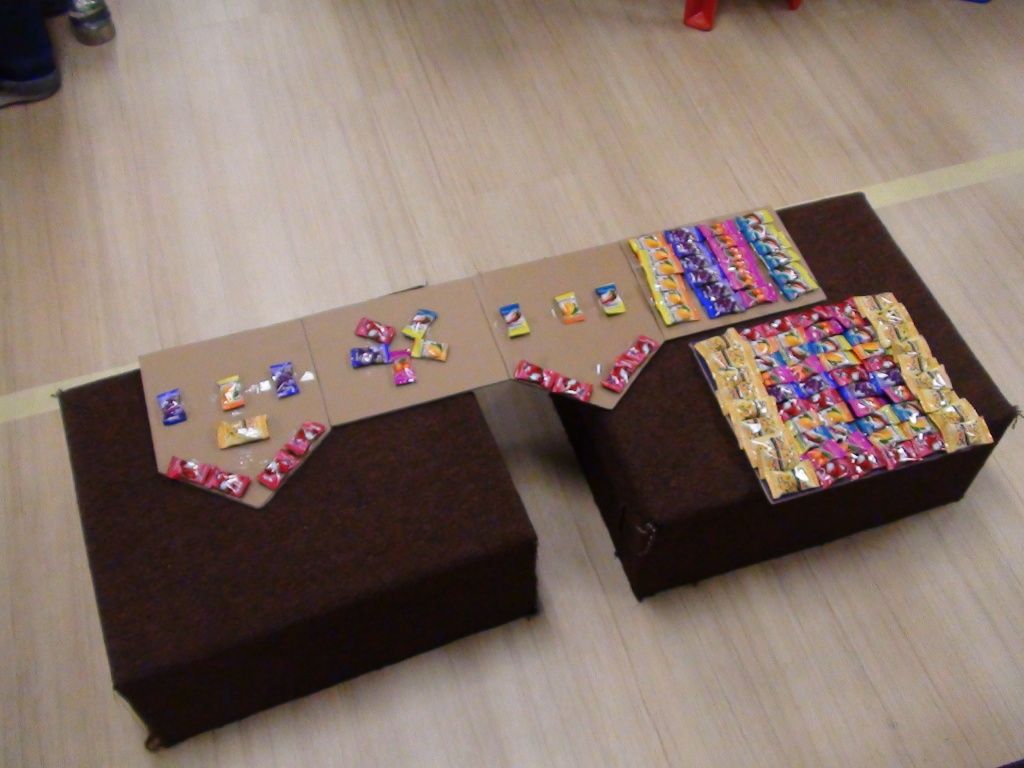
Modified version. It's slightly simpler, but still looks amazing!
The sample is placed like this so the children could see and go back to fix instead of touching everything.
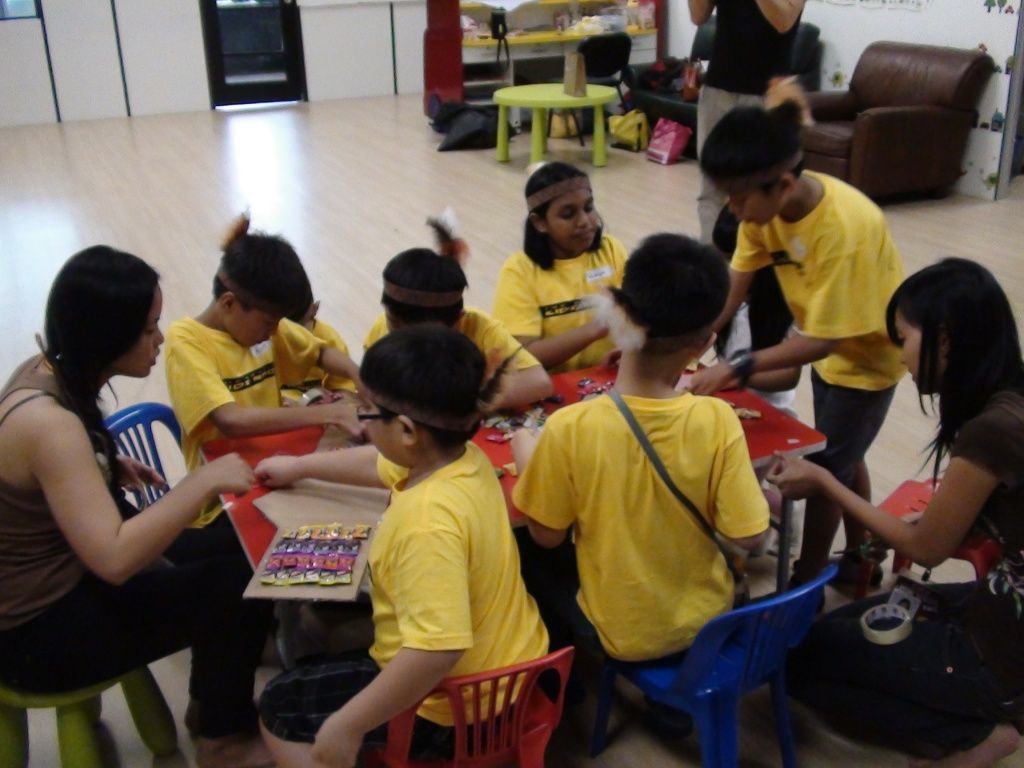
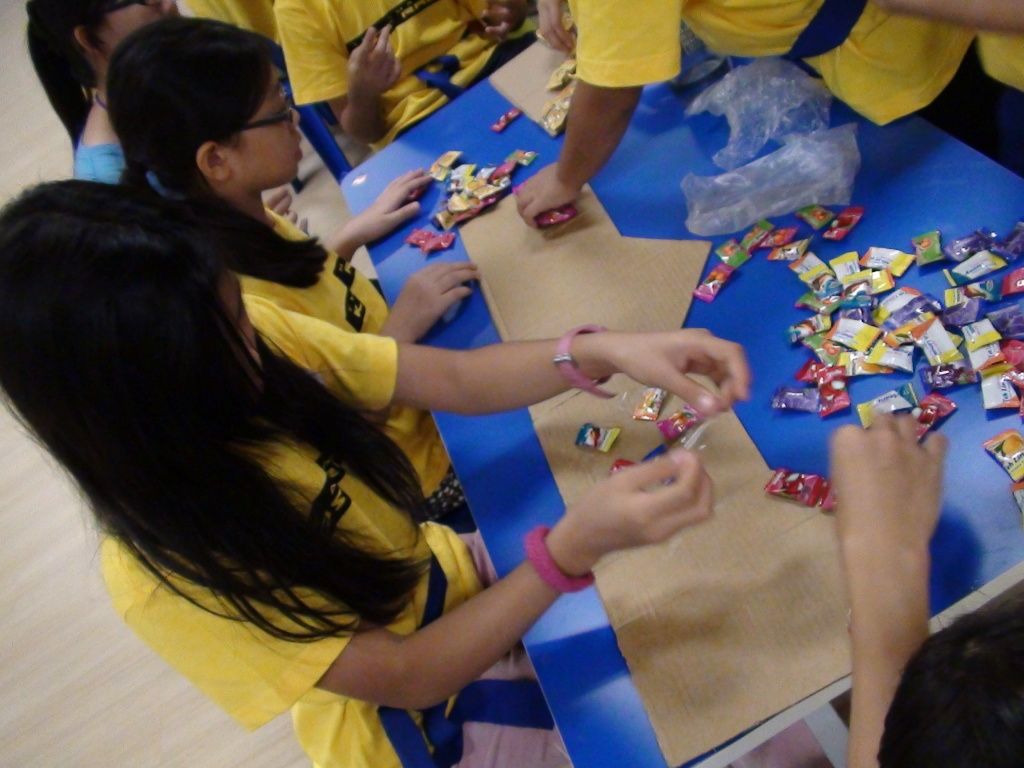
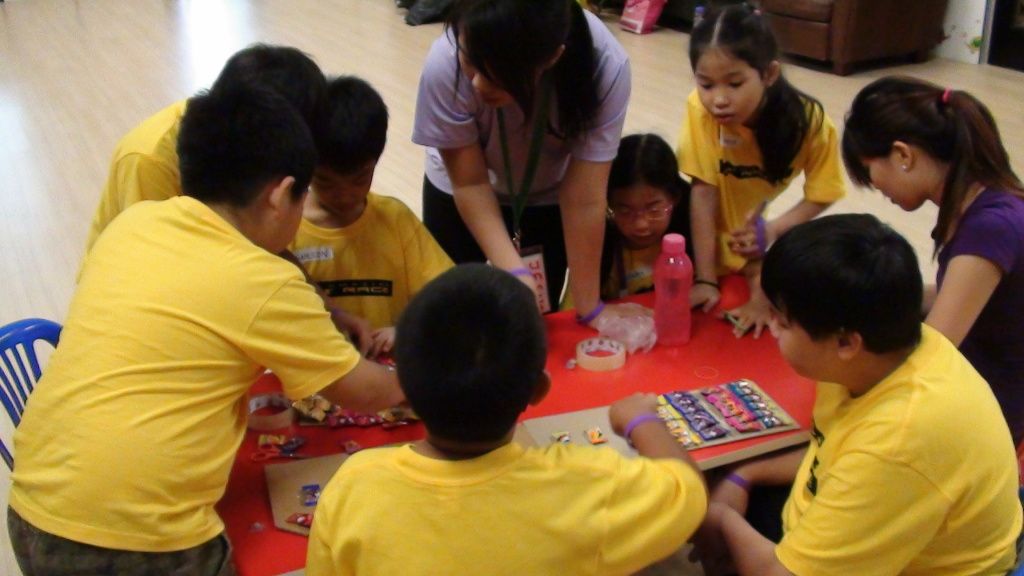
The children at work with the teachers cutting cellophane tape for them.
Alright! This is such a long post. It shall end here. Thanks for dropping by! I'm off to bed right now! Toodles!








No comments:
Post a Comment