Friday 28 September 2012

Tutorial : Mickey/Minnie Ears In Minutes

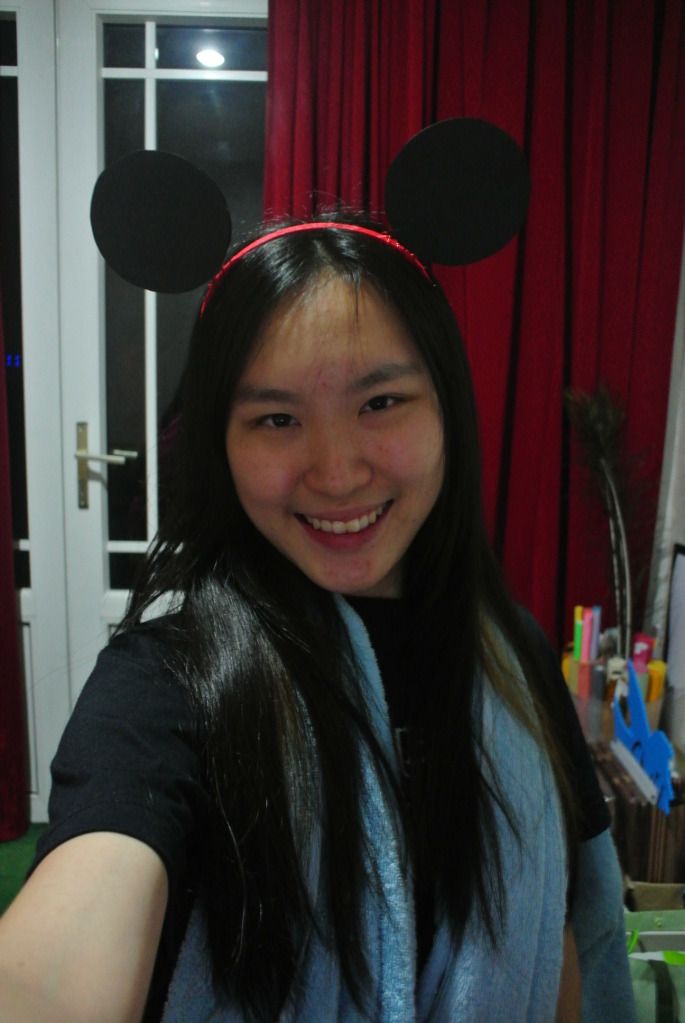
 The picture above shows a merman (sadly you can't see his 'tail') and a Minnie mouse!
This picture was taken on a 24th Sept 2012, Monday in Sirius Scholar. 

It's my 2nd time working! I am currently doing some data entry in my old school - Sirius Scholar. Click here to see my blog post of my first job ! On the first day of work, it was coincidentally their theme day! And this theme day was "Disney". The teachers would be coming and Mr and Mrs.Incredibles while those working in the office would come as Mickey/Minnie. It was already pretty late when I got to know, so I decided to DIY and make my own ears!

What you will need : 
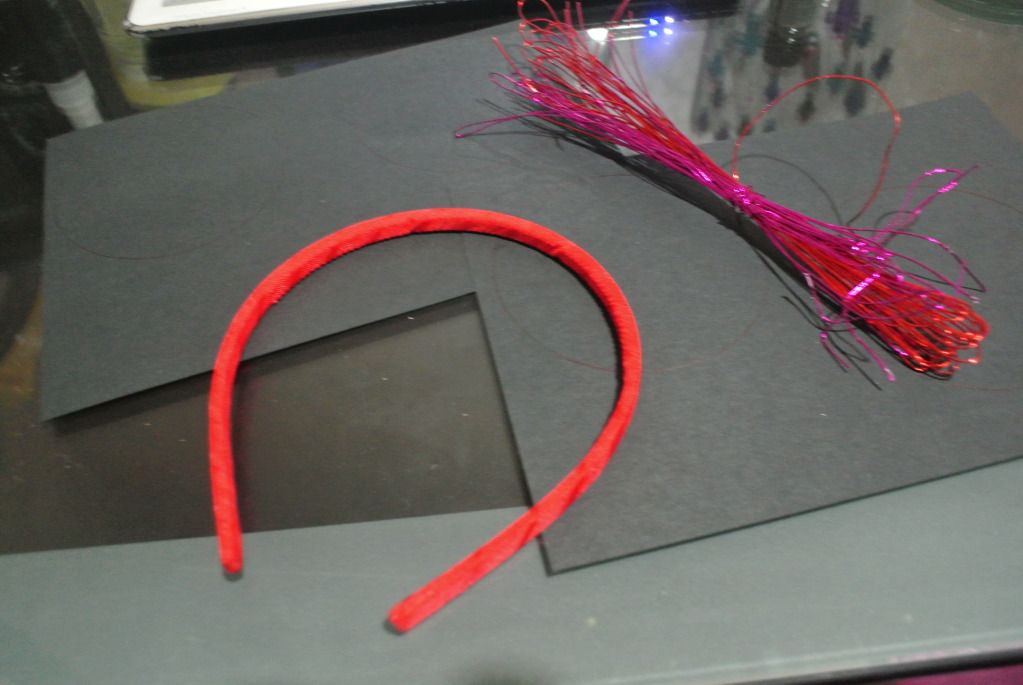
Hairband
Black Paper Cardstock
Wire
Tape
Glue/Double-sided Tape
Scissors


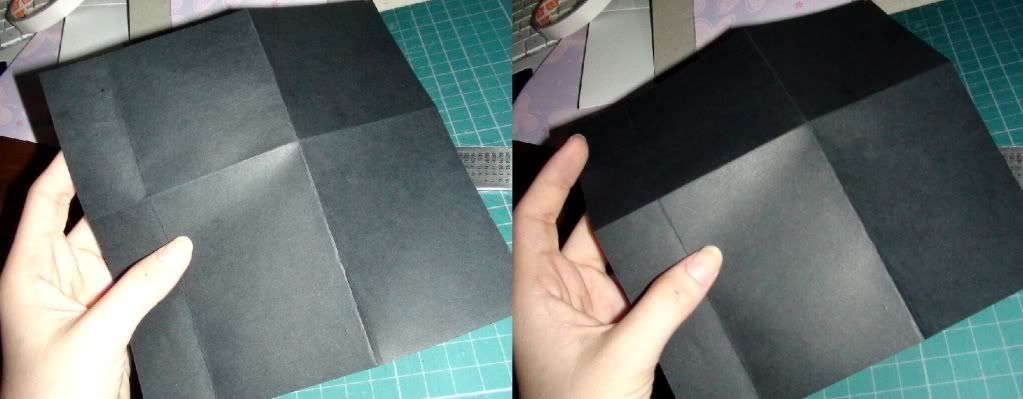
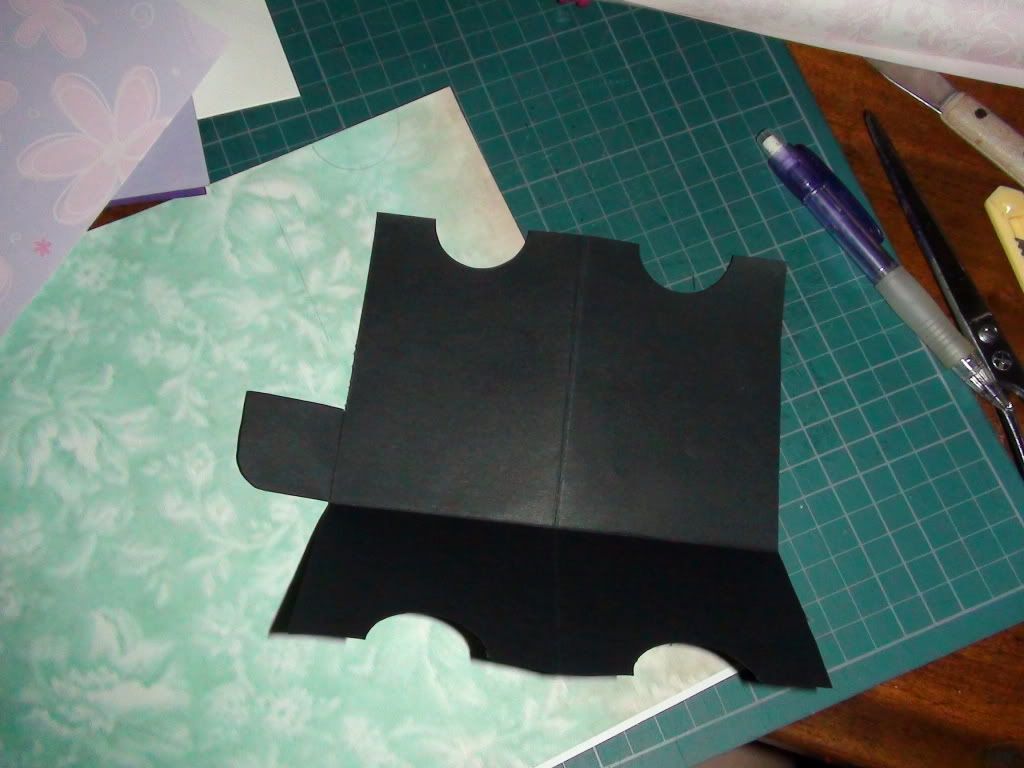
 I used the circumference of the double-sided tape for the ears and cut 4 pieces out. Then, get a long wire, fold into half and twist them around to make a thicker wire.

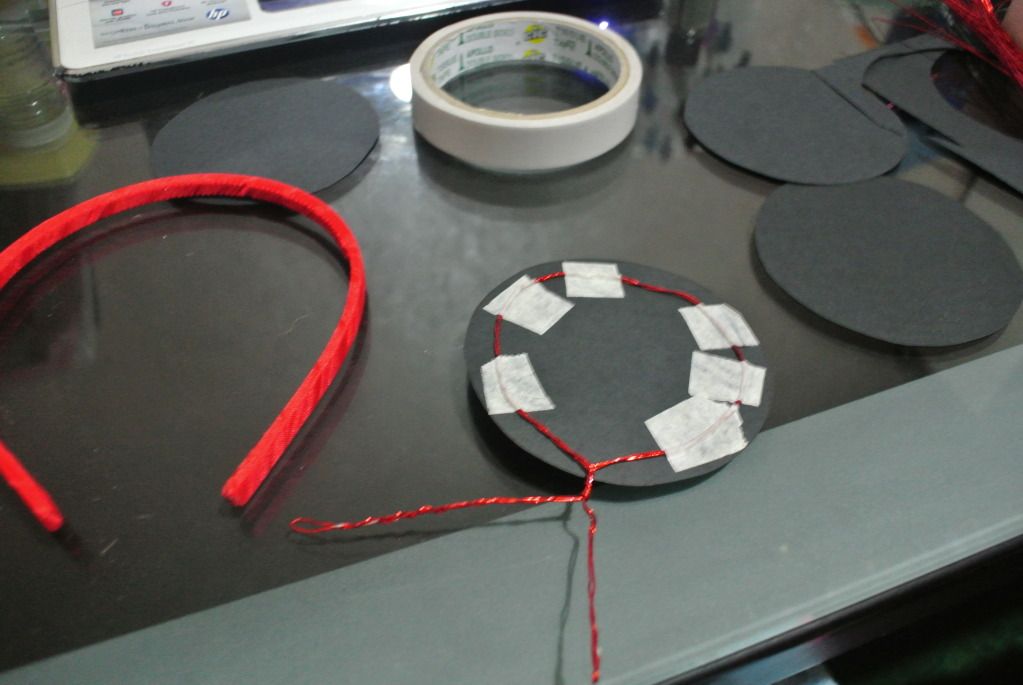
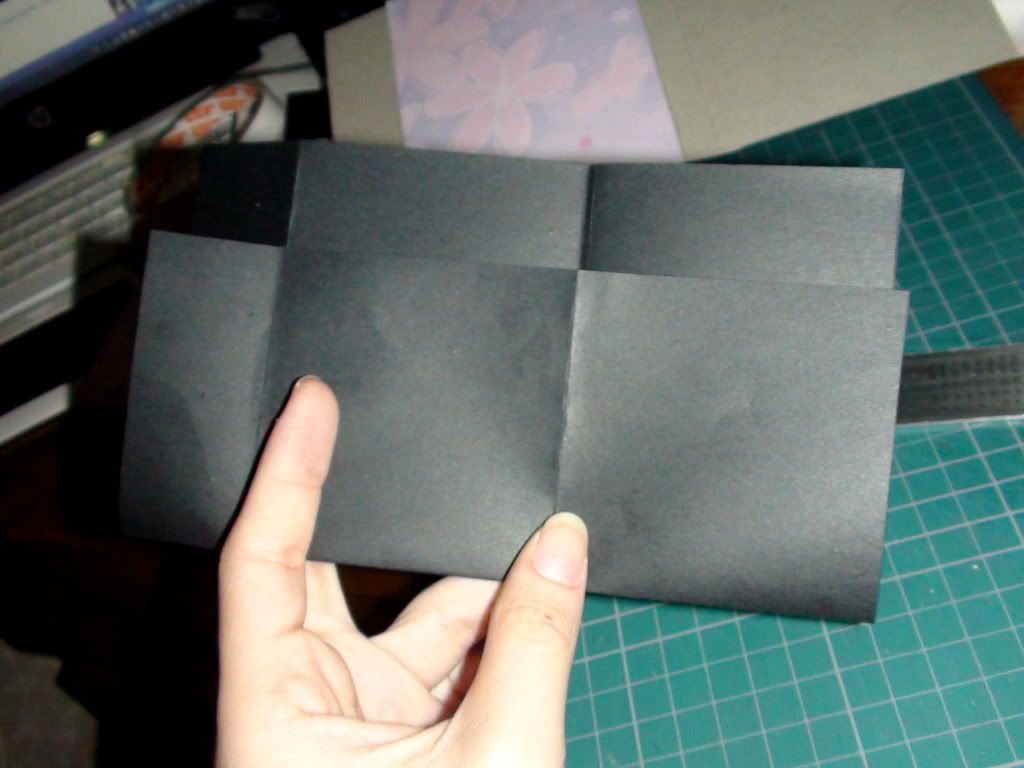
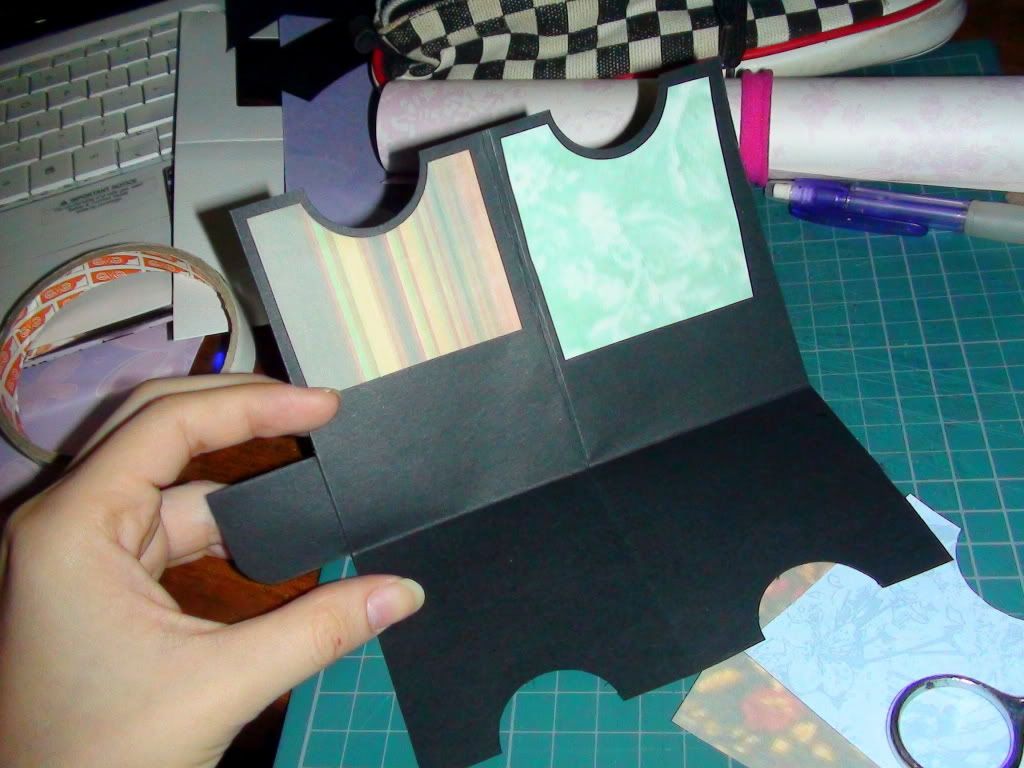
Line the wire around the ear as shown in the picture. Don't forget to leave some sticking out the bottom for later. It is needed to hold onto the hairband. To hold the wires in place, use any kind of tape available. I used masking tape.
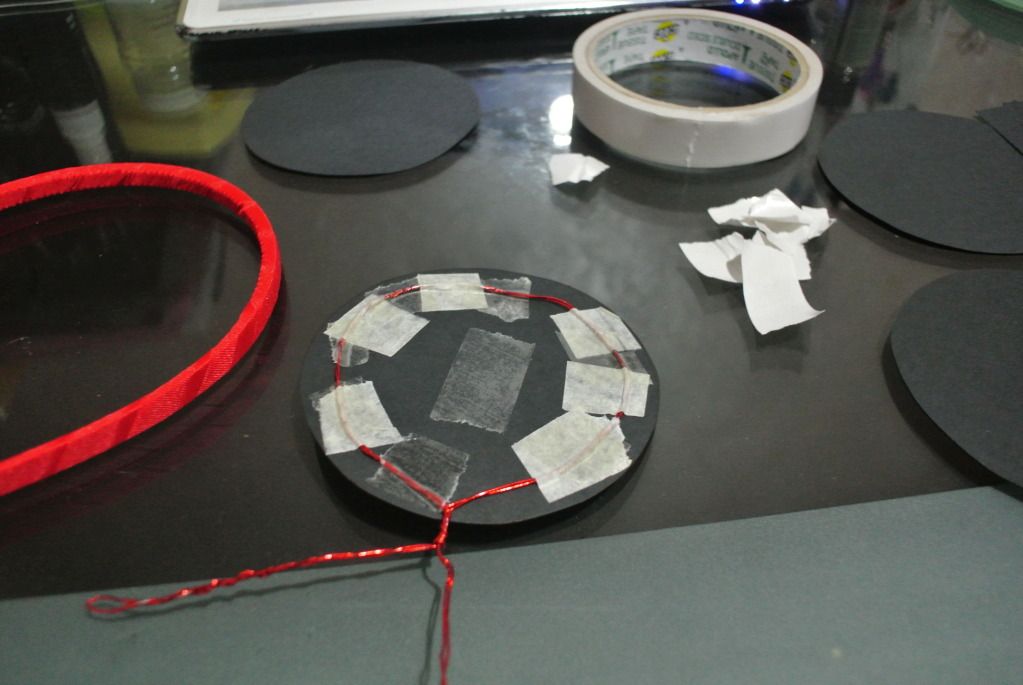
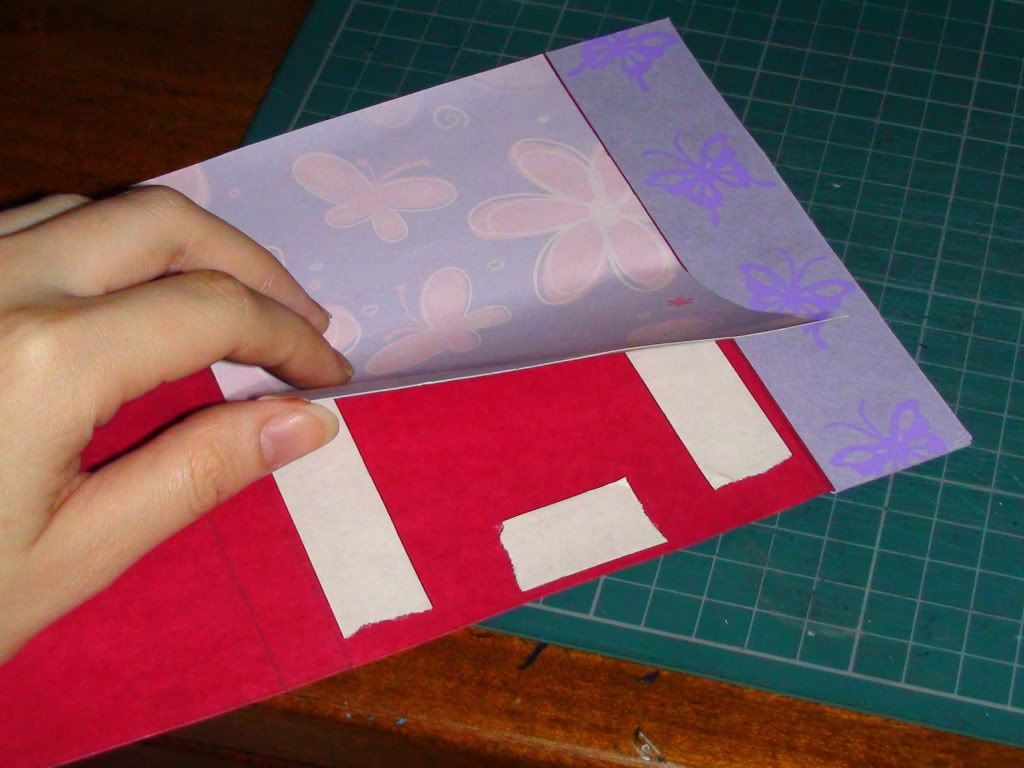
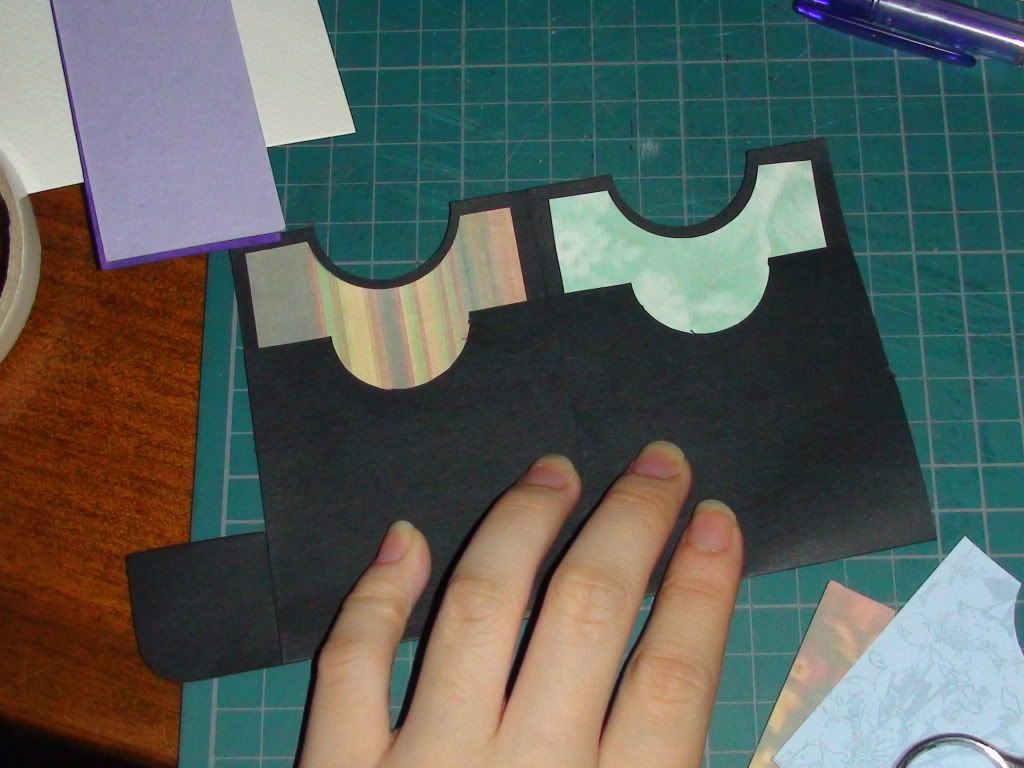
 Next, get your glue or double-sided tape. I used double-sided tape all around the ear.
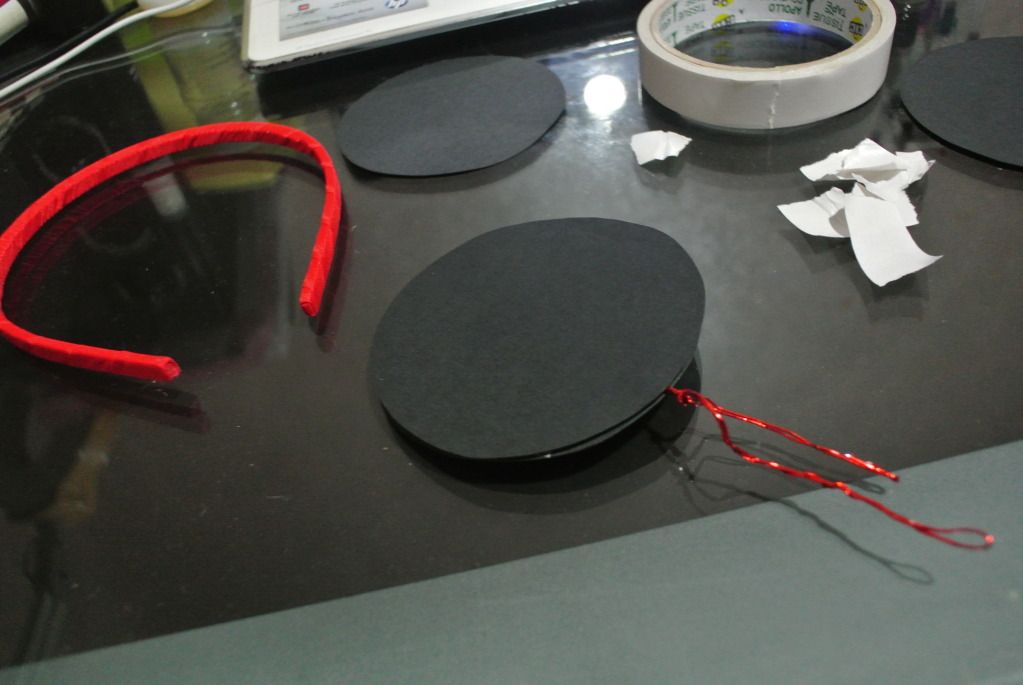
 When that is done, sandwich the wire with the other black circle piece. With that, you will get one side of mickey/minnie's ears!
 Do the same for the other side. When that is done, you already have both ears! Just put them in place and twist the wires around the hairband! It is THAT easy!

Do add your own ribbon if you wish to. I wanted to but didn't had the time as it was already midnight. Oh well, it still turned out adorable.
Now, anyone can be Mickey Mouse or Minnie Mouse !
 Minnie enough for you? 

Tuesday 25 September 2012

Clay Girl With Puppy

Hey everyone! It's been quite a few days hasn't it? I actually have a lot to share, but am only able to now for it has been another busy week. Oh yea! This here's my cousin from the UK. Her name is Dawn, do say hi!

Alrighty! Today's post will be one of my customized orders from BoxOfHobbies ! More little jar gifts could be found here !
 I started with the lighter colours first - beige. This will be the head and the hands.

 This was made as a birthday gift. I was told the birthday girl loves yellow. And so, the dress was made with yellow clay! I think it looks really sweet. Don't you think so?

She makes me think of Little Thumbelina.
 Head checked, arms checked, dress checked, smile checked. She'll be needing some hair!
 Hmm..? I wonder what this will be.. a little box?
 Little hands! From the box? What could be in it?
I already find it adorable at this point. What about you? Can you figure out what it is already?
 Yes of course! A little puppy in a gift box! Now the girl will need some eyes to see the puppy. Let's make her look a little happier!
 Tadaa!
 
 This is the final product! I can't believe this, but I actually FORGOT to take a photo of my work from the front! This photo was stolen from the birthday girl's Facebook page.
I did though, take picture of the back. I like how to photo is so clear. Credits to my dear sister's camera.
All wrapped up! I think my wrapping skills have improved! 

Well, that is all for today. Tomorrow, there will probably be a quick tutorial of something I tried for my very first time. It turned out as a success right away and can be done real quick! Hope you guys will enjoy it. 

Alright. Time for me to get back to work! Toodles!

Thursday 20 September 2012

Gold And Silver Rosette Earrings


Today is 'Nerd Day' in CIMP. This was how I looked like in college today. My hair was braided by Shaujin! I love how the back looks with the bleached gold hair at both sides. I didn't know it looked this way from the back till all my classes were over.
Handmade earrings! I wanted to show this 'sneak peek' yesterday, but I forgot to post it up in the end.
I know they're not the same, but the earrings I made were inspired by this pair. I fell in love with them once I saw them. I didn't buy them right then though. Why? Because they're priced at RM25!! I only decided to buy them the third time I came by the shop and couldn't stop thinking about them.

Because of these beautiful darlings, I've made pretty earrings of my own! Yipee! I'm really happy with the result.
A simple yet lovely piece.
 A lovely touch of a pink rose! I love how it turned out to be.
 Silver base earrings
 
All these are available at BoxOfHobbies ! As I was writing this post, 2 of them are already sold!
Hurry up and check them out!

Wednesday 19 September 2012

Turquoise And White Bohemian Ring Bracelet

 Hey eveyone! I'm thinking of getting a ukulele! Should I? The only thing I'm afraid of is having the determination and discipline to learn playing it. Maybe I should try...

Anyways, it's time to get crafty! Say bye-bye to being craft deprived! I have a couple of orders here and there, and some things to get done! Yipee! Go BoxOfHobbies !
 Yeap. This is how messy my work space is. It was clear before this.. but now, just for making one/two items, this is how messy it gets.
 I have this thought of making a ring bracelet for quite a long time now. I was afraid to try thinking that my chains are all running out already. Thing is, if I don't do it now, there would never be a 'now'. So here goes..
 My first try. I just place a ring and added a chain bracelet. It was so hard to make the it on your own arm! I would love if I could get hold of a statue hand or something at that moment.
 My temporary 'hand statue'.
 Tadaa! I attached little white beads at the very top.
A simple and sweet piece. It's for sale at BoxOfHobbies !
And this was my second try. I added turquoise beads to give it more colour.
It's also available at BoxOfHobbies !

That's all for today's post. Thanks for dropping by! Don't forget to give some love to BoxOfHobbies ! Tata!

Saturday 15 September 2012

Tutorial : Note Pad Cover


I'm falling in love with sarees. They just look so beautiful! Anyways, today's post will be a tutorial on how to make a note pad cover!
What you need :
Manila Card
Blade
Ruler
Pencil
Double Sided Tape or White Glue
Patterned papers
Circle Cutter or Scissors
Note Pad
 From the picture above, you can see that I'm using a thicker card board. DO NOT use that. A piece of manila card would work fine. This was my first time making, and using cardboard was a mistake. Anyways, in the picture above, I've trimmed a cardboard to fit the height of a notepad I bought.
 Now, you will need to measure the size of the 'manila card' that you need. Measure the base of the notepad, the side, then another base.
Cut off the excess. It's time to tape your first patterned paper on!
Tadaa! This cardboard cutting and all actually took me about 1hour+. Perhaps if I'm making these for the second time, it would be much faster.
This is the exact same thing. I changed to manila card cause the cardboard was too thick and a little unsuitable.
Flip it over and start decorating the cover!
 You will now need a coloured paper folded in such a way.
Then, use a circle cutter if available, else something round and a blade.
I bought this circle cutter for only Rm5 at Daiso! I just bought it right before I did this project.
Cut and trim till it looks like this. This will be a mini folder inside the book cover!
Decorate the mini folder. When you're done, you can now tape them together or use glue.
Tape it in such a way so it can be flipped in and out. Finally, attach the notepad by white glue or tape.
 This is my cover.
The note pad I bought has 3 different colours with 3 different characters!
Okay. That is all for today. Thanks for dropping by! Bye!

Also, this will be available in BoxOfHobbies soon! Do check it out and share some photos too! Thank you!