Wednesday 30 November 2011

KL Getaway

 Hey guys! My sister picked that outfit for me! I seldom wear these kind of clothes, but when she asked me to try it on, I fell in love with it! What do you think?
Highschool is over! I was recently clearing out unwanted stuff including past year papers and all. And I found those. My colourful stack of Homework List! Don't they make you feel like you just had to finish your work?

Anyways, yesterday - Tuesday, my sister and I went for a 1 day KL getaway trip. We were suppose to go for some spa, but it was fully booked and we postpone it to 11th Dec. We spent most of our time at KL eating. First, we head over to Ben's for these :

Refreshing soda with peach puree. Pretty good.
Mixed berries crumble tart.

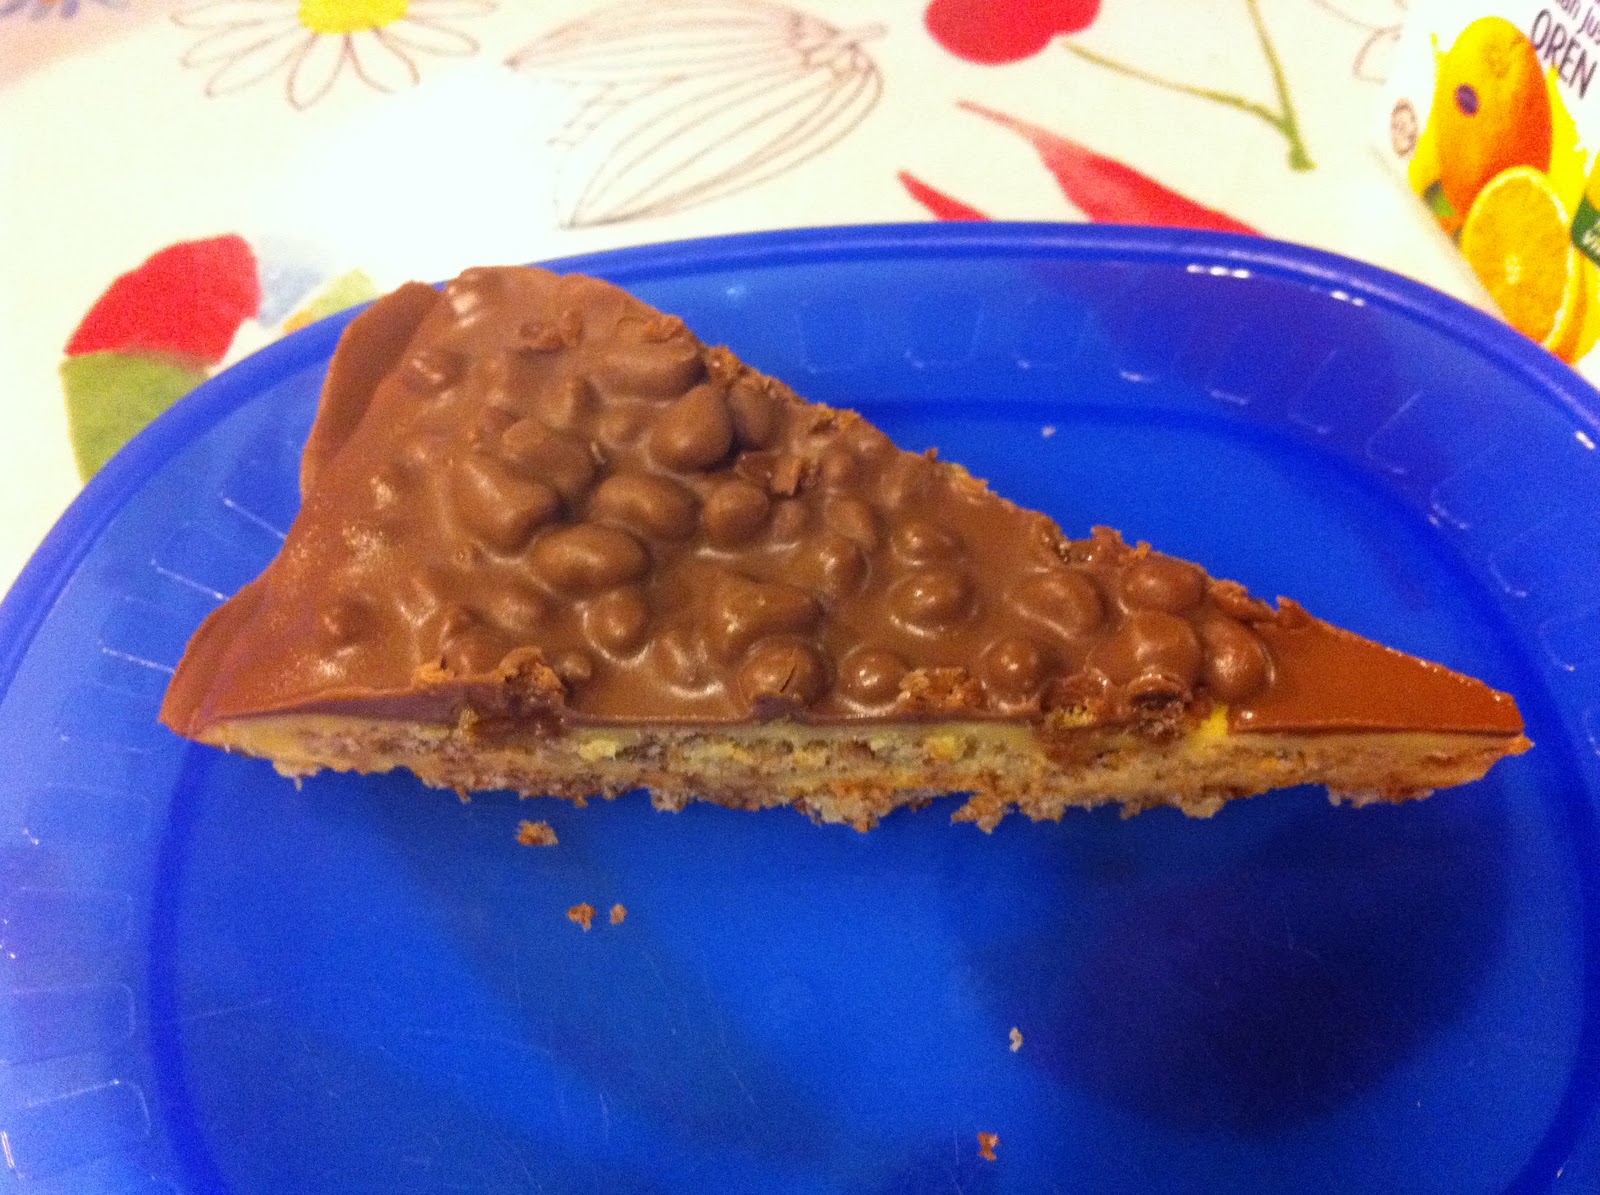
Chocolate Truffle Torte
 The food there was awesome! Other than these, we also ordered another mango mint drink and beef lasagna.The drink was really refreshing and had a special taste to it. The beef lasagna was the best! The cheese was smooth and soft, unlike how many are after being baked. You should really try the place out. I rate it 9/10! The area was gorgeous too. And very comfortable. I'd love to visit that place again!

After Ben's, we walked around then went to watch "Puss In Boots" at about 7pm. It was pretty good I suppoes. Not a big fan of Puss In Boots or cats, so I'm fine. It was pretty good though. After the movie, we walked about more and settled down at "Coffee Club" to have a cup of coffee and a little snack.


The food is good and the portion was more than what I expected. Like I said above, we were thinking of a little snack, but it came out huge! So yeah, I think it's a pretty good place - it doesn't give you food in a smaller size compared with the picture. The fries were crispy and super yummy! The drinks though, weren't very special or anything. It's more light and didn't have that much taste. Still alright I guess. This place is located right outside of Uniclo.

 Some creamy jelly stuff. It was good!
 Leopardy skinned potato?

Enough about the food, if you want to know more, check out my sister's blog at Journey Of A Fat-er Woman. It's awesome! Below here is a picture of my NEW jacket! I love jackets! I find this one cute because it has the sweater feeling, but it's a jacket!

I love the jacket! Cute right?
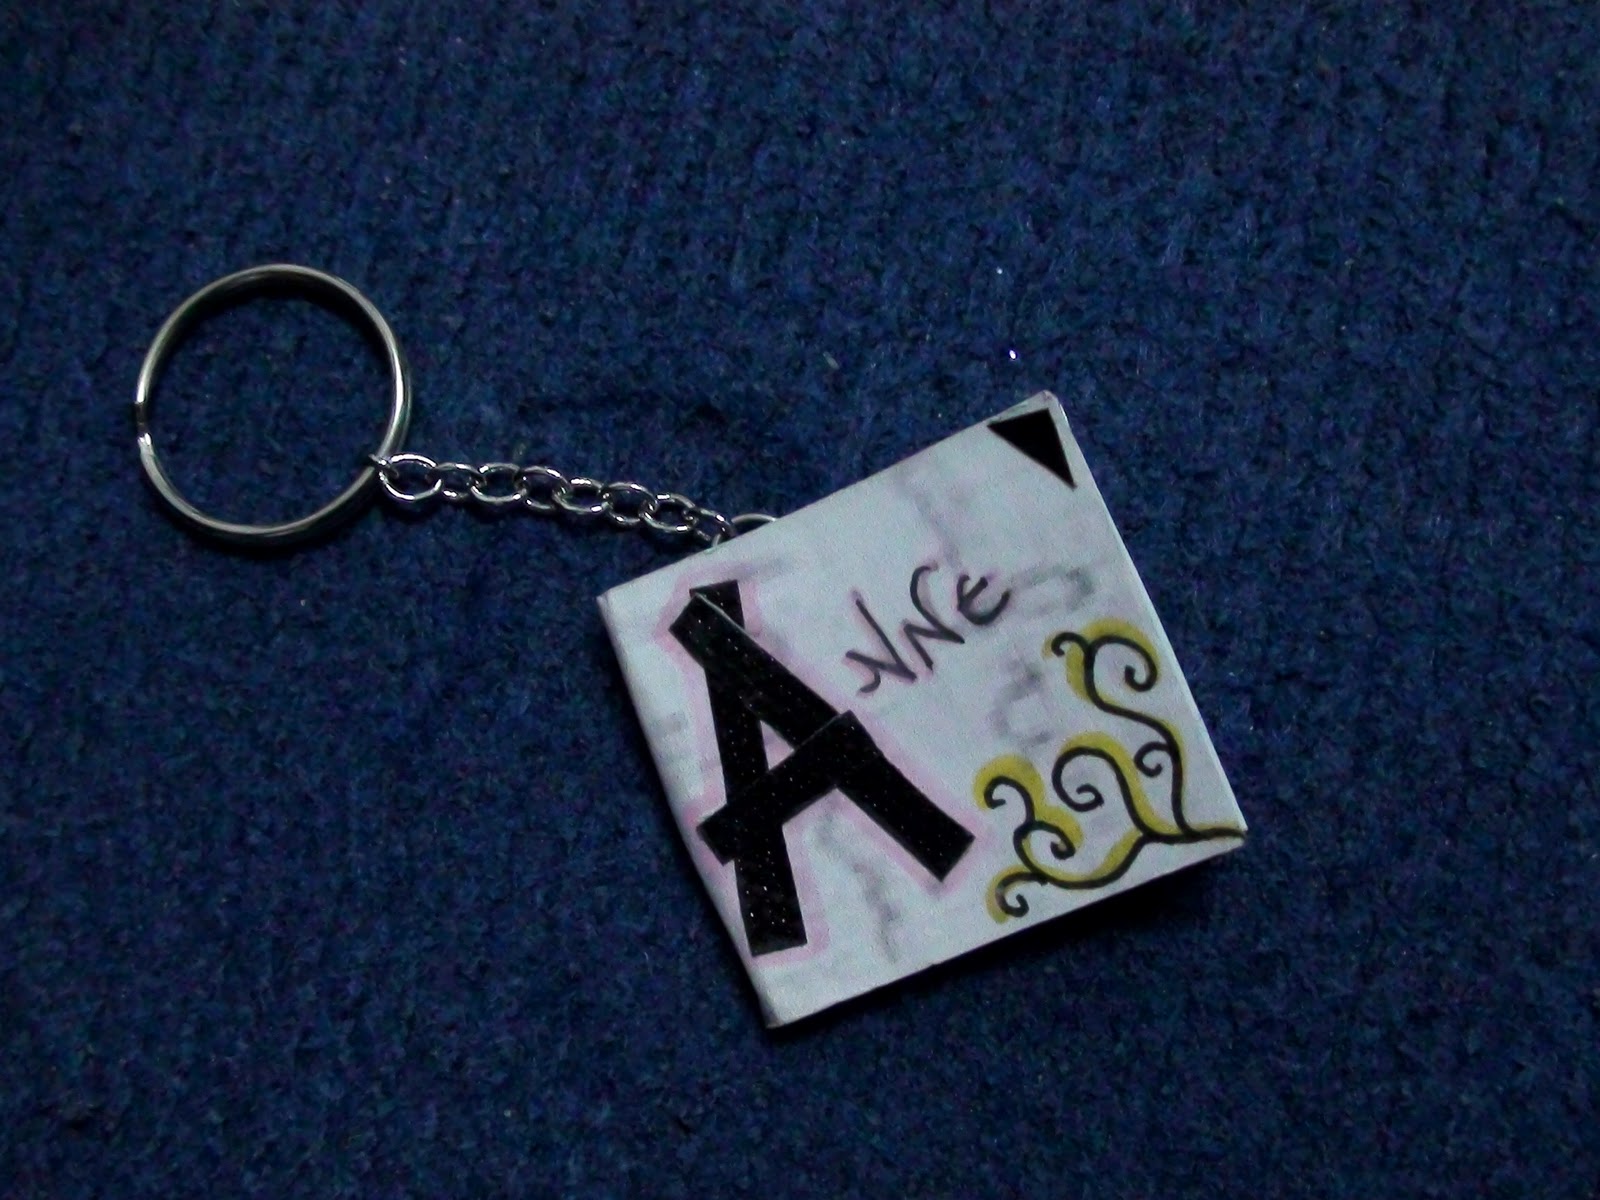
Anyways, these 3 items below were made from hama beads. It's fairly simple. Just arrange them and iron them together! Ta-daaa! Masterpiece!
 
That is all for this post! Thank you!!

Monday 28 November 2011

My Family At IKEA

Charlie bit me! Okay, fine. That's not Charlie. Well, this fella bit me. And it has black and white stripes! Oh no! If you find me in the hospital, you'll know why. Kidding! RIP little evil monster!
Anyways, which of you have been to IKEA just for their meatballs?! Yum! If you haven't tried them yet, you really should! Even my mom, who usually does not fancy these kind of food, likes it!
It's a feast!

 One more thing that is a must try in IKEA is the Daim Cake!
 The meatballs! They have jam hidden somewhere under the fries.
 Anyone heard of salmon juice?
 Just a simple straw could make it look like a submarine.
 Oh! I find this cute! It's like a light in disguise as a pillow! I don't wish to have it in my house or anything, but it just seems cute. Ninja-light! *disappears*

Christmas?
 Don't you love the fireplace?
 Guess what, that fireplace you see in the picture, it's fake. Yeap, all fake. It was made for an event called DubTube, organized by Dubcube! If you're a highschooler, and would love to go for awesome events, camps and other stuff, like their page and get updated! It is made specially for you!
The blur snowy effect was given because of the iphone's flash.
 That's all for today's post! Thank you!!

Oh by the way, this here's my sister!
She's a princess! And if my sister is a princess, that makes me a princess too! And we live happily ever after! The End!

Turquoise Hexagon Bag

BERNINA. What's that? It's a sewing machine brand! Recently, I've been to a workshop to learn how to sew a Hexagon bag! And they used this sewing machine brand. The owner say it's a pretty good brand, but slightly pricey. The one in the picture below cost RM7000+. Yikes! Anyways, on it's left is my little hexagon bag in the making! I got to know about this workshop from Fabric Fanatics. The teacher of this workshop is Florence Lui from House Of Handmade! Feel free to check their pages out!

 The base is all pinned up, ready to be sewn!
Sadly, the insides is a bit ugly because of the handle. Oh well, it's only the inside - It'll usually only be me who sees it.
 
  Sewing the 2nd handle.
 All done! Turquoise Rose Hexagon Bag. I love it!
This is how the bottom looks like! It gives a bigger space to put more stuff! It looks beautiful doesn't it?
My first handmade bag! Proud of it! Oh! And I love the colour!

Friday 25 November 2011

Tutorial : Booklet Keychain/Pendant


Hey people! On my previous post, I've said that I made those mini book keychains for the teachers. In this post, you'll learn how you could do so too!


Stack up some papers and cut them into strips according to the width of your choice. For me, I was pretty lazy to use a ruler to measure, so I cut it into the width of 3 boxes on the cutting board. I'm planning to make a 3 box by 3 box booklet - It's a square!
 Yes, that is a rectangle. I'm planning to split that into 2 after. Was trying if it was easier done this way. 2 in 1. You'd have to use a glue gun to get one side sticking together. I allowed the glue to drip on a piece of paper (base paper) below, then use the stacked paper to brush one side on it. Pull it up right away after the sides are all covered, a thin layer of glue should be there.

If it turns out too thick, like my first two, use a blade to trim the dried bulging bunch of glue. Since it's glue gun, even it it's a thin layer of glue, it'll usually have extra that's been pulled of and you'll see that the glue's still connected to the one on the base paper. Use a blade or your fingers to separate it.
 On the left are the thick layer of glue. On the right are the thinner ones.
Now, use patterned paper of your choice and trim it to twice the width and twice the length. Make sure the width is slightly longer so it could fit your stacks of paper. Just glue the first and last piece of stacked paper and stick the cover on. You should get something like the picture above.

These are those that are done! Here's the pictures one by one. Teacher Ivan and Teacher Melissa D'Silva's don't have individual pictures though. I already gave them before I took individual pictures.


That's all for the booklets! Thank you!

Book Binding

I've been waiting for a really long time! Early this year, I found out about book binding. Not those you get by going to a book shop asking them to bind your papers and stuff, but something that includes some sewing. I've searched for books since then, but only found one, and it wasn't as easy to understand. Finally, exams and schools are over! And Fabric Fanatics had a workshop for book binding by Angelicquirk. I just simple HAD to go! They had a class on one of the Sundays before, but I had exams on Monday and did not attend then. Today's was supposed to be canceled, but I asked if it could be reopened if I have about 3 ppl joining and the person there said ok! So, I went today with Teacher MJ, Hui Yi and Lydia Leow. Another 2 person joined in too. One joined from the beginning, and the other at 2:30pm. Here are the books I've made!
 We fold the papers, glue them all and even bind them together ourselves! Check out the sides of the books! Super cool! All done by hand!
 Pretty isn't it? I really love it! What do you think? Not bad for something done by hand eh?
I also went over to Fabric Fanatics' shop beside to buy more cloth. Even though I already have quite a number of cloth. Opps. It's addictive to buy things from any shops like these. Well, that is all for this post! Thanks for reading! Hope you enjoyed it!