Ha-Haha-Hahaha! I know, I know.. you're probably bored of looking at tigers on my instagram/fb/etc... but I can't help it. I think they're superb! Moving on!
################################
Many of you have seen my Jack Sparrow clay figurine on my
instagram Now, I'm going to show you how it was made! For more crafty journeys, follow Craftysupermom on instagram, or checkout the hashtag #boxofhobbies (also on fb
here)
What is needed :
1) Clay (Cream, white, brown, pink, assorted 'red/green/yellow/etc')
2) Metal wire (optional)
3) Blade/cutter
I think that's about it. Let's get started!
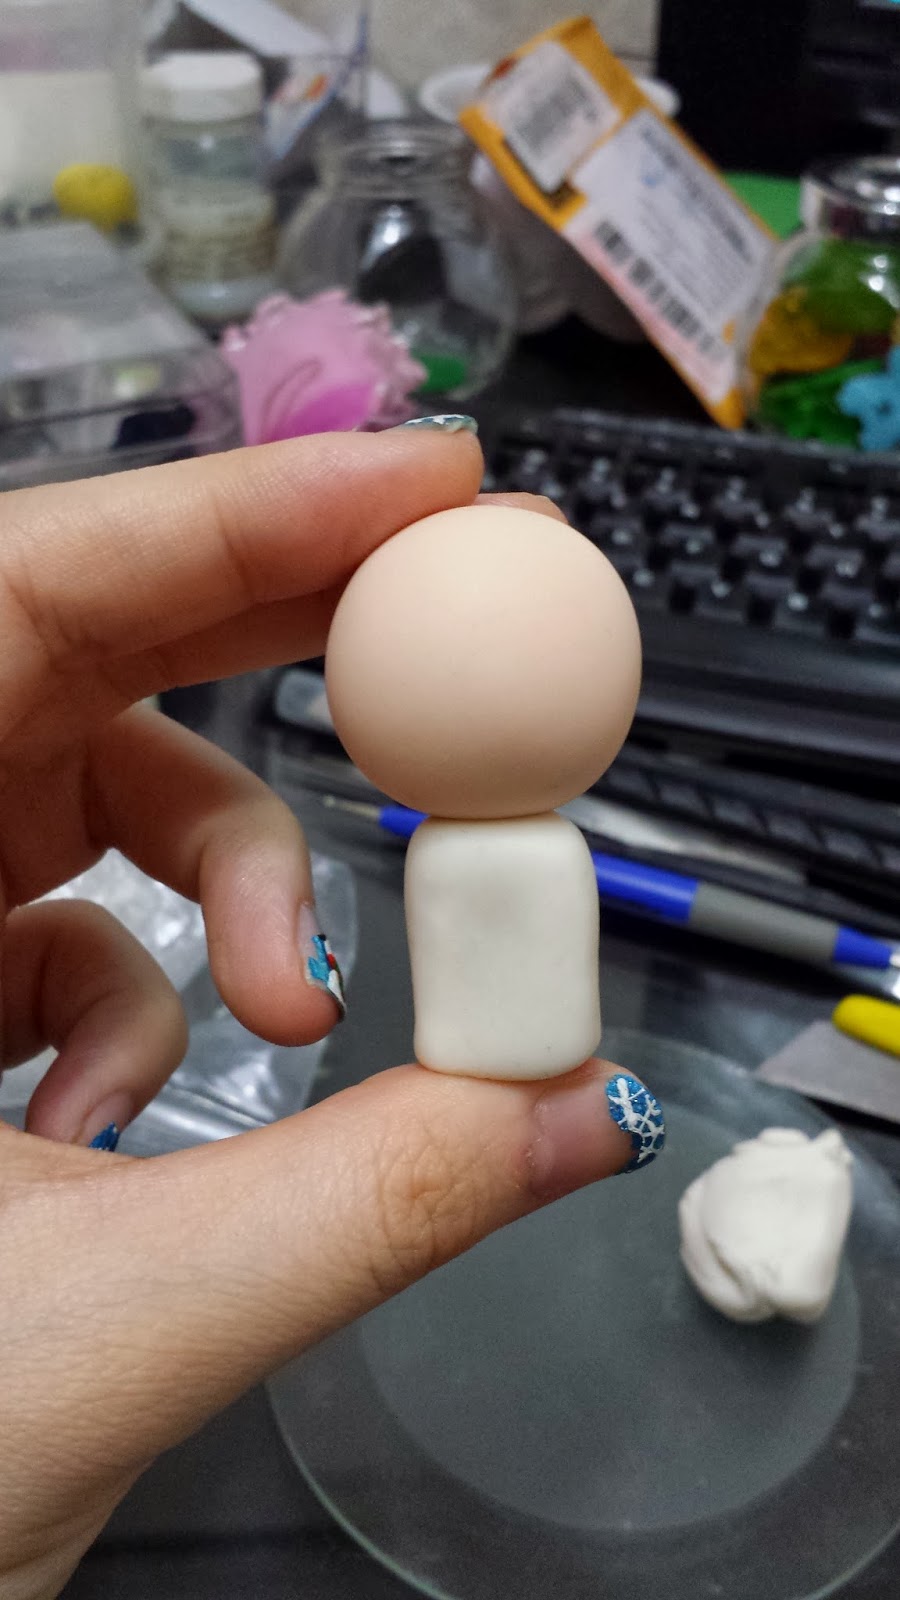
First of all, I rolled my cream clay into a round shape for Jack's head. Then, I took a creamy white colour (you can mix them yourself) to make the body. Leave some for the arms later on.
Check that the proportions are alright.
Make two long brown clay 'logs' for the legs and attach it with the body. You may use glue or bake & bond which you can get from craft shops. Use metal wires to secure them if needed. I used it for the head.
Roll out a thin piece of brown clay for Jack Sparrow's vest. Smoothen the front and back before pinching the sides off. When that is done, use your finger or any round tool to smoothen the sides.
Jack Sparrow needs his boots and belt! You can mix any shade you want. I made them slightly lighter than the pants. Roll out round balls for Jack Sparrow's feet (boots) and add another thin layer of brown clay to cover up his boots and the bottom end of his pants. If you have a reference of his photo, that'll be great!
As for the belt, it's just a long roll of brown clay pressed down. Don't secure it completely just yet. Leave a slight opening for his 'scarf ?'
Roll out small strips of white and pink/reddish clay. Tear them then roll them longer, tear again and roll again till u get something like the above. DO NOT twist them. Flatten it and cut out 2 small piece. Cut up the bottom a little and attach one piece beneath his belt. Press it in, attach glue if you have to. Then, do the same to the second piece. Twist and play with the shape. Then, attach it to the top. Try to push it into the belt a little to make it seem like it's continuous. (might be a little tricky).
When all goes well, add a little glue to fix it in place. Add another belt across his waist.
Add a buckle if you wish for it to seem more complicated. Captain Jack Sparrow carries a whole bunch of stuff all the time. You can add more than the above if you want to.
Make balls of cream clay for the hand and attach the head to see if the proportions are alright.
It's time to make the hair! Captain Jack has long thick locks of hair. So, roll out thicker pieces of dark brown/black clay. Fill up his whole head. (Note that you should make his hair pieces in different lengths)
Add a red bandana. Roll out a flat piece, fix it on and cut the extra.
You can make a pirate hat for your Captain Jack too if you feel adventurous to try it out. Add more hair on top of the bandana sides to cover up any ugly parts (cheating!)
You can then roll out colourful 'beads' and attach them with metal wires to Jack's hair. Add mustache and beard with tinsy winsy little beads. Paint his eyes with acrylic paint (or clay would work fine too) and walahhhh! Here's Captain Jack Sparrow !
I think he's pretty handsome. Don't you think so?