
I'm falling in love with sarees. They just look so beautiful! Anyways, today's post will be a tutorial on how to make a note pad cover!

What you need :
Manila Card
Blade
Ruler
Pencil
Double Sided Tape or White Glue
Patterned papers
Circle Cutter or Scissors
Note Pad
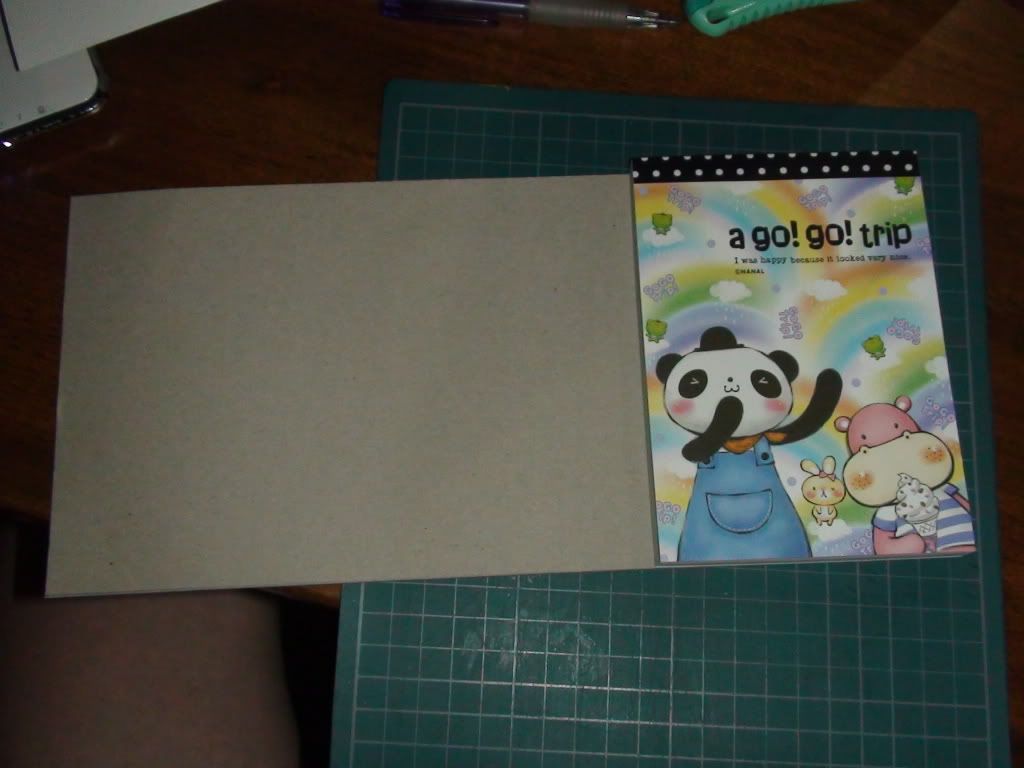
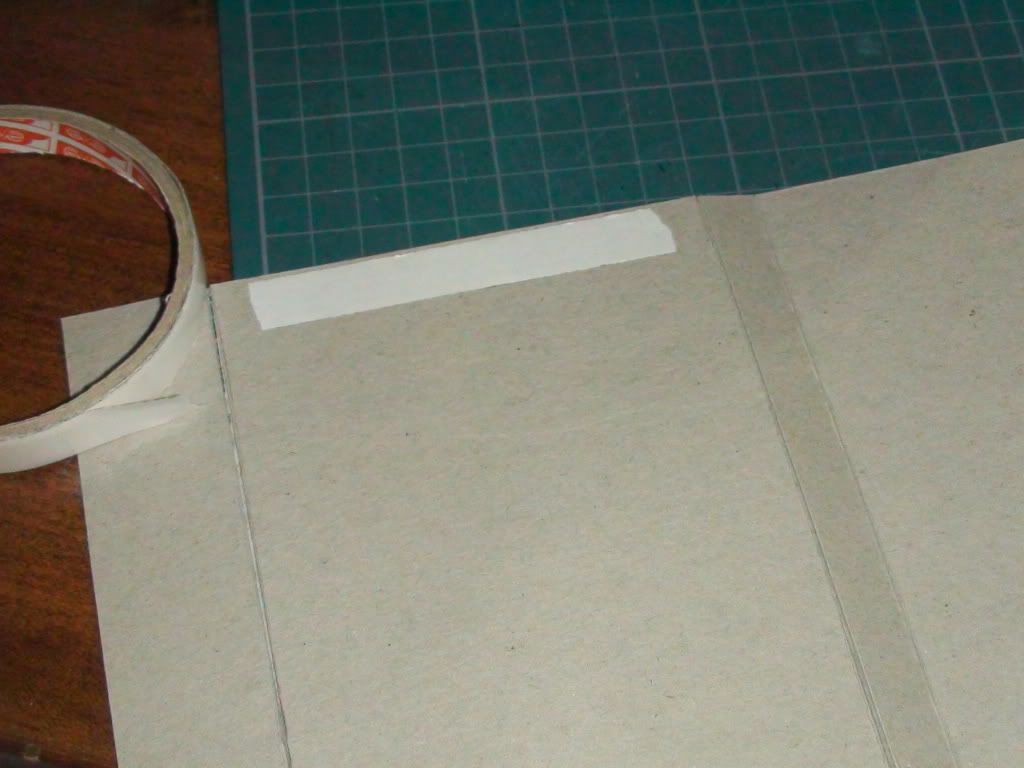
From the picture above, you can see that I'm using a thicker card board. DO NOT use that. A piece of manila card would work fine. This was my first time making, and using cardboard was a mistake. Anyways, in the picture above, I've trimmed a cardboard to fit the height of a notepad I bought.

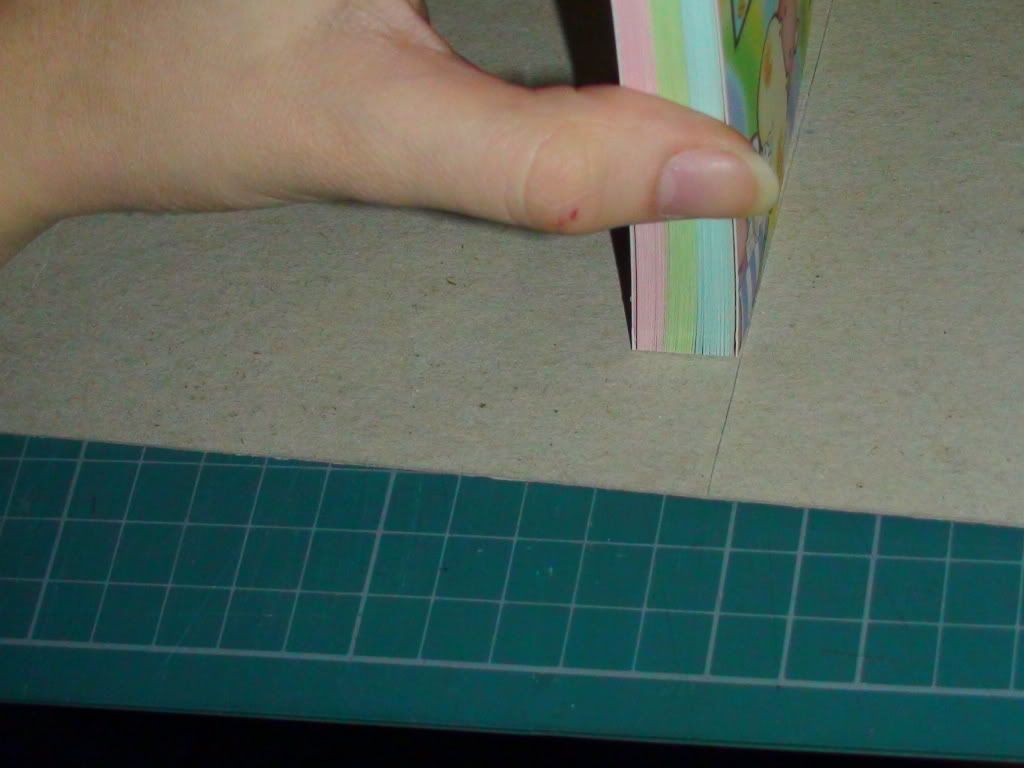
Now, you will need to measure the size of the 'manila card' that you need. Measure the base of the notepad, the side, then another base.
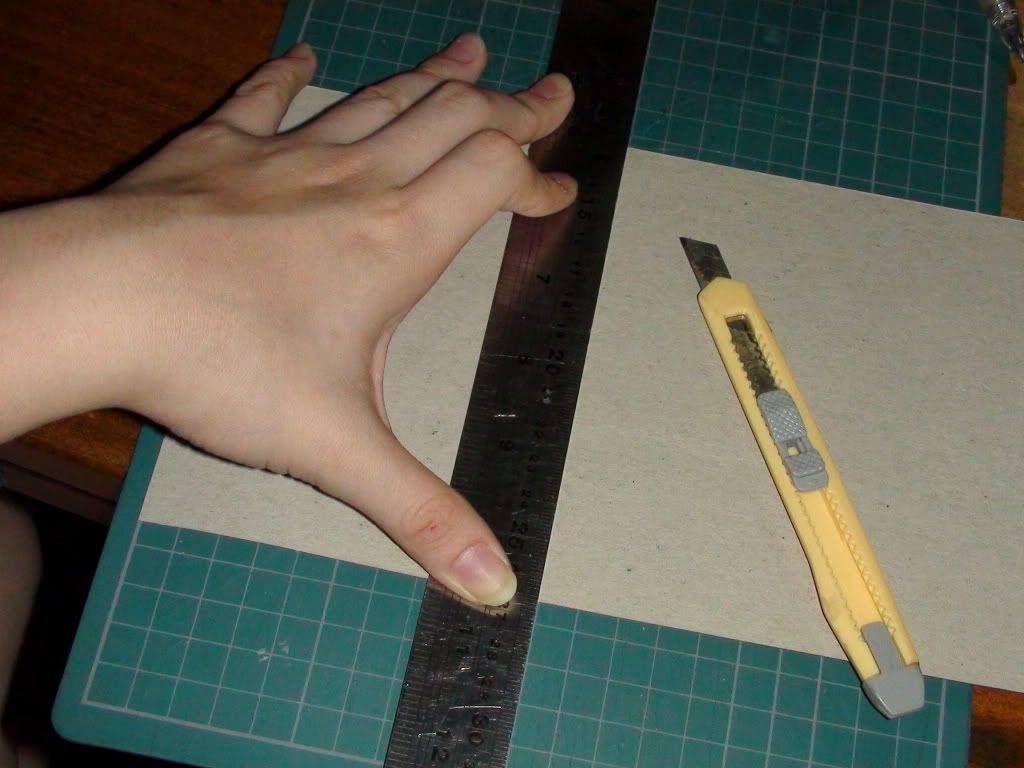
Cut off the excess. It's time to tape your first patterned paper on!
Tadaa! This cardboard cutting and all actually took me about 1hour+. Perhaps if I'm making these for the second time, it would be much faster.

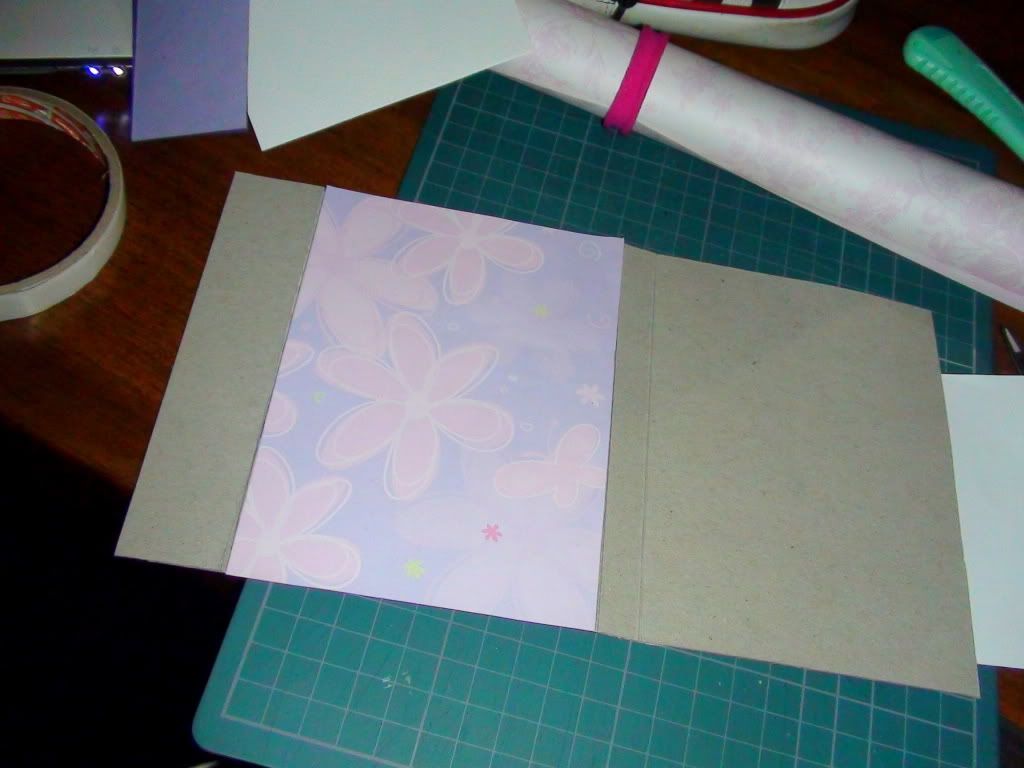
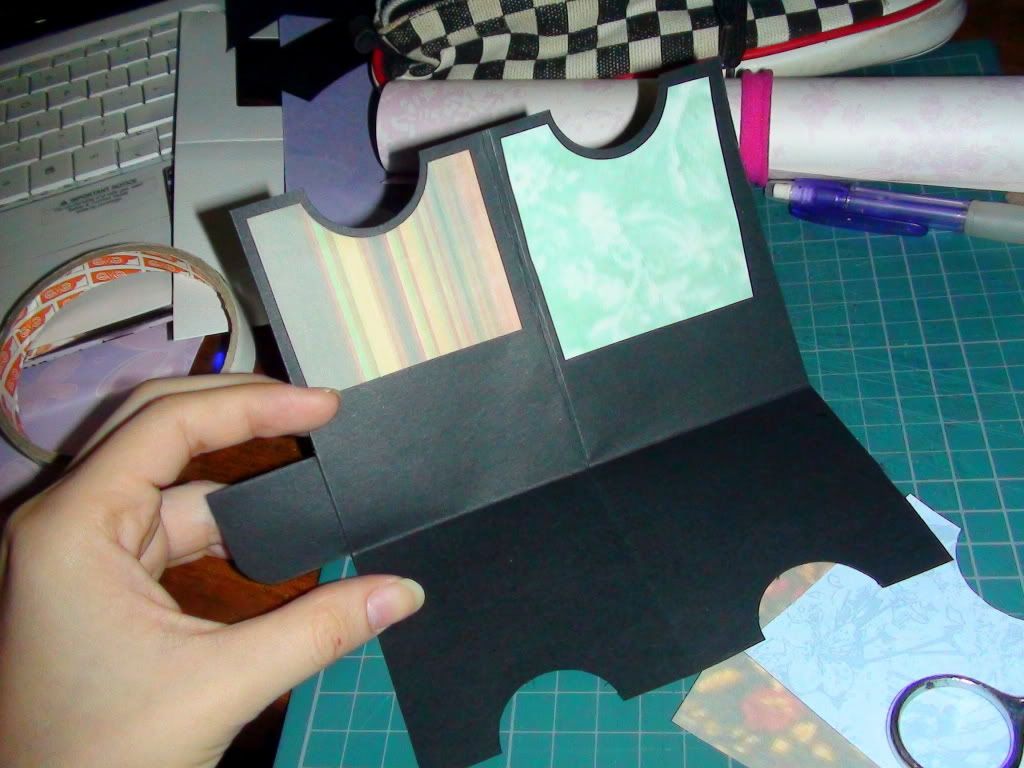
This is the exact same thing. I changed to manila card cause the cardboard was too thick and a little unsuitable.

Flip it over and start decorating the cover!
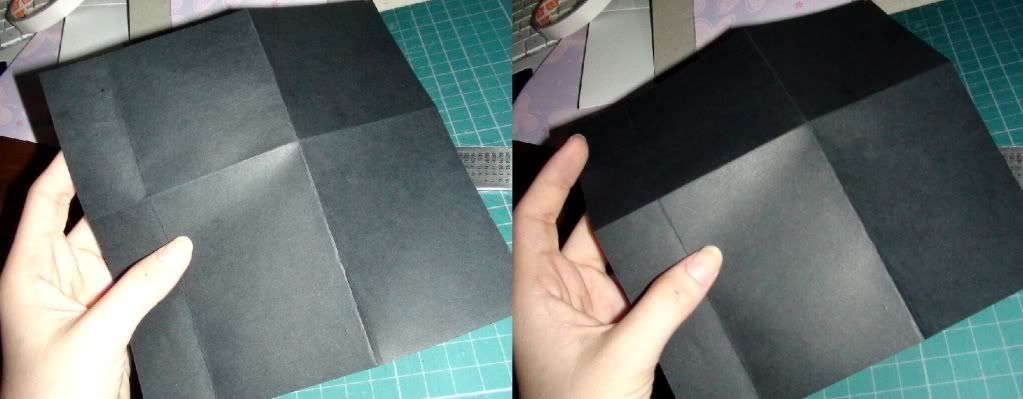
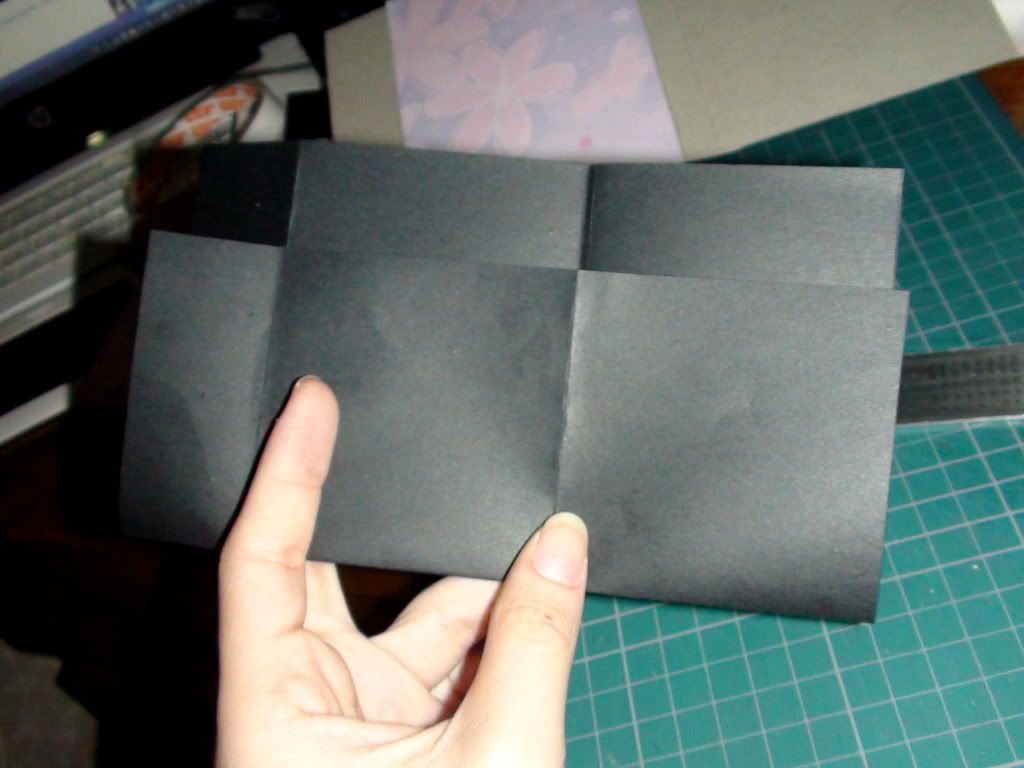
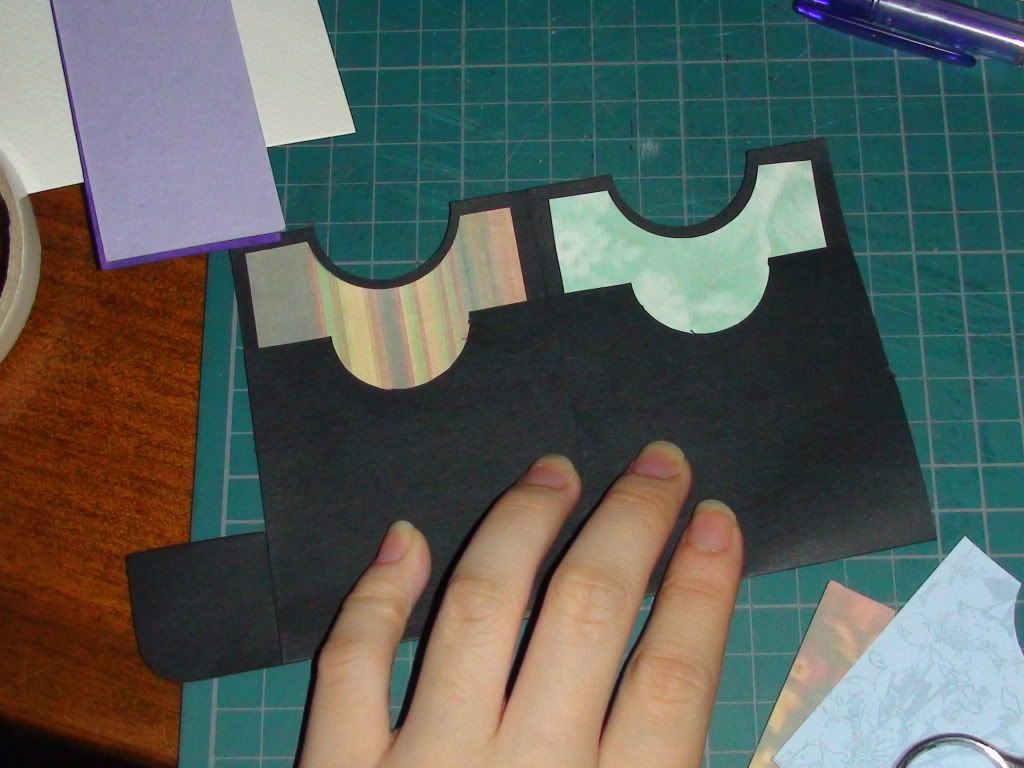
You will now need a coloured paper folded in such a way.
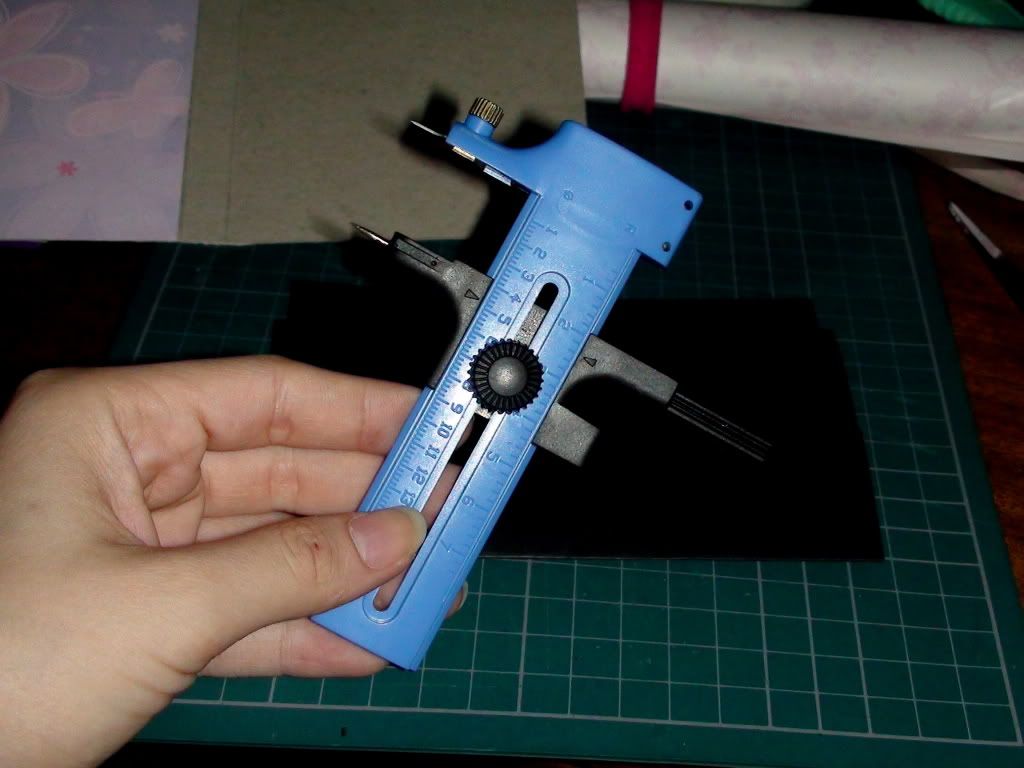
Then, use a circle cutter if available, else something round and a blade.
I bought this circle cutter for only Rm5 at Daiso! I just bought it right before I did this project.
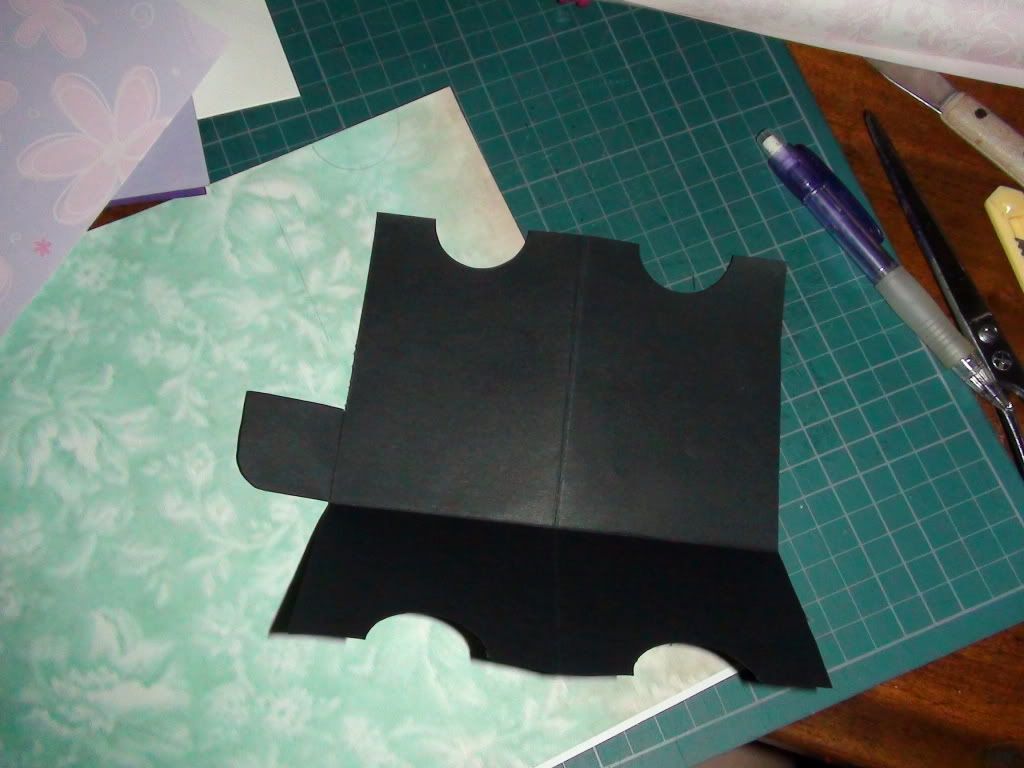
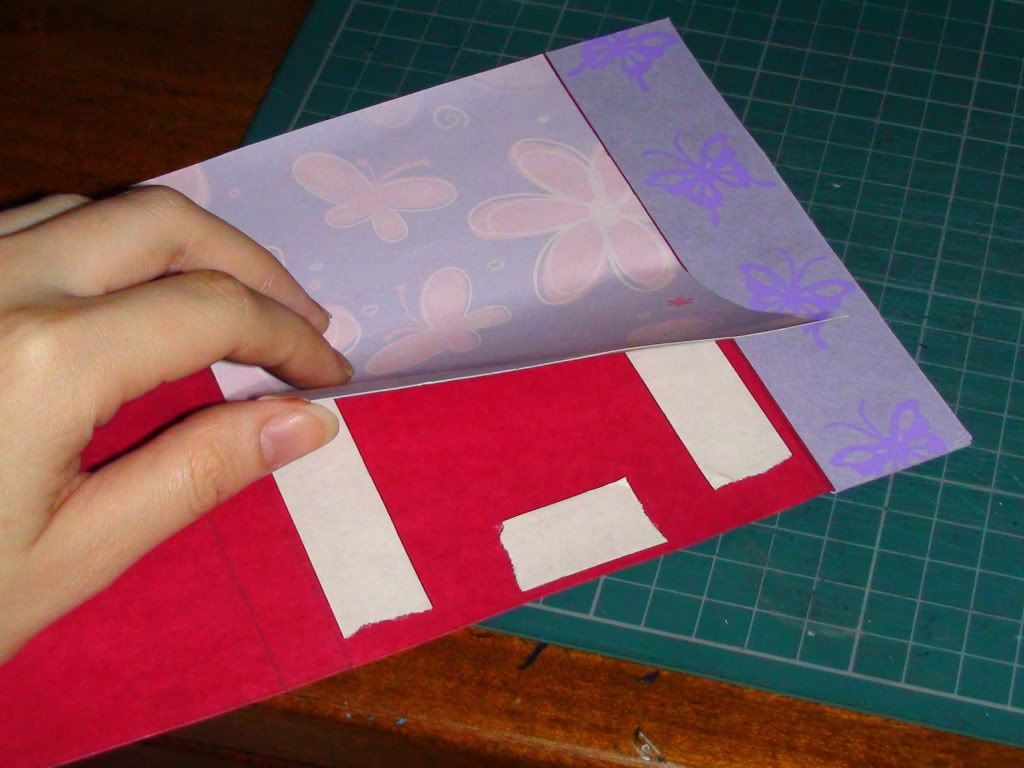
Cut and trim till it looks like this. This will be a mini folder inside the book cover!
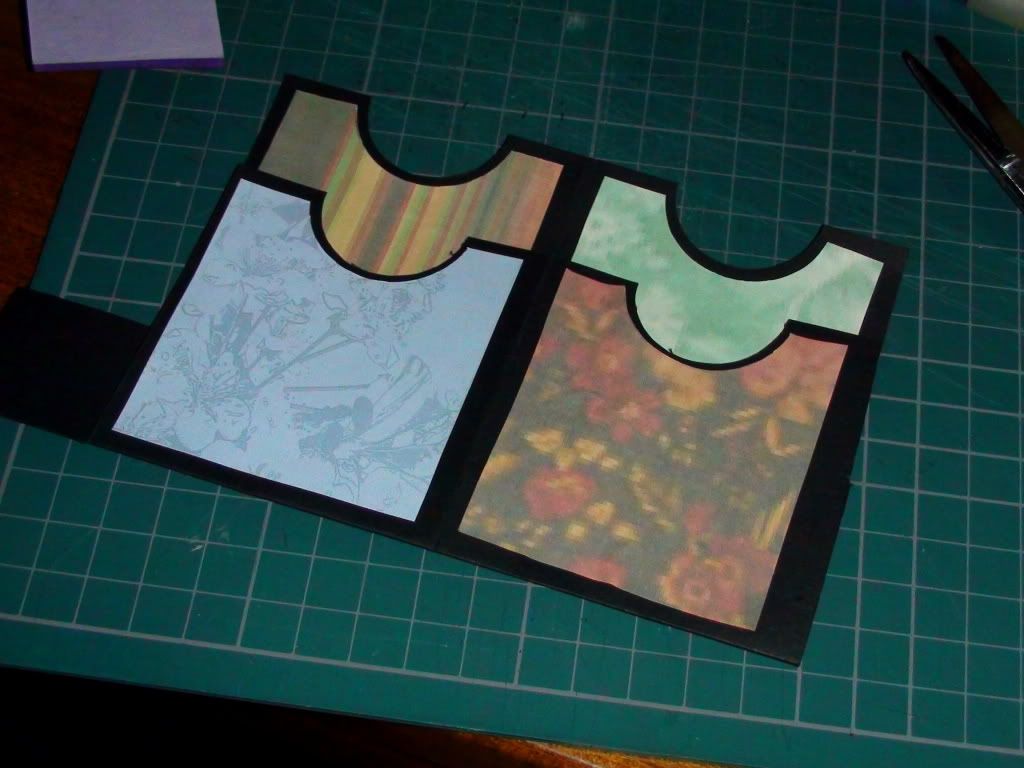
Decorate the mini folder. When you're done, you can now tape them together or use glue.


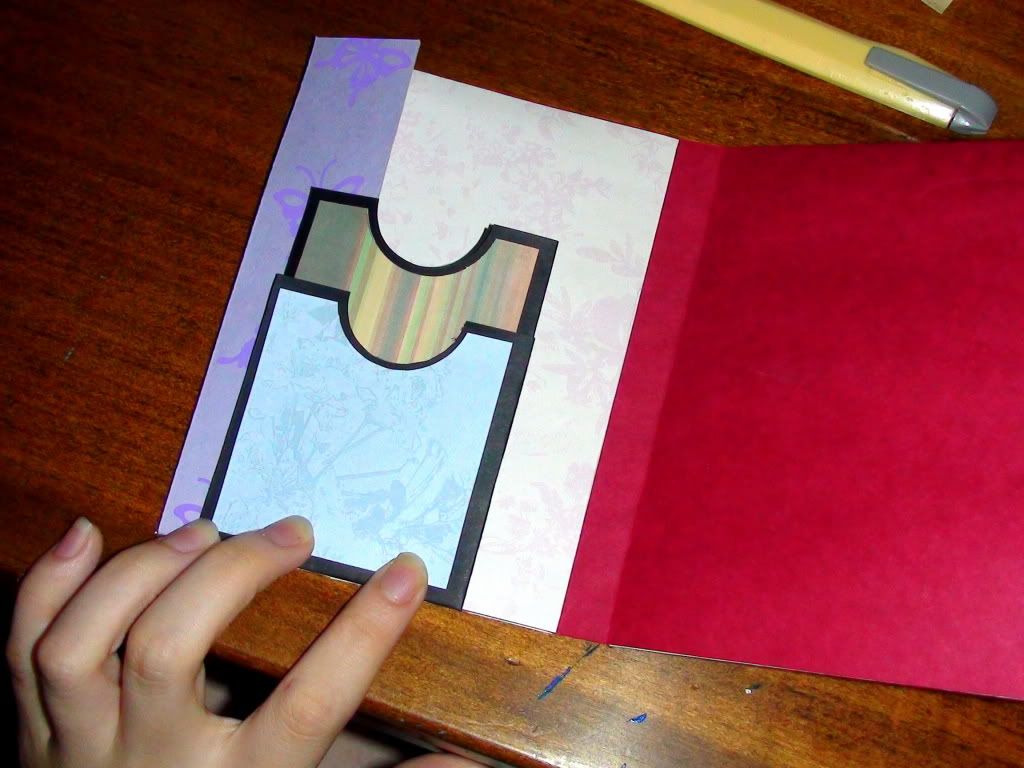
Tape it in such a way so it can be flipped in and out. Finally, attach the notepad by white glue or tape.
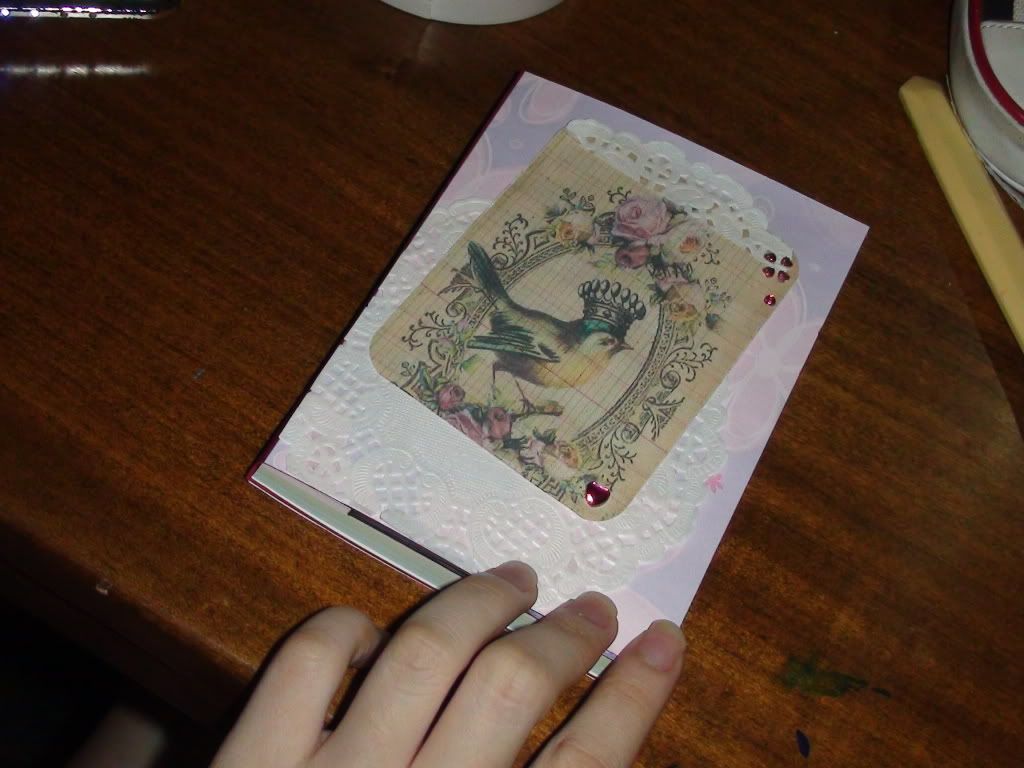
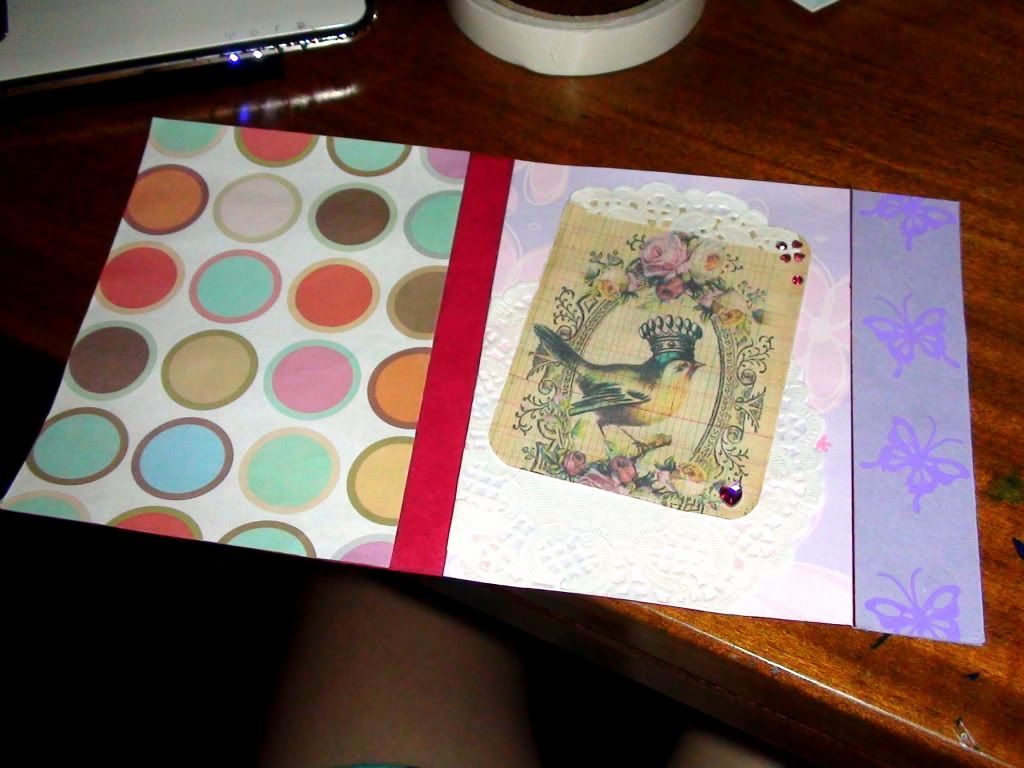
This is my cover.
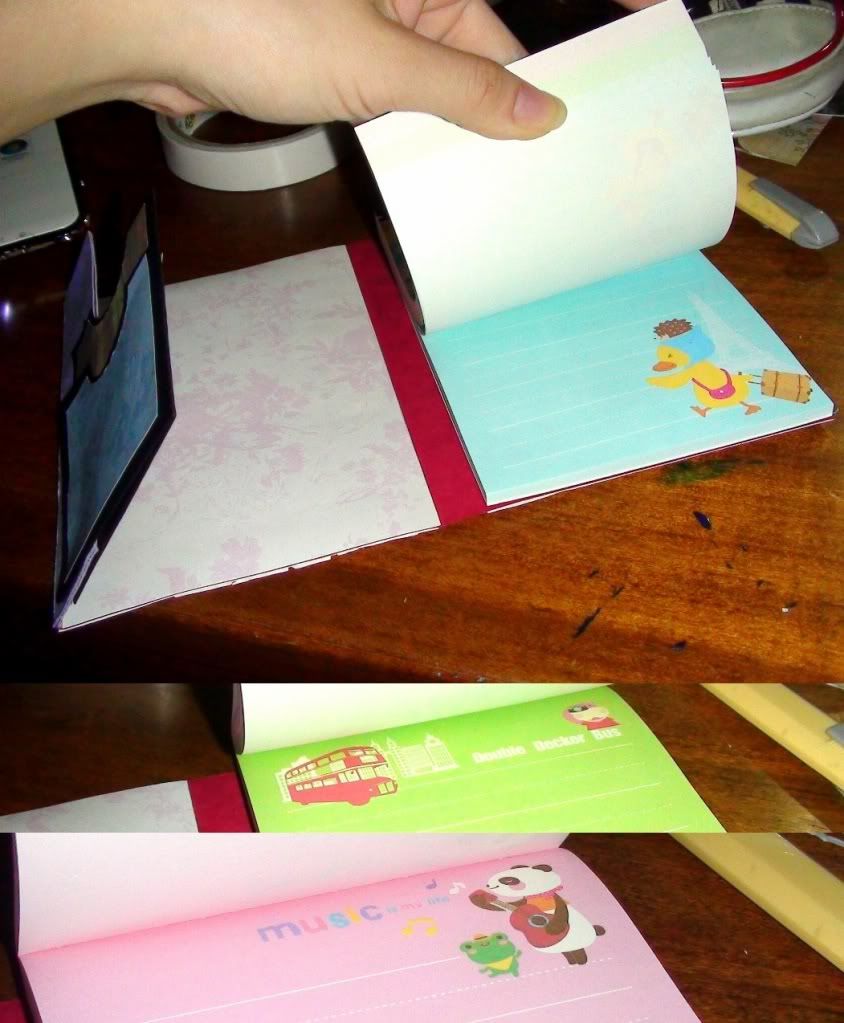
The note pad I bought has 3 different colours with 3 different characters!
Okay. That is all for today. Thanks for dropping by! Bye!
Also, this will be available in BoxOfHobbies soon! Do check it out and share some photos too! Thank you!
No comments:
Post a Comment