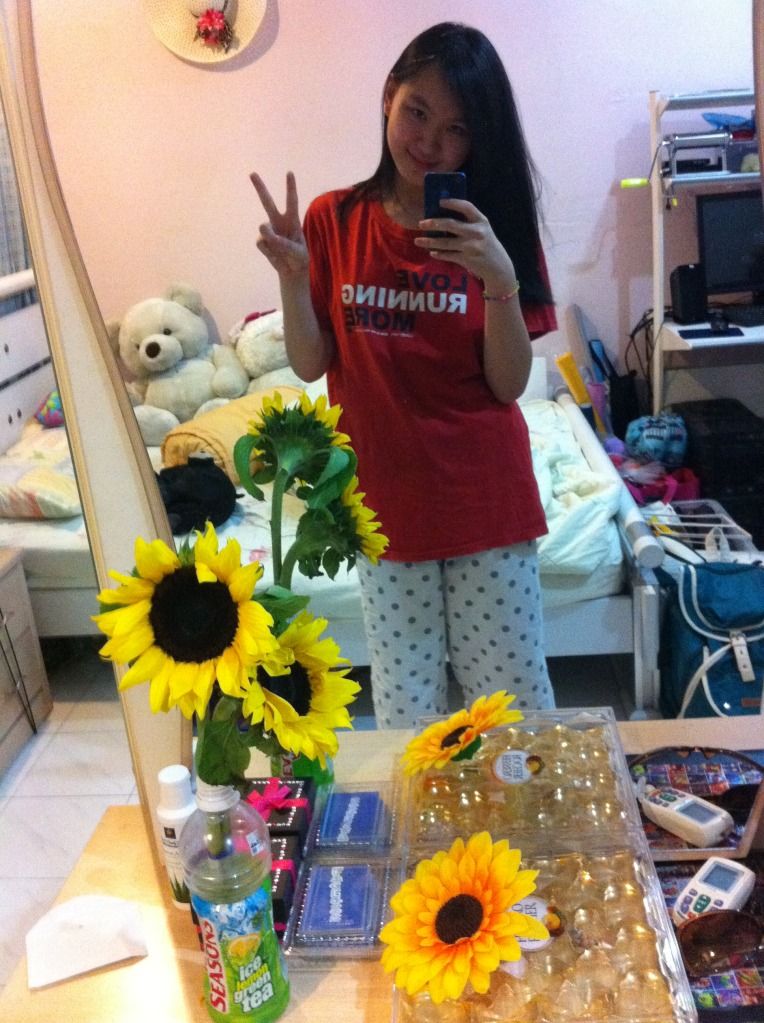
What's yellow, bright & never fails to put a smile on everyone's face? Sunflowers! Okay, maybe not everyone, but I know quite a number of people who loves sunflowers! One of them is myself! The picture above shows two sunflower which I got during my birthday this year (2012). Aww. The sunflower on the right is from a hair clip.
Blue helium balloons and bright yellow sunflowers! My friends know me well (':
Anyways, the reason why it's so sunny sunflowery, is because I just finished a sunflower project! And now, I'm going to show you how I made it!
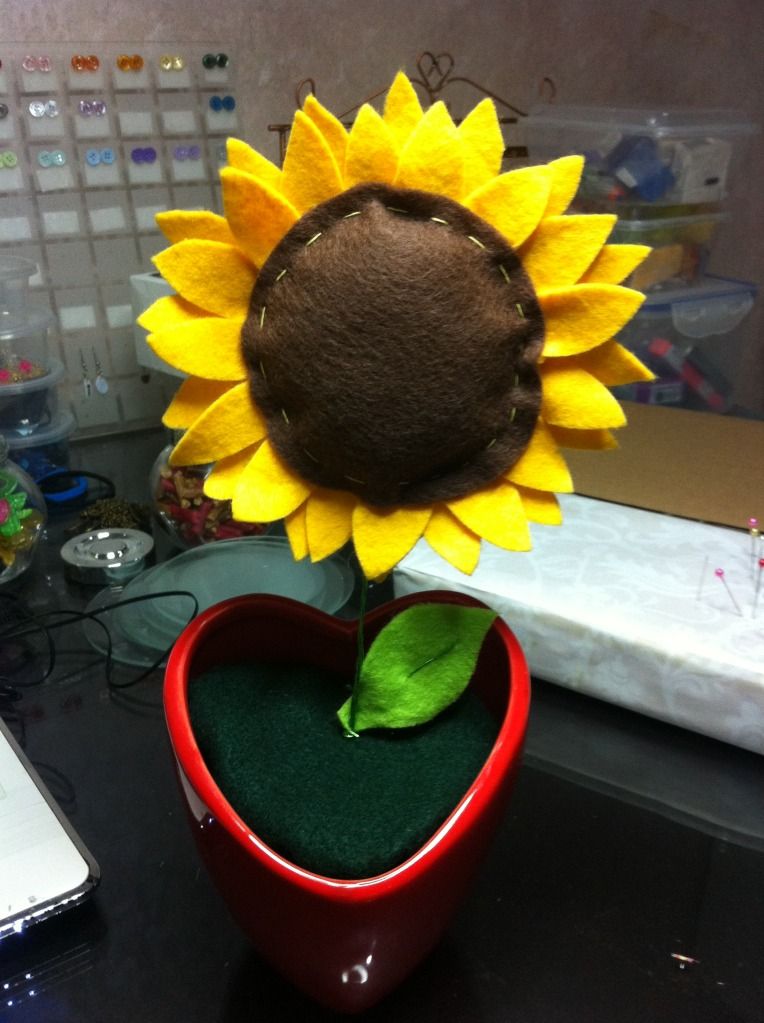
This is how it looks like. I'm very happy with the result.
Materials needed :
1. Scissors
2. Sewing thread
3. Sewing needle
4. Felt fabric
5. Wire
6. Styrofoam
7. Tiny pot
Here's how I started.
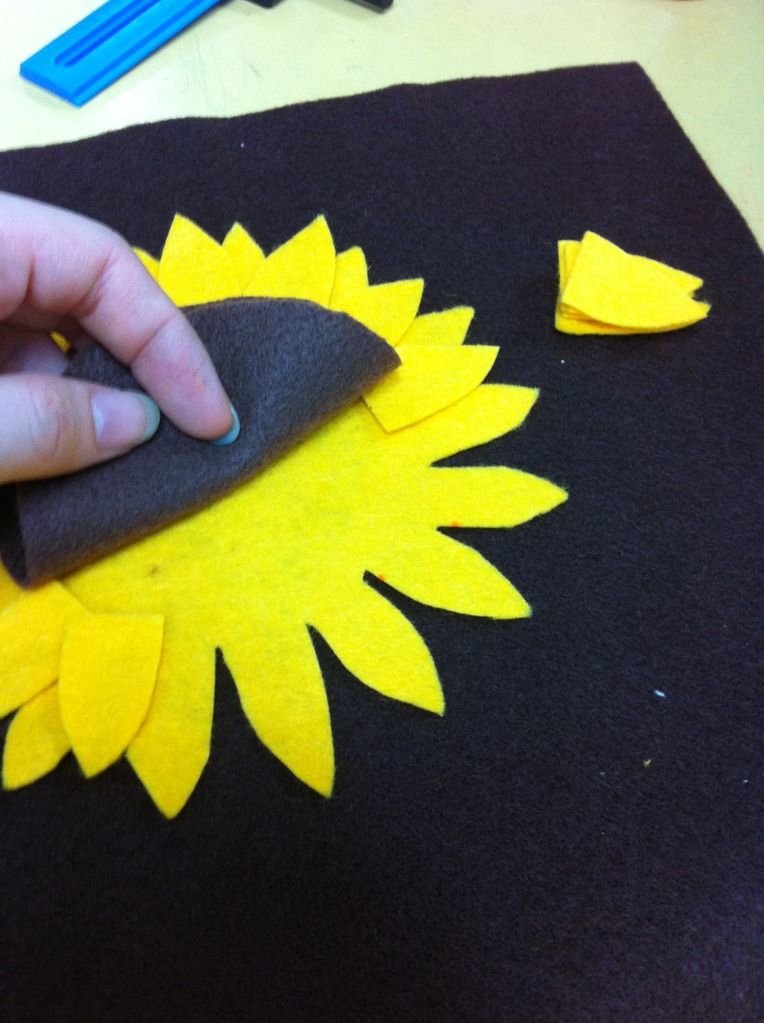
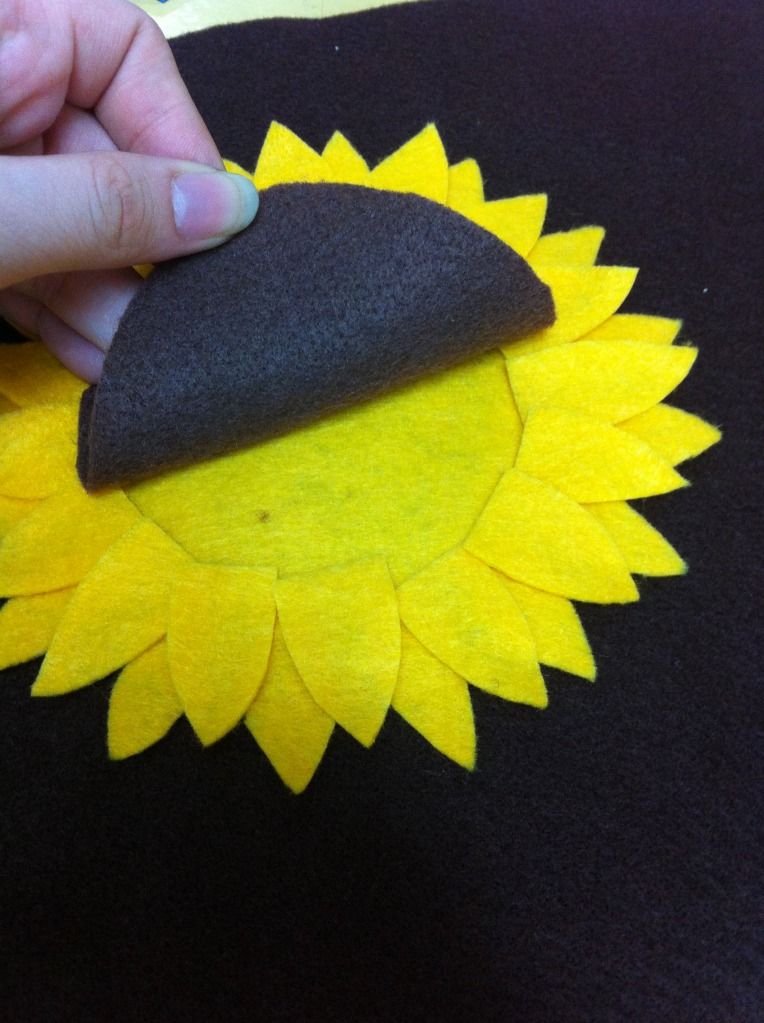
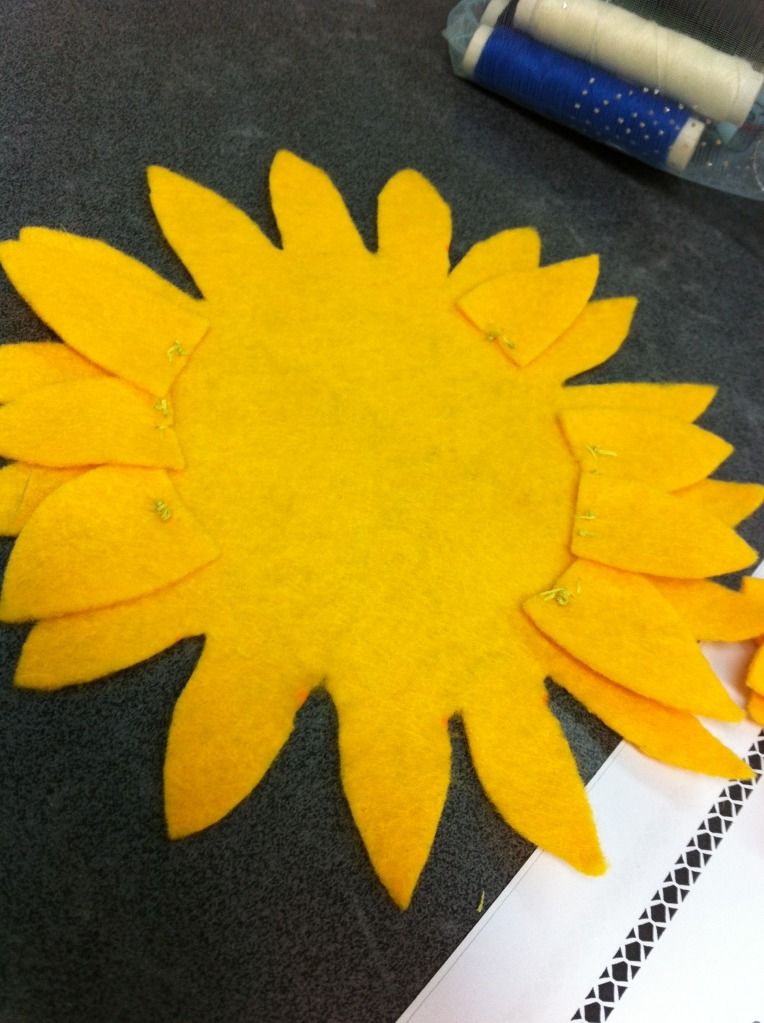
I drew the base of the sunflower head on the felt. Then, I cut it out. The sunflower looks odd with only one layer. So I cut petal by petal to fill in the gaps in the base. When that is done, cut a brown felt circle and put everything in place to see if you're satisfied with how it looks.
It should look something like this.
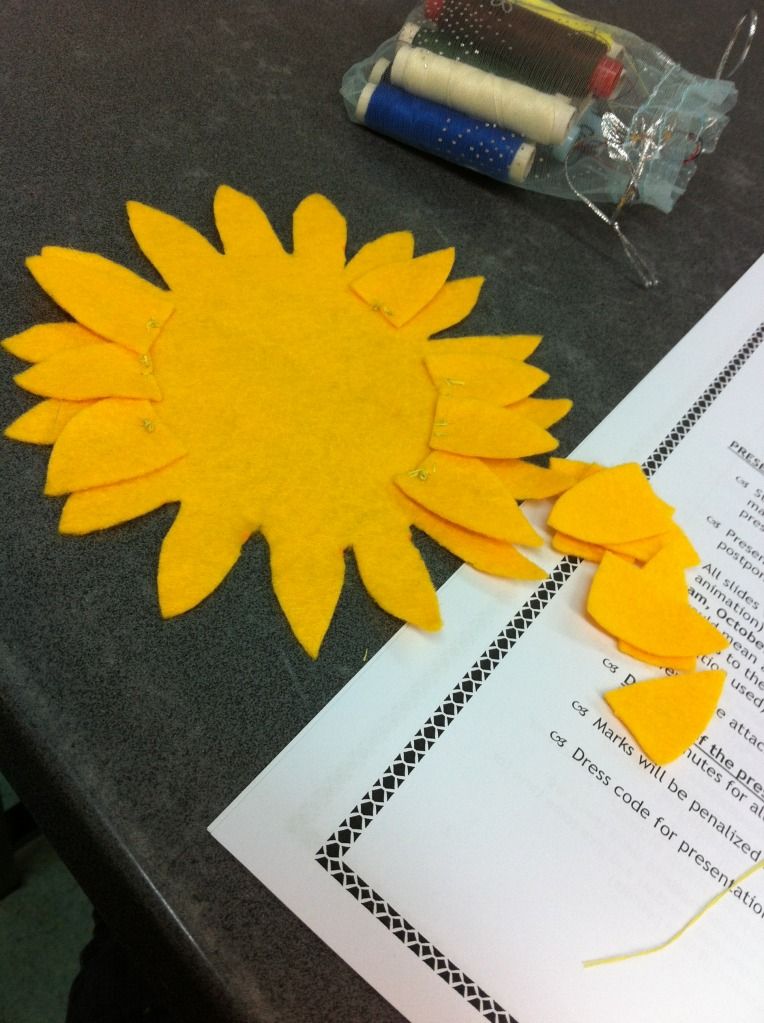
Now, take them apart again and sew the one piece petals on the full base. I didn't sew it fully, but just the bottom middle of each petal.
Could you see where the threads go? Bottom middle of each tiny petal. Sew all of them together with the base till you have full petals.
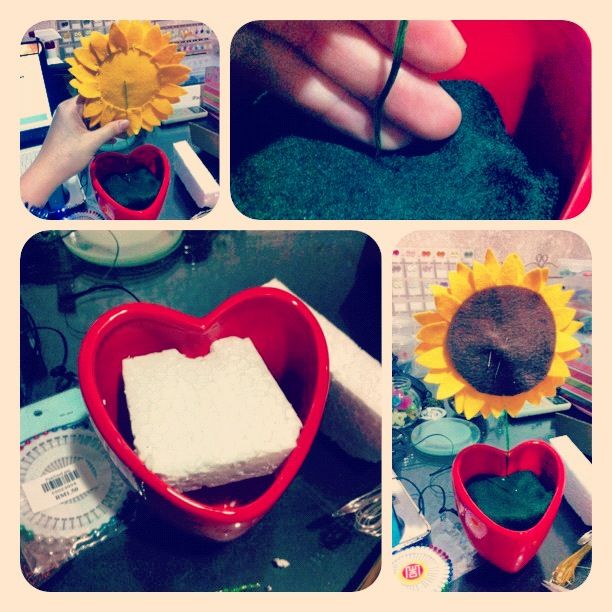
I got the pot from Daiso in Sunway Pyramid, but you can get any small pot that suits. Try to make sure that the pot is heavy. Try stones if you're using the plastic pots. Then, cut a piece of styrofoam to fit the middle-ish area of the pot. This is to hold the flower.
Wrap the styrofoam in a piece of green felt fabric. I pinned the top and bottom down. To reduce the wastage of the pins, I just held down the two sides while placing it in the pot.
How to attach the wire :
1. If the wire is thin, fold it a couple of times and twist them together to make it thicker and stronger (By folding, you automatically have a tiny loop at the top which you can sew securely later on). Then, sew the wire to the felt. Make sure to only go through half the felt so you can't see threads behind the sunflower.
2. If the wire is thick and strong enough, just fold the very top end a little and twist to secure a loop. Then, start to sew all around it and secure it there. ake sure to only go through half the felt so you can't see threads behind the sunflower.
Use a needle to make a hold in the base felt (green felt on the styrofoam piece) and pierce the wire stem in.
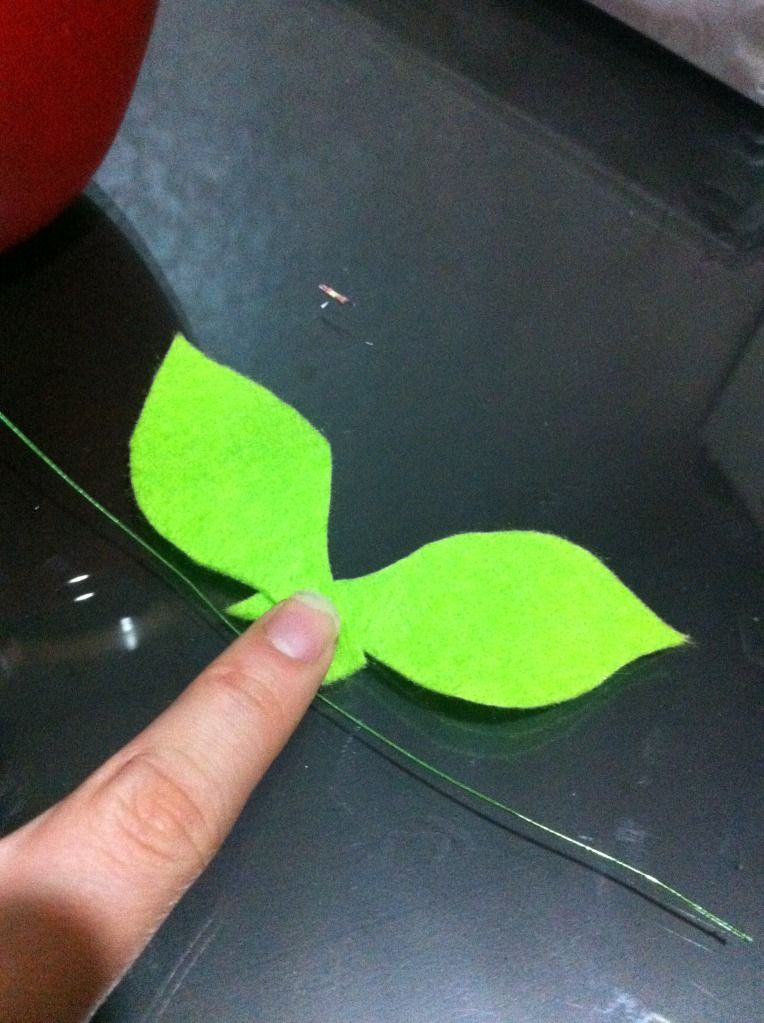
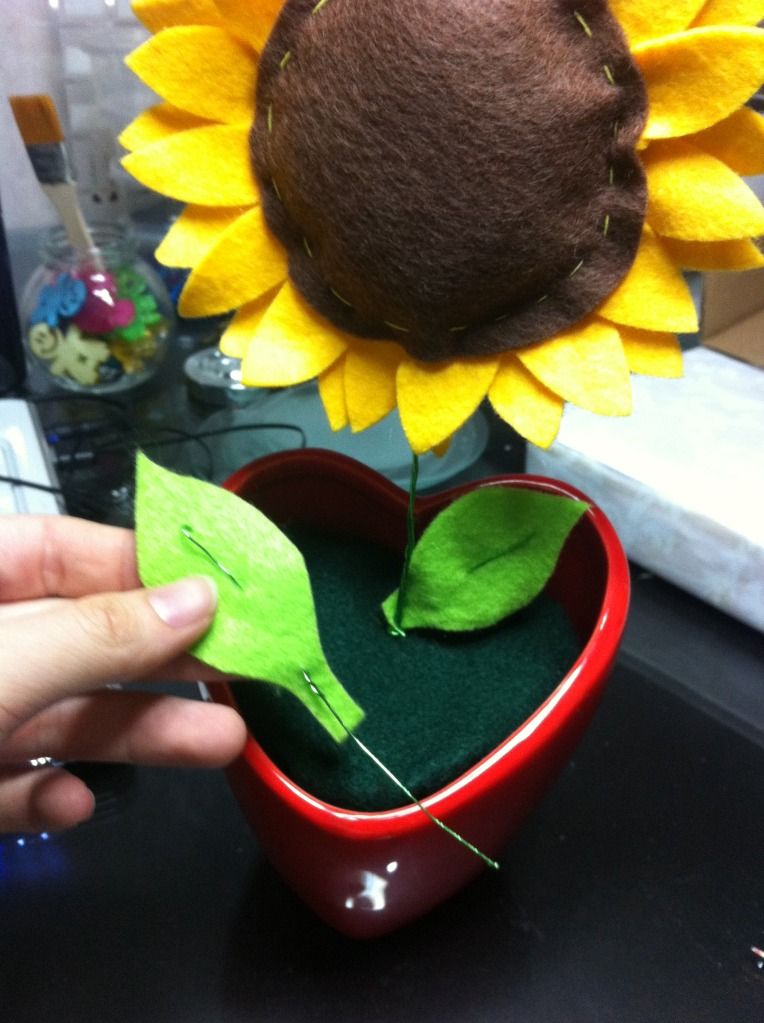
It was a little plain, so I thought some bright leaves would be good. Besides, the flower would need green leaves to photosynthesize doesn't it?
I used a needle to poke 3 holes in the leave so the wire could fit in easily.
Put the wire in this manner 'In --> Out --> In'. Fold it at the back and come out from the first hole (bottom) to meet the first front piece of the wire and twist them together. When tat is done, just twist them to your sunflower plant.
Tadaaa! All is done! My customer from BoxOfHobbies wanted to add a little message too. I used white acrylic paint for this.
Did you like the sunflower tutorial? I hope you enjoyed reading it as much as I enjoy sharing it! Thanks for dropping by! This is by far my most time consuming project ever! It was great fun though. Well, that's all for now! Toodles!





No comments:
Post a Comment