

A toothbrush in my hair! I forgot my hair tie the other day and so I used a toothbrush instead!
Anyways, back to the actual post. I'm going to show you what I made a couple of weeks ago.
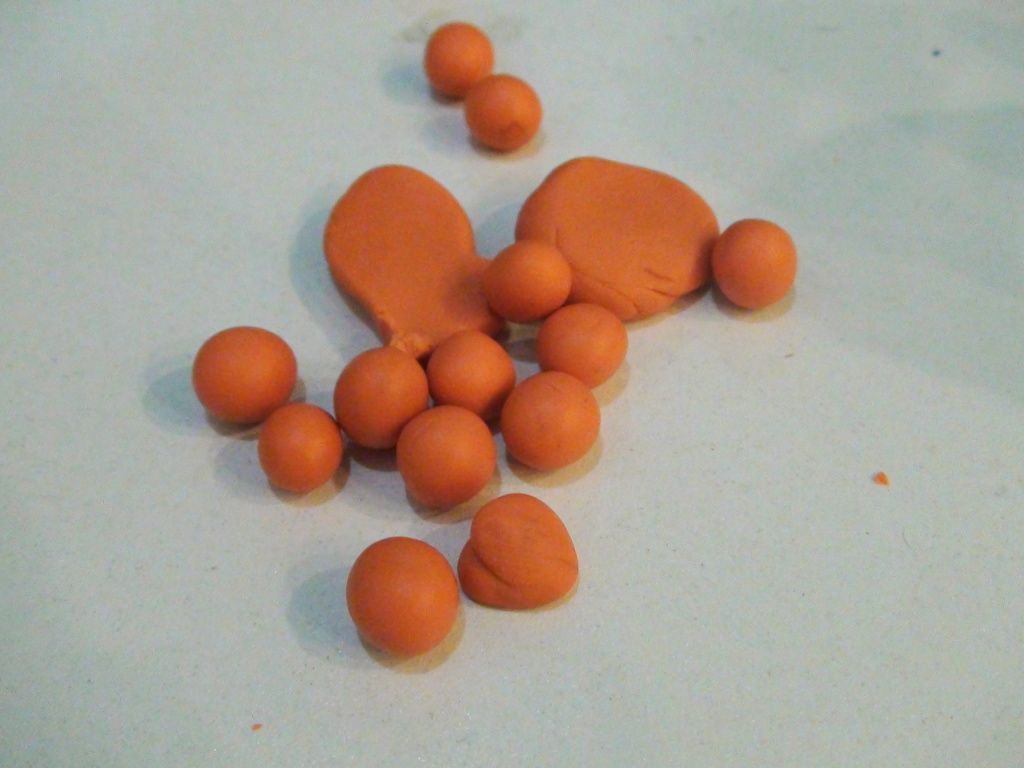
Here's a pile of orange clay. I conditioned them and rolled them out into little balls.
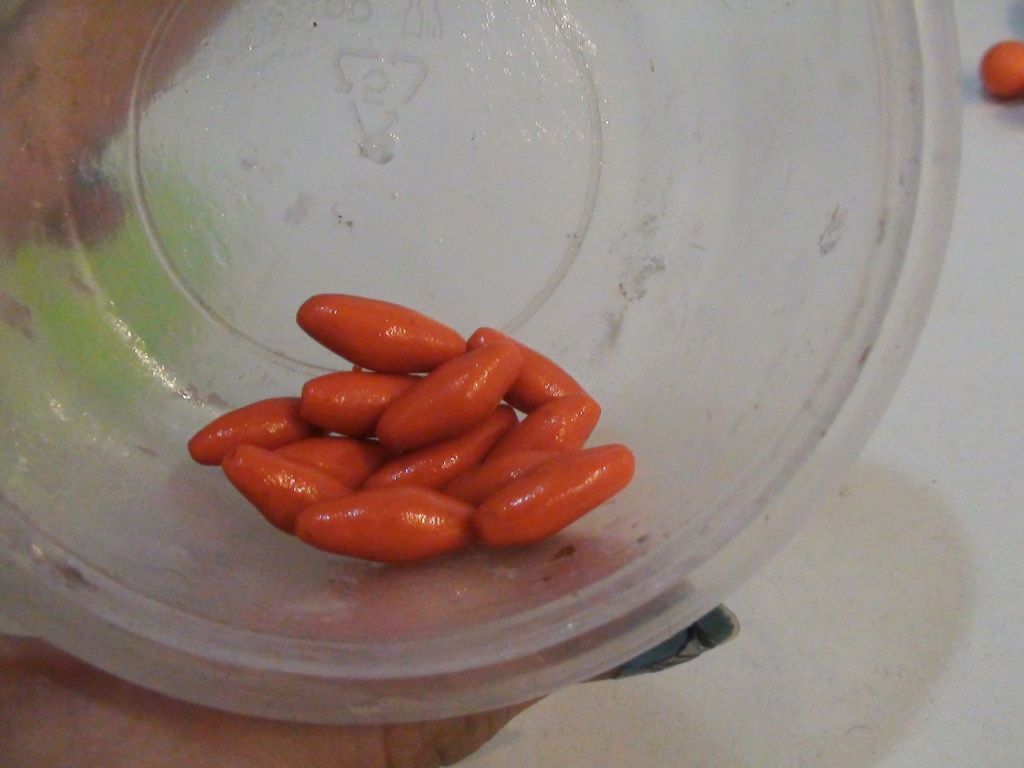
Then, I rolled the two ends and tried to get them in shape. Once that is done, I added a hole in the middle to make them into beads. Then I covered them in a layer of varnish.
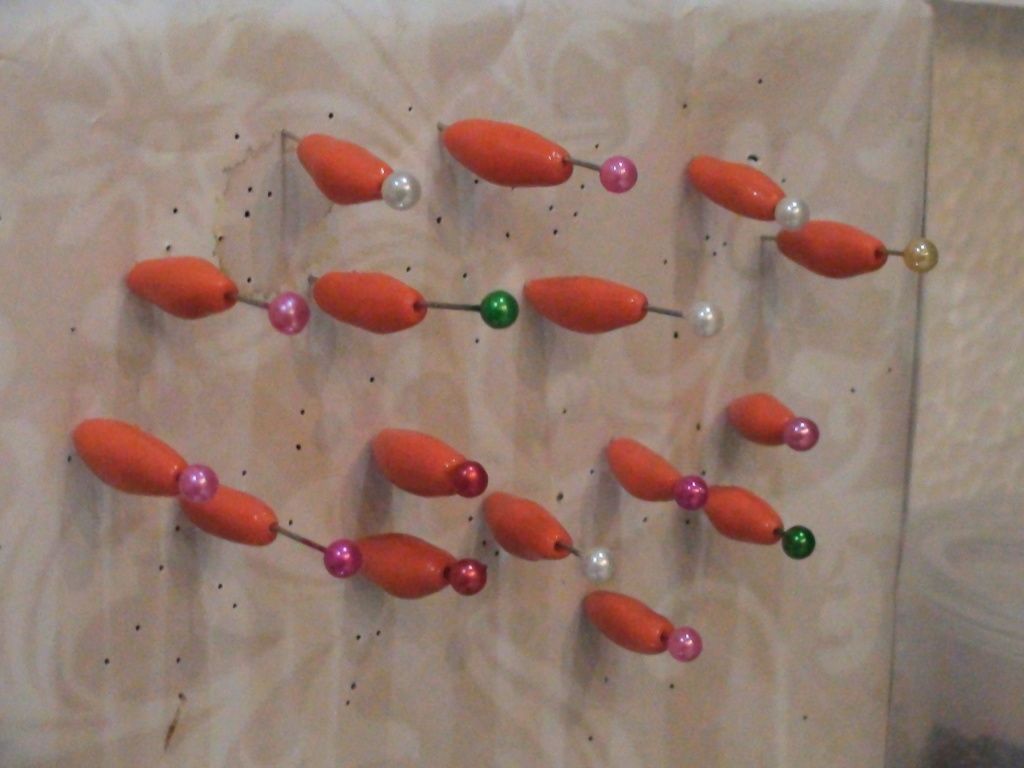
And they are left to dry. I used pin needles to pick each one up so that I would not touch the sides of the beads till they dry.
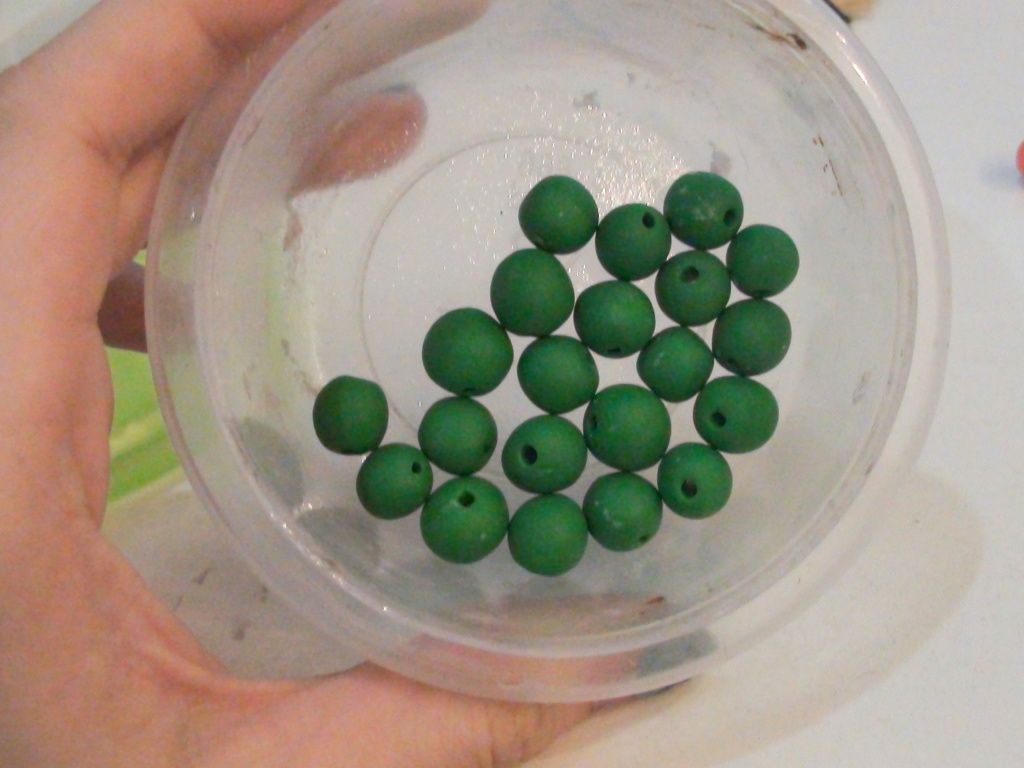
Then I made some round green beads.
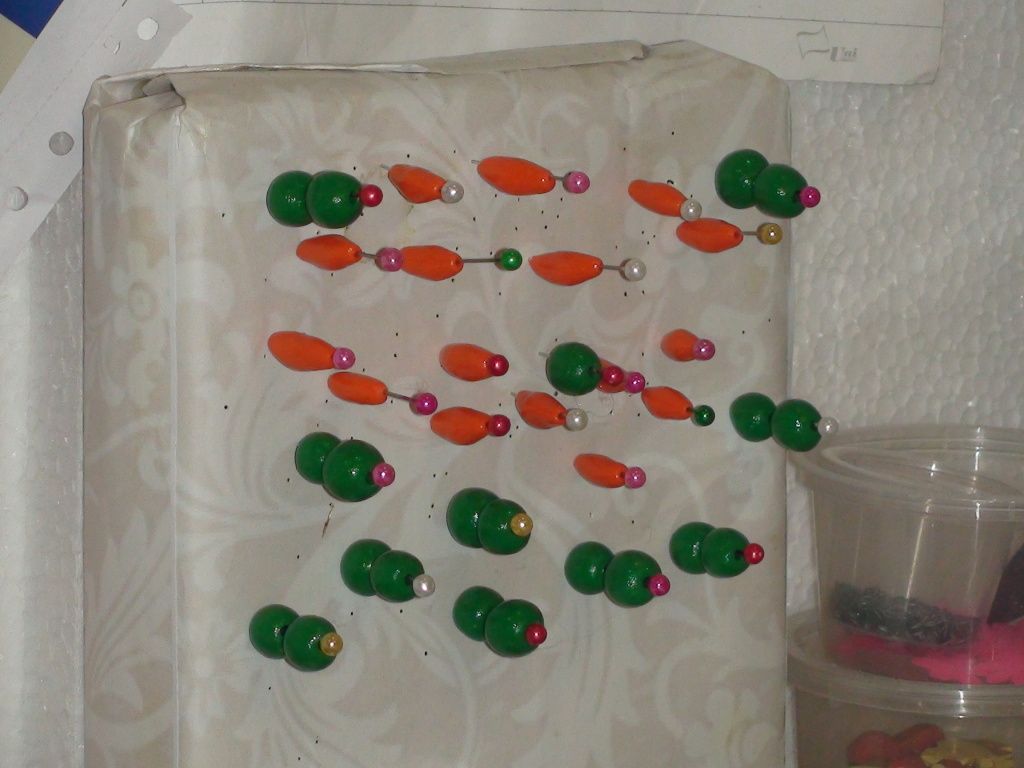
I think they look like carrot and peas. What do you think?
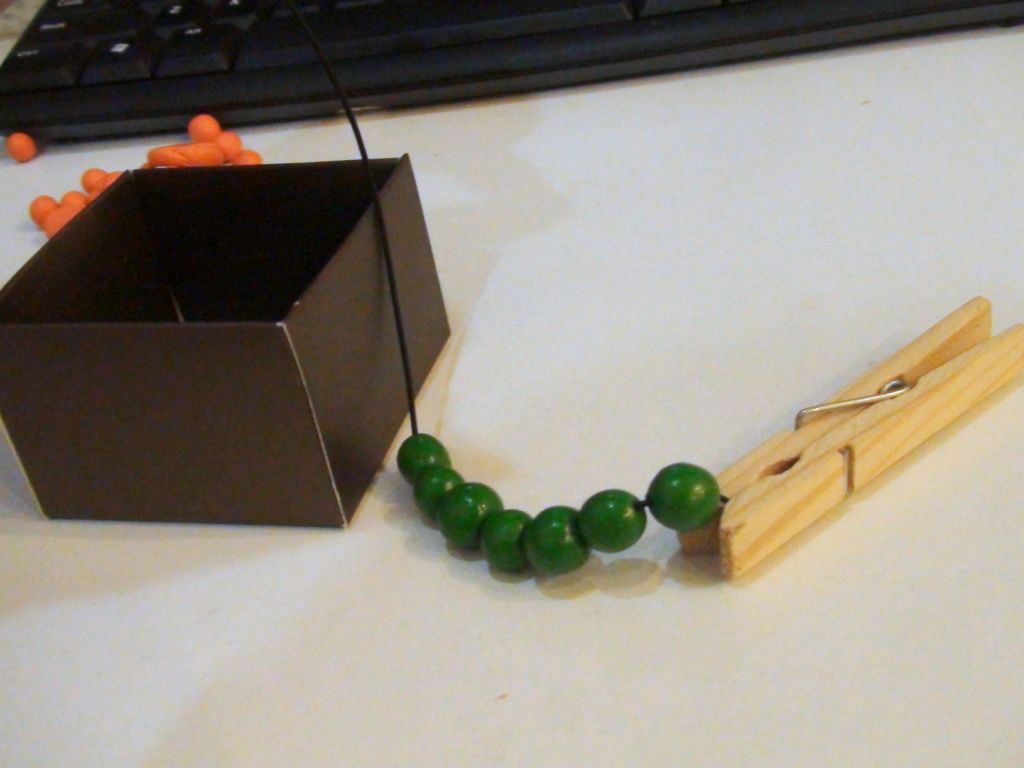
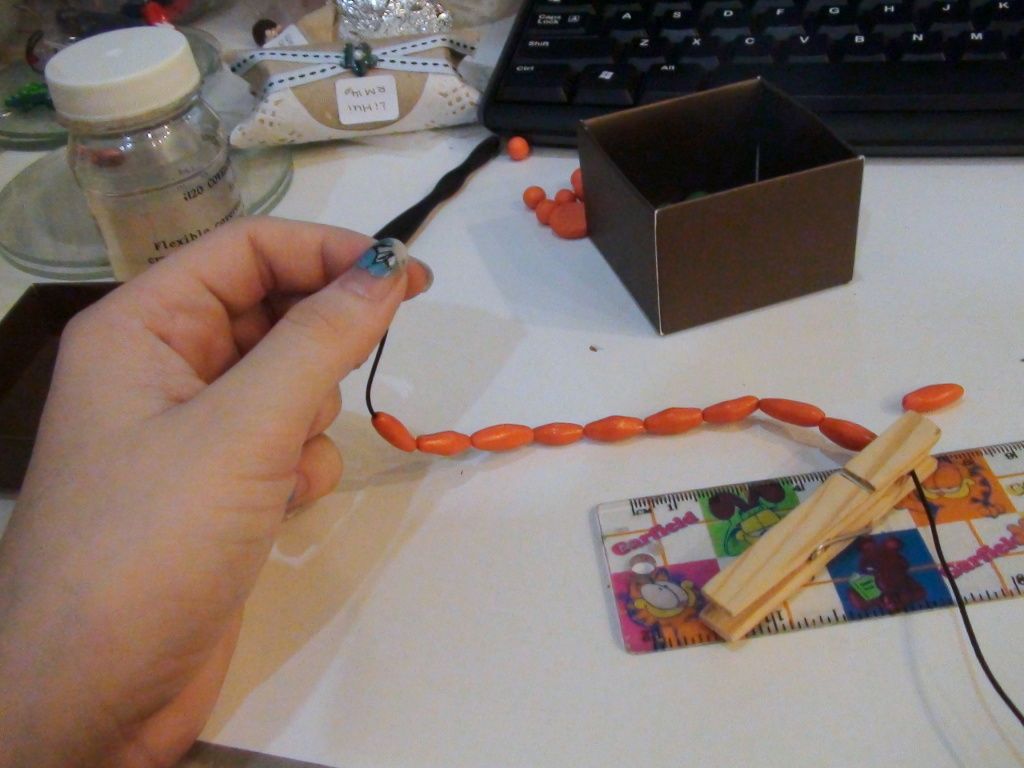
After they're dried, I took a long elastic string, measure the desired length, add a few cm more and place a clip to hold the beads in place. Then I started placing them one by one. Some of them had slightly smaller holes which would not fit the string. I used a sewing needle to help me get them through.
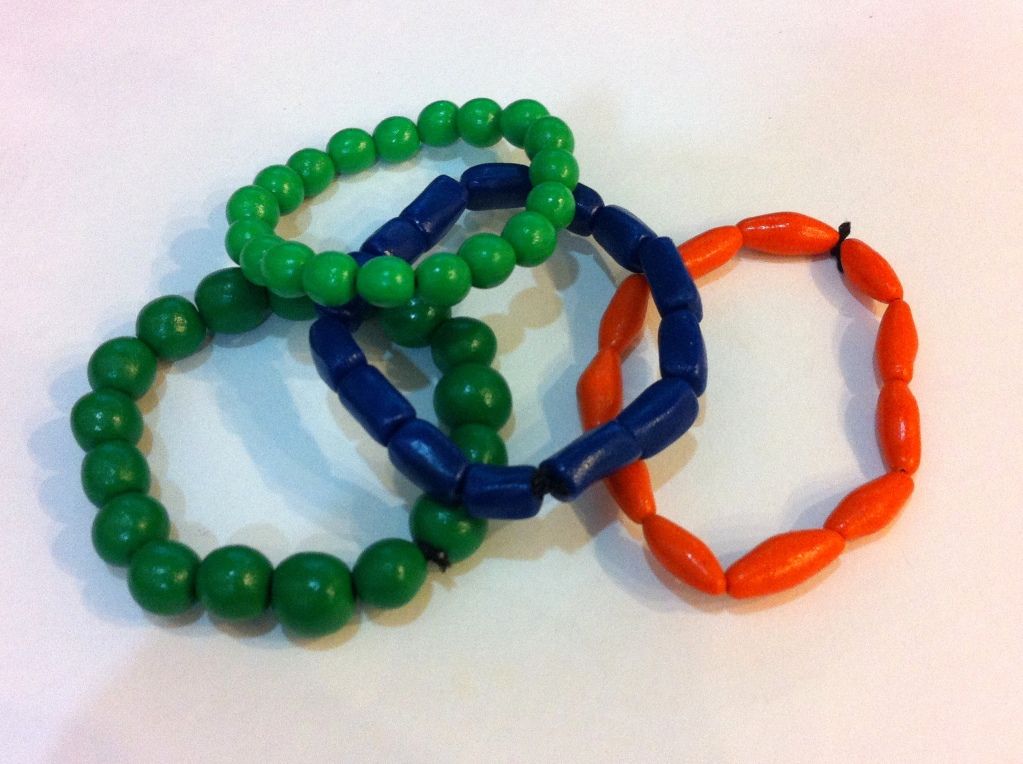
These are the end results. I wanted to make more colours but I got tired conditioning them all. Perhaps I'll be making more colours soon though. This was done for a customer and he loved it!


The lovely bracelets. Simple as they are, they look pretty good don't you think? I love the first green one. It's very bright and is pretty eye-catching.

Some extra beads. I suppose I would use them for another bracelet where they'll be jumbled up together. That is all for today's post. Bead bracelets done for BoxOfHobbies.
Hi! im really fascinated by all ur posts. May i know what did u mean by conditioning? how did u do it? tq :-)
ReplyDeleteHey there! Wow! Glad to hear that! :D
DeleteConditioning clay means to make the clay softer. When you buy polymer clay, not all of them are soft. Some may be hard, some may be just fine. You need to make it softer so it would be easier to mold and so it would not crack after being baked.
How to condition :
1. Pluck them out into bits, roll and squash them with your hands.
2. Use a rolling pin to flatten the clay, fold them and flatten again. Keep repeating till softer.
3. If you have a pasta machine, it would be useful for this purpose as well. (Similar to rolling pin)
(: Hope it helps you! All the best! :D Feel free to ask me if you have any more questions.