Hey people! It's a happy day today, so remember to smile! Anyways, Christmas is around the corner! That means, tons of parties are going to be held! Here's a fairly simple tutorial that might help you if you're attending any Christmas masquerade!

Draw and cut out a shape you'd like your mask to look like on a thin cardboard or manilla card. I want a simple one and used an old mask to trace round the sides. You could have a more unique shape if you'd like. For the eyes, use a pencil to roughly point out where they are and draw two identical circles to cut them out.
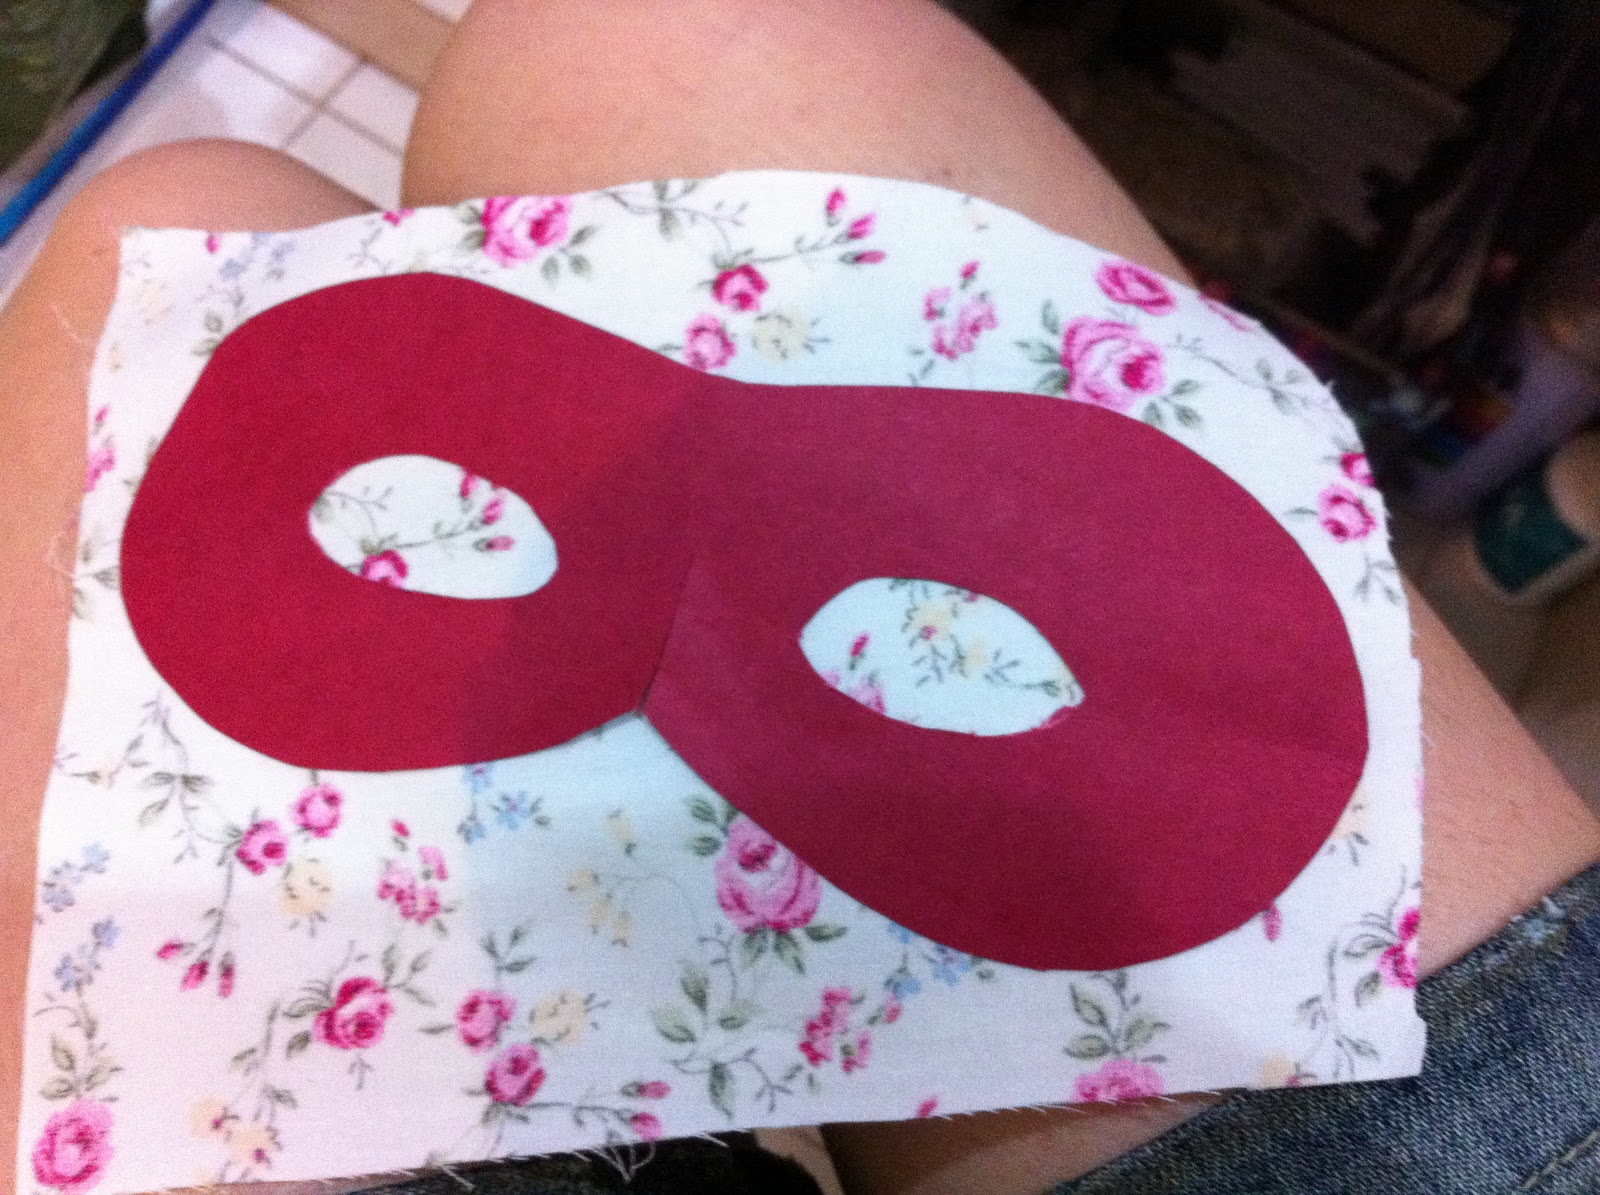
It'll look something like the above. As you can see, there's a flower fabric underneath. If you'd like to have a fabric covering the overall top of the mask, just glue it on with fabric glue. If you already like how the cardboard/manilla card base looks like, you could skip this step and leave it as it is.

The result would be like this.

Using fabric paint, draw the outline so the strings from the fabric doesn't fray. It also makes the mask look more finished.

I drew this 'Christmas star' on foam board with a Shapie marker and metallic silver fabric paint. It is used to decorate the mask later on. You can design your own, or get ready made decorations with flat backs.

Add on anything you like. Ribbons, feathers, stickers, etc. I used 2 small square pieces of foam board at each end, holding the fabric glue in place.


Use hot glue gun to stick all your decorations on, mine being the ribbon and the star. And you're done!

If you have any stickers, you could use them too. I used left over hand phone stickers around the right eye hole.

All you have to do now, is add a stick to hold, or punch holes and insert ribbons! And that's the end of this tutorial! Hope you loved it. Not liked it, but LOVED it! Thanks for reading! I love the world!!!!
No comments:
Post a Comment