Tuesday, 11 March 2014

Noah's Ark in El Shaddai Refugee Centre

Hey everyone!
Much much much earlier this year in January, a group of people went to the El Shaddai Refugee Centre to have a library makeover! (I actually had this post in my draft for about a month plus already but my computer had problems with the internet and I forgot to post after.. Opps!)

Anyways, here's how their library looked like... *jeng jeng jengggg*
Space was really really limited. haha! 
The team had to move all these out before we could apply new paint to the walls and add in new furnitures..
We did some Ikea shopping, sorted the stuff and got back here another day to do the painting.
The painting progress (less words, more pictures) :
Lovely dove! One of my favourites.


Adele drew and painted this lovely giraffe! She did all the shadings for our cartoon animals here.
Superbly awesome painter!
So far so good?
Adorable little ducklings snuggling up together!

Walah!!! One side of the wall completed! I think it looks really really nice!
 The other side of the wall with Eeyore at the background!
The door was repainted white as well.
New Billy Bookshelves from Ikea.
The guys repainted the metal shelf white.
And everything's done! Now the children at the El Shaddai Refugee Centre will have a wonderful library to visit! Woohoo!

Monday, 17 February 2014

Teddy Bear Pancakes

I recently went over to a friend's place to make pancakes!
And here's my special teddy cakes!
 In the making.
 Handsome isn't he?

 He became a She
 That's all! I think she looks more like a koala now.. must be the huge nose.

Tutorial : Jack Sparrow Clay Figurine

Ha-Haha-Hahaha! I know, I know.. you're probably bored of looking at tigers on my instagram/fb/etc... but I can't help it. I think they're superb! Moving on!


################################
Many of you have seen my Jack Sparrow clay figurine on my instagram
Now, I'm going to show you how it was made! For more crafty journeys, follow Craftysupermom on instagram, or checkout the hashtag #boxofhobbies (also on fb here)

What is needed :
1) Clay (Cream, white, brown, pink, assorted 'red/green/yellow/etc')
2) Metal wire (optional)
3) Blade/cutter

I think that's about it. Let's get started!
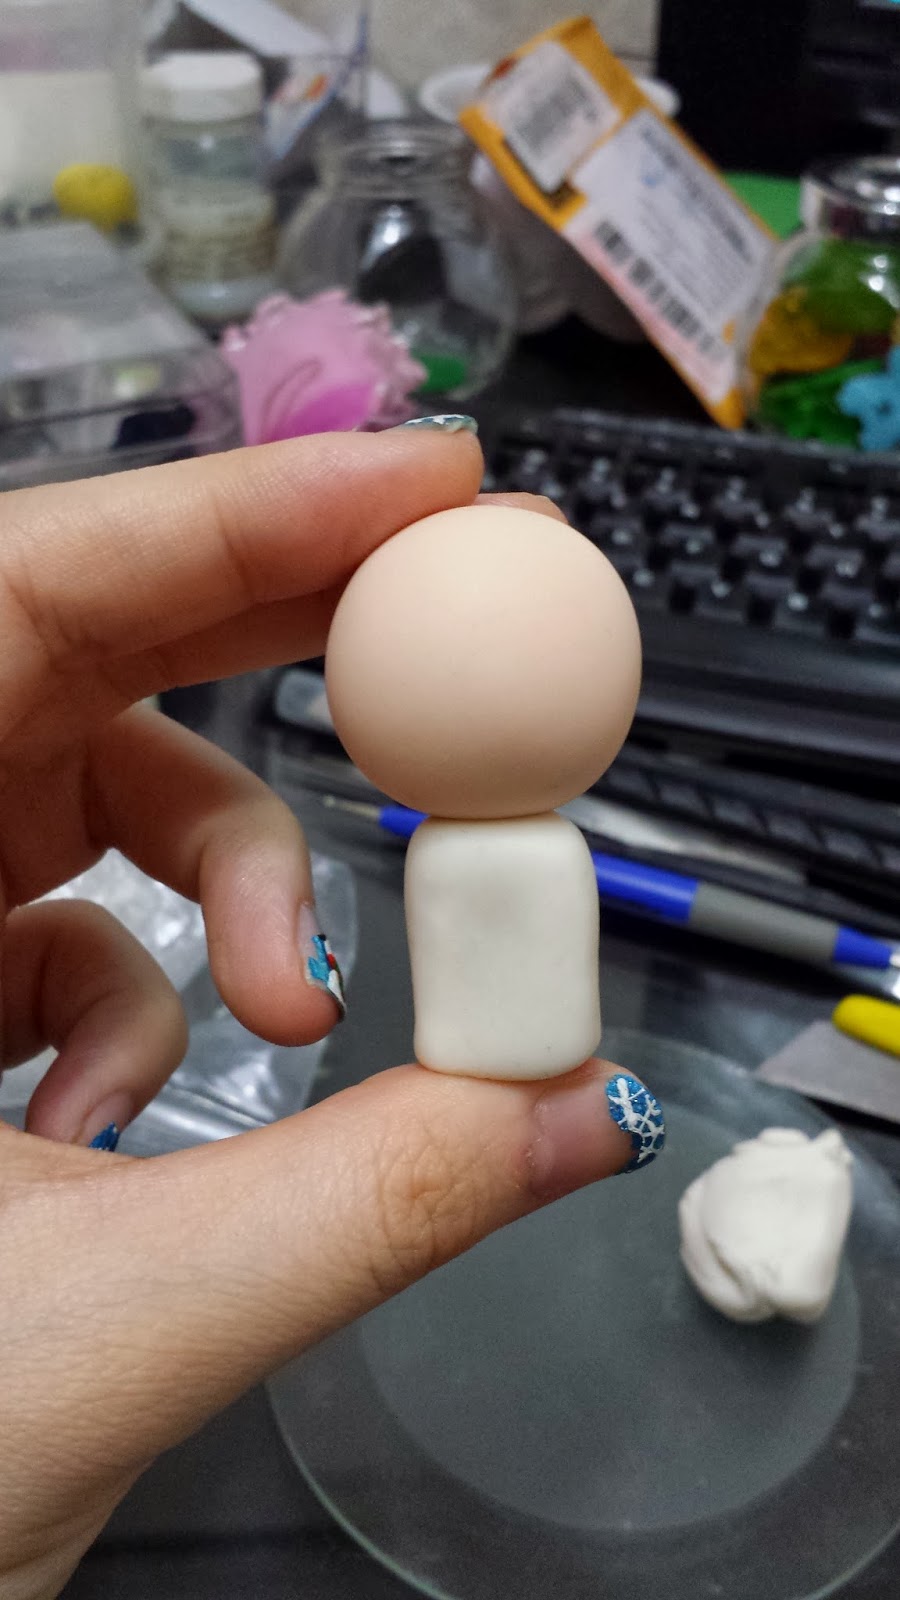
First of all, I rolled my cream clay into a round shape for Jack's head. Then, I took a creamy white colour (you can mix them yourself) to make the body. Leave some for the arms later on.

 Check that the proportions are alright.
 Make two long brown clay 'logs' for the legs and attach it with the body. You may use glue or bake & bond which you can get from craft shops. Use metal wires to secure them if needed. I used it for the head.
 Roll out a thin piece of brown clay for Jack Sparrow's vest. Smoothen the front and back before pinching the sides off. When that is done, use your finger or any round tool to smoothen the sides.
 Jack Sparrow needs his boots and belt! You can mix any shade you want. I made them slightly lighter than the pants. Roll out round balls for Jack Sparrow's feet (boots) and add another thin layer of brown clay to cover up his boots and the bottom end of his pants. If you have a reference of his photo, that'll be great!

As for the belt, it's just a long roll of brown clay pressed down. Don't secure it completely just yet. Leave a slight opening for his 'scarf ?'
 
 Roll out small strips of white and pink/reddish clay. Tear them then roll them longer, tear again and roll again till u get something like the above. DO NOT twist them. Flatten it and cut out 2 small piece. Cut up the bottom a little and attach one piece beneath his belt. Press it in, attach glue if you have to. Then, do the same to the second piece. Twist and play with the shape. Then, attach it to the top. Try to push it into the belt a little to make it seem like it's continuous. (might be a little tricky).
 When all goes well, add a little glue to fix it in place. Add another belt across his waist.
Add a buckle if you wish for it to seem more complicated. Captain Jack Sparrow carries a whole bunch of stuff all the time. You can add more than the above if you want to.
 Make balls of cream clay for the hand and attach the head to see if the proportions are alright.
 It's time to make the hair! Captain Jack has long thick locks of hair. So, roll out thicker pieces of dark brown/black clay. Fill up his whole head. (Note that you should make his hair pieces in different lengths)
 Add a red bandana. Roll out a flat piece, fix it on and cut the extra.
You can make a pirate hat for your Captain Jack too if you feel adventurous to try it out. Add more hair on top of the bandana sides to cover up any ugly parts (cheating!)

You can then roll out colourful 'beads' and attach them with metal wires to Jack's hair. Add mustache and beard with tinsy winsy little beads. Paint his eyes with acrylic paint (or clay would work fine too) and walahhhh! Here's Captain Jack Sparrow !
I think he's pretty handsome. Don't you think so?

Friday, 31 January 2014

Gong Xi Fa Cai; Chocolate Horse Greeting

Hi Everyone! Happy Chinese New Year!
I'm back in my hometown now. We dropped by Penang before we head to Kedah and found this lovely place - Chocolate Passion.
 The environment is pretty nice. Can be pretty cooling outside (it depends, was a little hot when we first arrived and then breezy after)
 We came after dinner and was pretty full, so all we had was churros with milk chocolate dip. They had a lot of other chocolatey goodness too! Like one they called 'Chocolate Bomb', apparantly, it's a ball that will burst open (no explosions included) when you pour warm chocolate on it or something. I'm hoping to try that if we get the chance to head back to Penang before going home.
 When the churros finished, there were plenty of dip left! We ate some just by itself, but it was really sweet. So, I decided to do what I always loved to do! DRAW!
 Since it was the horse year, I started drawing the head of a horse.
 Then added 'Gong Xi Fa Cai'
It was still really plain and I wasn't sure what to add on. Lanterns would look a little funny I thought..
I tried flowers and I think they look pretty nice!
...and Craftysupermom is my instagram name.

That's all!

Friday, 24 January 2014

Tutorial : Polar Bear Breakfast

Hi everyone! I think polar bears are one of the cutest animals in the world!
My mom always told me not to play with food, but honestly, I didn't think that idea stayed in my mind for long.. becauseeeee....

What's this?
A tutorial on how to make your very own polar bear breakfast!
 Isn't it beary adorable?

What you'll need :
1) Bread
2) Cream cheese (or other white spreads)
3) Scissors
4) Spread Knife
5) Blueberries

Firstly, cut out the body. It looks like a video game controller in my opinion.
Then, cut the head, tails and ears. Simple isn't it? Just playing around with different sizes of circles/rectangles. If you want to make a big head like I did, cut out a support piece.
 Put the pieces all in place and plan how you want it to look like.
 Spread cream cheese all over. It somewhat acts like a 'glue' as well. The support piece can help hold up the head.
 Put everything in place and add blueberries for the eyes and nose!
If you have yogurt or any other stuff at home, you can always add them on to make words!
I didn't have much to say that morning, so I just added the words 'Love'
That's all for now. I hope you enjoyed this.

Monday, 20 January 2014

Tutorial : Handpainted Owl Notebook

There was once where owls were really popular. Are they still?
One of my customers from BoxOfHobbies requested for a customized book with an owl painted on it.
 I started by drawing out the owl and mixing the colours.
I used acrylic paint for this.
 The lighter shade was used first (not white)
 and then the wings were carefully painted in.
 The body was filled in with a colour slightly darker than the lightest shade.
The medium shade (used for the owl's body) was used to do markings on its belly.
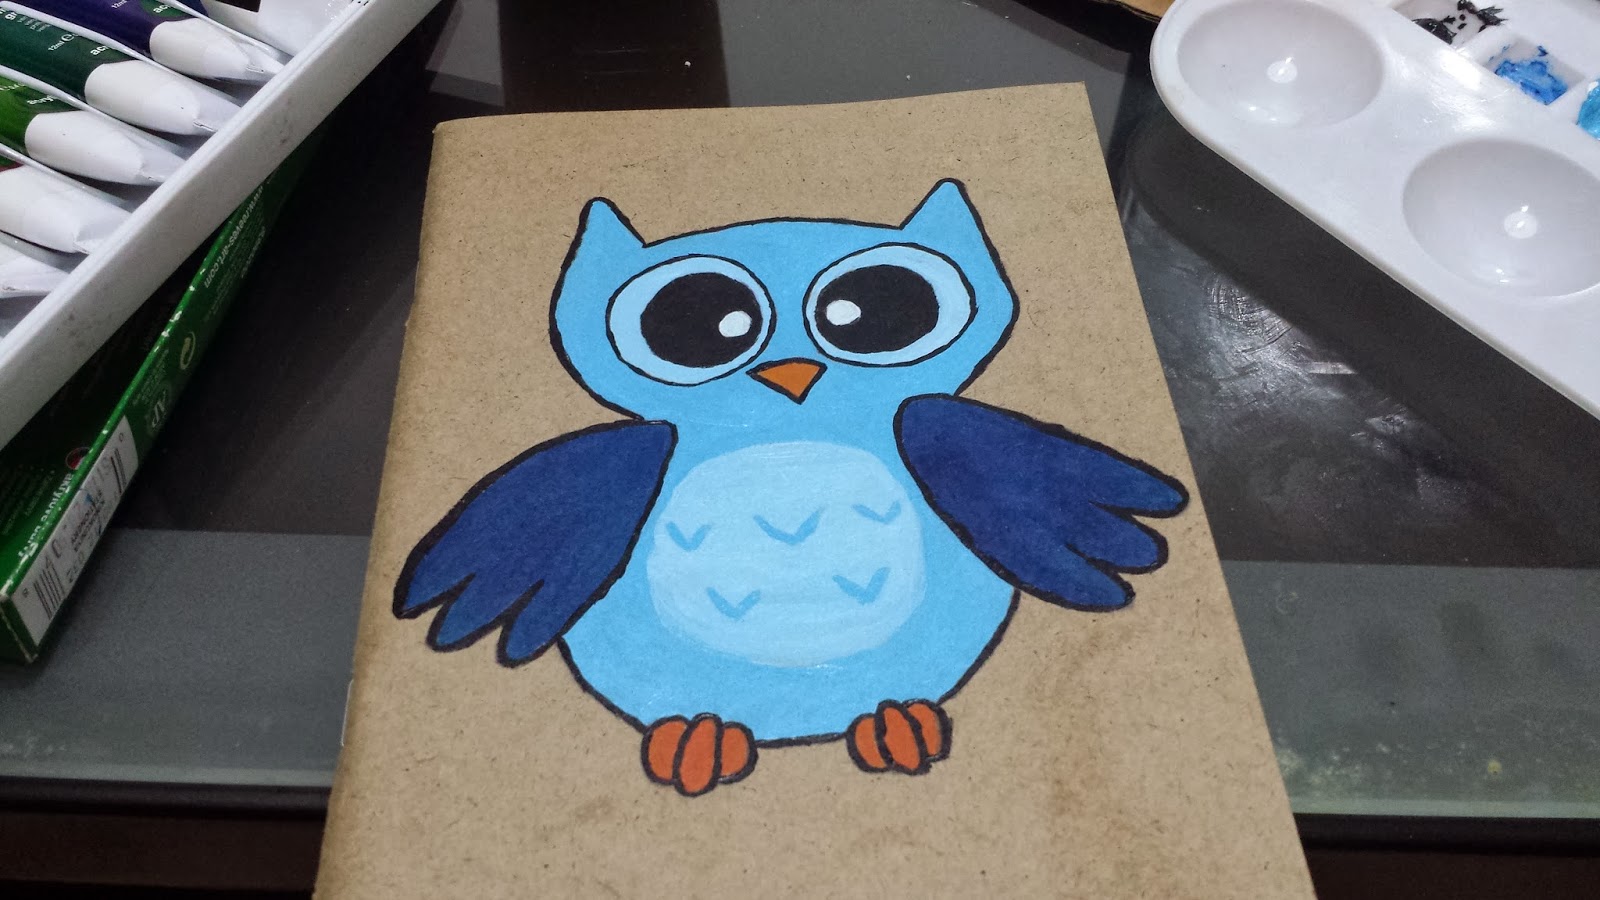
When everything was painted in, it looked something like this.
 Black outlines were then added for a more defined look.
and tadaa! The owl book is done!
We also added a name right below the owl (not shown in the picture above).

Tutorial : Elephant Themed Breakfast

I am an Ele-friend! Yay!
Earlier this year, I made this circus elephant-themed breakfast for New Year!
It's really simple and I just used things I had at home.

What was used :
1) Layer cake
2) Bread
3) Grape Jam (Stolen from McDonalds)
 I cut a piece of layer cake as a stand.
 Then cut bread with a scissors into an elephant shape. There were 3 parts (body, ear, trunk/nose). I also cut a tinsy bit on the back of the body making the elephant's tail.
 From the excess layer cake, I cut a circle with a knife. I wanted to make it into a ball but thought it looked funny. So I changed it after.
 I added grape jam and made words saying "Happy New Year" with excess layer cut that was trimmed of the stand.
and ta-daa !! That was my breakfast of the day.