Wednesday, 11 January 2012

The First Week Of College

Meet my new friend, Dumblebee! Or you could call it "Dibby!" She's a christmas gift by Wei Mund, and I love her so! Anything involving bumblebees are extremely adorable, won't you agree?
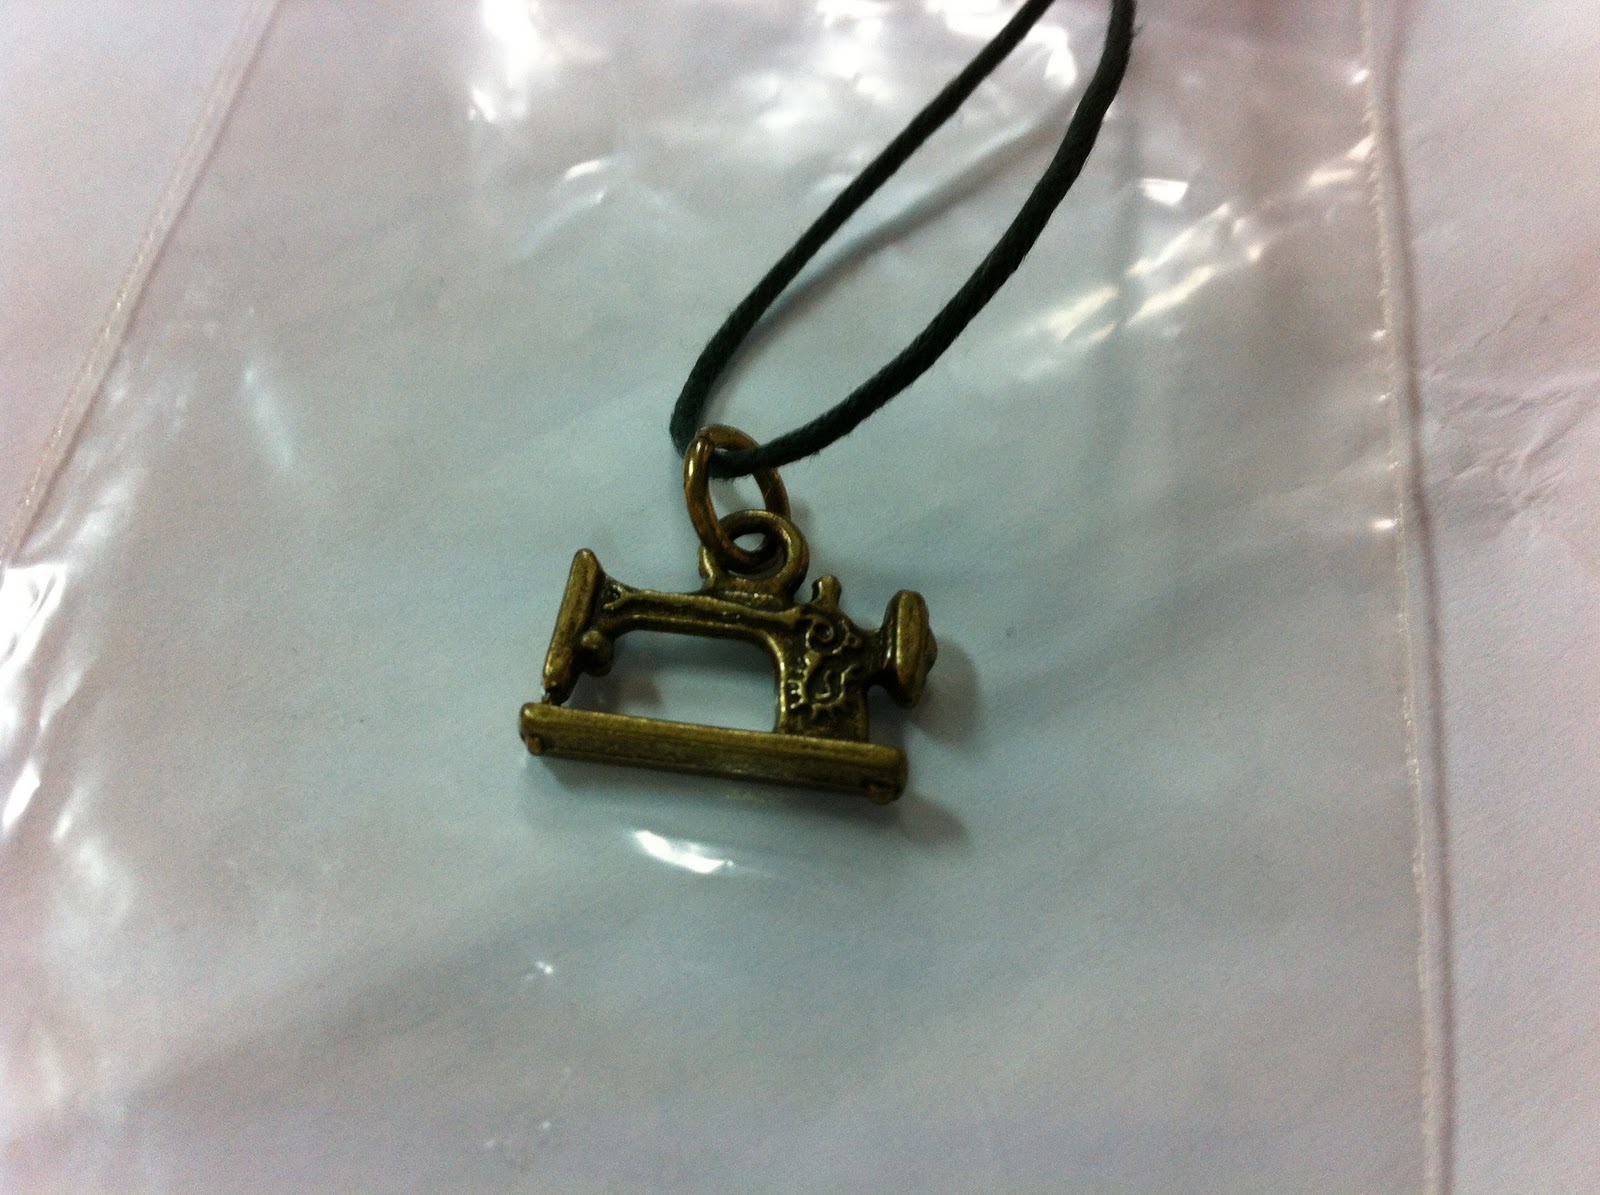
 Oh! And I also have a sewing machine! Yeap, a sewing machine. Sadly, it's not a real sewing machine, but a charm necklace. I still love it to bits though! As for the real sewing machine, I really got to chase dad for it already. Anyways, this lovely necklace is given by Ling Wai! She's another crafty girl who loves handmade stuff just like me! We're in the same college now and it's great to hang out with her!
Let's continue on talking about college. Since I've already started classes. Today is my third day of classes and I love it to bits! On the first day of International Business class, my lecturer - Mr.D.Leonard (Mr.Dave) announced : "First thing you do, take out your pen and mark Bowling on January 19th!" Isn't that cool? My lecturer's already booking us for an outing on the very first day! Oh how I love CIMP. My placement test for english resulted in me going for 4C class which is the average class. The lecturer (Mr.Tan) found out I took o levels first language and decided to have a look at my placement test. I changed from 4C to 4U (Harder) after that. It's great to hear that I could go for 4U though it would definitely be harder. I know I can learn and enjoy it more there. Because I changed my timetable for 4C turning into 4U, I didn't have Comm Tech class on my first day, but 2 english classes. On the second day, which is my first day with comm tech, this is what we did :

 Drawing! We were given a paper with a blank box to draw 20 items that pops into our mind.
What I wore to college today. A penguin top!
Meet my college peeps! Though we have different classes, we usually meet up on Period 4 for lunch. Here we are gathering at the CIMP tables being silly.


 I love how everyone loves the camera!

After my last class that finished at 4pm, I went over to the CIMP tables and sat with a couple of friends. Then, out of nowhere, I heard my name. Right in front of me stood a guinea pig and a friend named Jeremy. I immediately hopped onto my feet and flew there! I was so happy to see them there. I have no idea why, but I always am happy to see people I know. Apparently, Jeremy's checking out the college and courses, so I tagged along with them till my brother reached to fetch me home.
That is all for today. I still have college work to rush and there's bootcamp tomorrow! Alright then! Na-nights! Have an awesome week ahead, readers! I love you!

Wednesday, 4 January 2012

Tutorial : Sugar Glider's Dining Hall

Say what? A sugar glider needs a dining hall (Glider Kitchen)? The answer is YES - if you want things to be more convenient for the cage cleaner! Now, I don't have to wash the cage every day! I wash it about every 3/4 days or so? It makes so much difference! Not many of you may have a glider, but I guess there's no harm in sharing how to make one. It could be made for a hamster, a bird, or other small animals - (some would need to be changed to a different kind of container though, like the hamster's. If the door's too high, the hamster wouldn't be able to enter in the first place.) Here goes :

 Mark out where you'd like the entrance to be. I made it a little too big though, but it's fine. (It works perfectly like how I thought it would) Once that is done, use a blade to carefully cut a straight opening in the container, then use a scissors to cut the whole piece you marked out.
 It'll look something like this. I removed the cap for now cause it's easier to cut this way.
 For sugar gliders, they like to go on high places, so I would need to hook it up. Besides, being on lower ground means ants would reach it faster. I used 2 thumb tacks to pierce a hole on the top of the container. Make sure that the holes are directly opposite each other, else the container would be slanted when fixed on. I never measured, but you could always do that first to be sure.
 Used tweezers to make the hole bigger. Just enough to fit the chain. If it's too big, you'll need to put something even bigger inside. Best to be just nice/slightly bigger for the chain, and smaller than a jump ring (I'm using that for the inside - possible to use other things too)
 Let the chain go through the hole, and hook the end with a jump ring or something larger than the hole. Fix them on both sides with the same chain. I added a bell to each side too - thought it would be cute.
 Find the middle of the chain, and cut the middle piece with a wire cutter. Add a lobster clasp on one side, and a jump ring on the other. This is for you to hook it on the top of the cage.
 Just one last step. You wouldn't want your pet to be hurt, right? It's time to fix the sides so it's not sharp and pokey. I did this by using a hot glue gun to glue the sides. If you don't have a hot glue gun, you could use tape as well, just make sure it's fixed properly and no sticky sides are shown - make it thicker as well as it wouldn't make much difference if it's a thin layer.
 The result of mine with using hot glue gun. It wouldn't be easy to get a very beautiful smooth line though. I wanted to use the glue as a decoration by making extra glue drip slightly on the top of the door like how snow/icicles would be, but it was late and I just wanted to quickly finish it up. Well, that's it! It's done!
 Before fixing it up. (Just finish washing the cage, which is why the cloth is right beside it)
 Tadaa! I hook it up near the orange chain where Criscille would be able to reach it easily. If I hooked it alone in the middle, it would be pretty hard to get in as the tupperware is smooth plastic with nothing to grip on. For those who never met Criscille, here's a few pictures of her!
Baby Criscille
Peeking out of my jacket's pocket!
Exploring my bag.

 Criscille and I. The first picture is green because it's on night vision. Sugar Gliders are nocturnal and usually prefer playing at night in the dark. Criscille loves to hop on my head like how she did in the 2nd picture. The third picture was when Criscille wanted to climb off me to the floor and I lift my leg up so she couldn't. If she starts running on the floor, she'd hide everywhere and catch tons of dust all around her.
 
 One of the cutest picture I have of Criscille! She climbed in so I closed the top and she tried squeezing out. She looks like she's saying hi from her 'bedroom' window!

That's all about Criscille and the tutorial! Here's a random picture of a durian puff I ate today!
It's really good! Like really really good! Got it from Casamia Bakery Cakehouse in ss15! 
Here's their address if I tempted you to go get one : 72, Jalan SS 15/4B, 47500 Subang Jaya.

That's all! Bye! Have a great day!

Monday, 2 January 2012

SUPERMOM Training 101.

Dear kakak, why do you have to leave for a month?
 Drove my maid to the airport the other day at 4am. My maid's like my good buddy. She bullies me all the time though. On the 2nd last day she's leaving, she said : "Today must bully you more oh. I balik sudah tak ada orang bully." And on the very last day that she's around, she said : "Aiyoh. I pergi, sudah tak ada orang bully kamu." How nice of her, she's so concerned about me.
My maid's shorter than I am!
After dear kakak went back to her hometown, our whole family had to keep the house up and running! What bad news. But you know what? Let's turn this into a positive thought - Let the SUPERMOM Training 101 begin! Hoorah!
 This is me in my 'cleaning outfit' today! My sister and I bought gloves and mask specially for this occasion. I didn't wear an old ugly shirt because this morning, I went out for a jog with Ethan Soh, Jeremy Tan and Ian How. My shirt was already drenched in sweat when I reached home, so I decided to wear it for cleaning and then bath after. I cleaned Criscille(My Sugar Glider)'s cage for the very first time! It should be my job in the first place, but well, the maid was around and I was busy. *Innocent eyes* I'm actually very proud of myself this time. I dismantled the whole 2ft tall cage and scrubbed everything! Every single bit of the cage - even reached into the tiny corners and washed her toy and bottle as well! Once I finished, I left it under the sun to dry. It took 49mins in total.

Right after cleaning, I took a nice bath, washed my hair and flew off to have my board game session with my bunch of friends from church! Sadly, I forgot to take pictures with them, or of us playing the games - I shall remember next time. We played at McDonald first, then went over to 'Classroom' in ss15.
 Started laughing when I saw this chair my friend was sitting on. Here's a closeup picture :
After the many hours of board games, we went to Salmon Steak for dinner and then left for home. It was a really great day. I got to try out 4 new games and also play 'The Message' for the 2nd time! Plan to get 'The Message' to bring back and play for CNY. I'm extremely happy today, I hope you are too! Well, that's it. Thanks for reading! Love you guys!

Summary of what I did today :
1. Went jogging
2. Cleaned Criscille's cage (First time)
3. Played tons of new games with awesome people
4. Blog in my SUPERMOM blog that I love so very much


Saturday, 31 December 2011

Tutorial : Shrink Plastic Dress

Hey beautiful people!Have you heard of shrink plastic before? If you've read my blog posts, you've most probably heard bout it a couple of times. Anyways, today's post would be a tutorial on making a Shrink Plastic Dress Accessory.
 Print a piece of paper with a dress design. You can google for any kind of dresses.
 Get something round/square that covers the whole dress and draw around it. Place the picture of the dresses below the shrink plastic, and trace. You can just outline them and draw the designs inside yourself too! It's all up to your creativity!
 Cut them out.
 I did four of them with different colours. Colour them in with marker pens. Then, for it to be an accessory, you need to punch a hole in your shrink plastic. I punched on the top right above the round collar.
 Place it in the oven, one by one. I randomly set the temperature and time. The first one will take longer, while the other few will be faster. This is because the first one needs to wait for the oven to be heated up. It's already heated when you put the rest in after the first. I set mine to about 200 degrees and set the time to 10mins for the first one. I actually only put 100degrees and 5mins at first, but it's not shrinking yet, so I added time and heat. The other few will start shrinking in less than 2 minutes.

 If you have a transparent spray paint like the above, spray a couple of coats (Spray first coat, wait for it to dry, spray second coat, repeat if necessary.) to prevent the ink running when touched. I used the exact brand above. You could get it from your local hardware shop.
Add a suitable sized jumpring to the punched hole and there you go! A new accessory. All you need to do is attach a long string for a necklace, a keyring/handphone strap for a keychain, or a short string/chain for a bracelet!
The end result! I love the green/turquoise one with pink roses the most. What about you?

Wednesday, 28 December 2011

BoxOfHobbies Is Back!

This morning, my plan was to start crafting at 11am. I woke up at about 10am+ and came online. My plans didn't turn out the way it's supposed to. I decided to clean up my room first as there were still bunch of clothes on my bed thanks to the trip at Thailand. I slept horizontally/diagonally instead of the usual vertical way cause the pile of clothes were there. After cleaning up (I slacked once in a while), the clock stroked 3pm! No more fooling around! Time to get something done for BoxOfHobbies!

These Flowers and Fortune Cookies are done a very long time ago, but some small things were not done. And thus, I fixed it up and placed it online for sale. It's available at BoxOfHobbies if you're interested.


 The flowers were made into brooches and sets of necklace & earrings as shown above.
As for the fortune cookies, 5 of them with the hearts are necklaces where you could put a message in if you're giving it as a gift. You could even have the message for yourself! Another 5 plain ones are being sold for RM5 each as keychains. Mini sized fortune cookies were also made into earrings! I'm very happy with all of these. They look great! Especially the flowers, and I love how a message could be added to the fortune cookie necklace. Not too happy about the keychains though, that's why it's only sold for RM5.

Other than those touch up for previously made items, I decided to play around with buttons. I've made a pair of button earrings and a beach-coloured button bracelet for myself once. I'm very very proud of it and it's most probably the only accessory you'd see me wearing (other than my other handmade rainbow bracelet - The one made during EmergeJunior'11).

These pink and blue buttons were bought from Thailand. It was neither cheap nor too expensive, so I only bought 2 packets. Kinda wish I bought more though, would be fun having more colours to play with. Here's what I did with them :
 "The buttons are fixed on randomly, which gives more style to the bracelet. Some parts have a couple of buttons close by, and some parts would have spaces in between."
 
I made them into button bracelets! They're for sale now on BoxOfHobbies too! Only RM10 each! My favourite here is Ocean Blue. I love Beach Golden and Ocean Green a lot as well. There's only one of each in these 3 colours mentioned though.
2 button earrings were also made today! One pair (BS003) have the same style but different size. If you notice carefully, the left button is bigger than the right button. It was purposely fixed on like that, I kinda like to wear stuff like these last time - I find it cute. As for BS004, they're both white, have the same style, and are the same size!

That was all I did for BoxOfHobbies today. I had a lot of fun doing this and it was satisfying to finally be able to update BoxOfHobbies. I've been slacking too much lately! Tomorrow, I'm going for badminton in the morning, then dropping by Sunway Giza to place some products at Yii-Tou-Lifeshop, and back to crafting after! I'm so excited! I don't even know what craft I will be doing tomorrow. Perhaps I can do some "Rubbish-Made-Treasure" crafts. We'll see. Else I'll continue on making Christmas presents! Yes, I know, I'm very far behind on Christmas - Forgive me! Well, that's all folks! Thanks for dropping by! Love you guys!