Friday, 31 January 2014

Gong Xi Fa Cai; Chocolate Horse Greeting

Hi Everyone! Happy Chinese New Year!
I'm back in my hometown now. We dropped by Penang before we head to Kedah and found this lovely place - Chocolate Passion.
 The environment is pretty nice. Can be pretty cooling outside (it depends, was a little hot when we first arrived and then breezy after)
 We came after dinner and was pretty full, so all we had was churros with milk chocolate dip. They had a lot of other chocolatey goodness too! Like one they called 'Chocolate Bomb', apparantly, it's a ball that will burst open (no explosions included) when you pour warm chocolate on it or something. I'm hoping to try that if we get the chance to head back to Penang before going home.
 When the churros finished, there were plenty of dip left! We ate some just by itself, but it was really sweet. So, I decided to do what I always loved to do! DRAW!
 Since it was the horse year, I started drawing the head of a horse.
 Then added 'Gong Xi Fa Cai'
It was still really plain and I wasn't sure what to add on. Lanterns would look a little funny I thought..
I tried flowers and I think they look pretty nice!
...and Craftysupermom is my instagram name.

That's all!

Friday, 24 January 2014

Tutorial : Polar Bear Breakfast

Hi everyone! I think polar bears are one of the cutest animals in the world!
My mom always told me not to play with food, but honestly, I didn't think that idea stayed in my mind for long.. becauseeeee....

What's this?
A tutorial on how to make your very own polar bear breakfast!
 Isn't it beary adorable?

What you'll need :
1) Bread
2) Cream cheese (or other white spreads)
3) Scissors
4) Spread Knife
5) Blueberries

Firstly, cut out the body. It looks like a video game controller in my opinion.
Then, cut the head, tails and ears. Simple isn't it? Just playing around with different sizes of circles/rectangles. If you want to make a big head like I did, cut out a support piece.
 Put the pieces all in place and plan how you want it to look like.
 Spread cream cheese all over. It somewhat acts like a 'glue' as well. The support piece can help hold up the head.
 Put everything in place and add blueberries for the eyes and nose!
If you have yogurt or any other stuff at home, you can always add them on to make words!
I didn't have much to say that morning, so I just added the words 'Love'
That's all for now. I hope you enjoyed this.

Monday, 20 January 2014

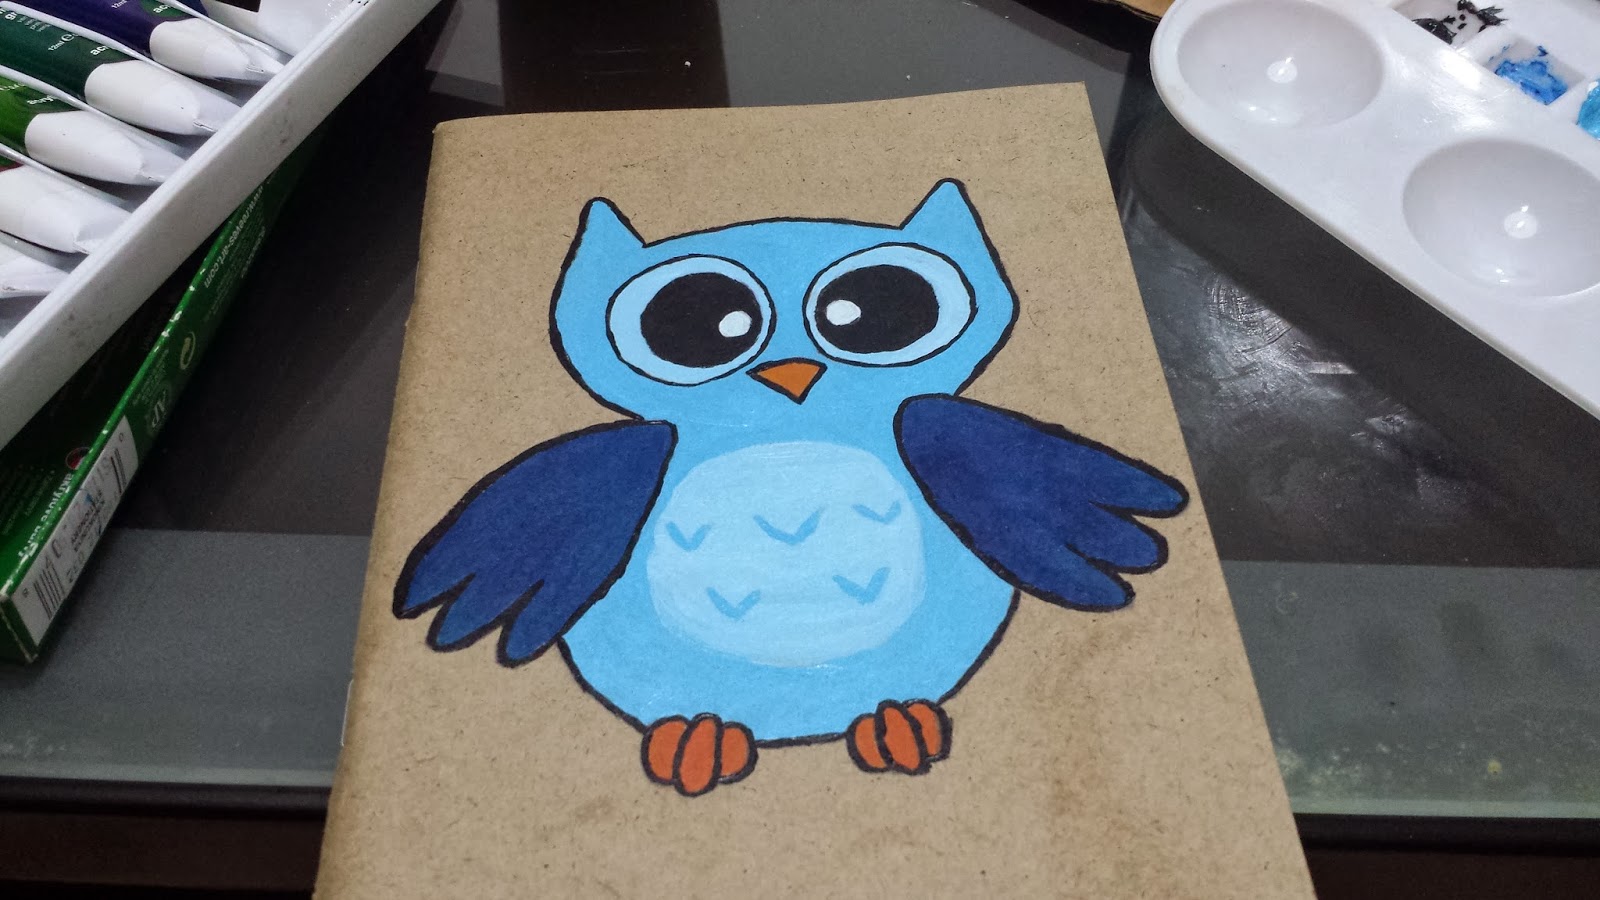
Tutorial : Handpainted Owl Notebook

There was once where owls were really popular. Are they still?
One of my customers from BoxOfHobbies requested for a customized book with an owl painted on it.
 I started by drawing out the owl and mixing the colours.
I used acrylic paint for this.
 The lighter shade was used first (not white)
 and then the wings were carefully painted in.
 The body was filled in with a colour slightly darker than the lightest shade.
The medium shade (used for the owl's body) was used to do markings on its belly.
When everything was painted in, it looked something like this.
 Black outlines were then added for a more defined look.
and tadaa! The owl book is done!
We also added a name right below the owl (not shown in the picture above).

Tutorial : Elephant Themed Breakfast

I am an Ele-friend! Yay!
Earlier this year, I made this circus elephant-themed breakfast for New Year!
It's really simple and I just used things I had at home.

What was used :
1) Layer cake
2) Bread
3) Grape Jam (Stolen from McDonalds)
 I cut a piece of layer cake as a stand.
 Then cut bread with a scissors into an elephant shape. There were 3 parts (body, ear, trunk/nose). I also cut a tinsy bit on the back of the body making the elephant's tail.
 From the excess layer cake, I cut a circle with a knife. I wanted to make it into a ball but thought it looked funny. So I changed it after.
 I added grape jam and made words saying "Happy New Year" with excess layer cut that was trimmed of the stand.
and ta-daa !! That was my breakfast of the day.