Thursday, 12 July 2012

Hand Drawn Black And White Portrait Charms

Oh no, oh no! Look at the date! Someone has not been updating her dear bloggy!
Hey people. I'm so sorry for disappearing just like that for a while. I've missed dear Supermom Blog too. Well, my life has been pretty hectic with all the events running through. Remember the one I posted about? It's called Emerge KL 2012! It's a really great event with tons of competitions for people to really try and discover themselves. Who knows, you may have talents you never knew that you did before! If you're interested in knowing more, do drop a comment or email me.

Well, because of this event, I really doubt that I would be able to post that much in these two months time. I didn't even have time to work on my crafts. Perhaps when the competition for the events start, then I'd talk more about it. Hopefully I'd have the time to. Alright. That's all about that. Let me show you what I've got!
 Tadaa!! Check that out! Remember my blog post on winning a giveaway?
 Well, it has arrived!!! And I can't wait to try it out! Sadly though, I won't be able to touch it till after Emerge! I hope everything would still be useable.

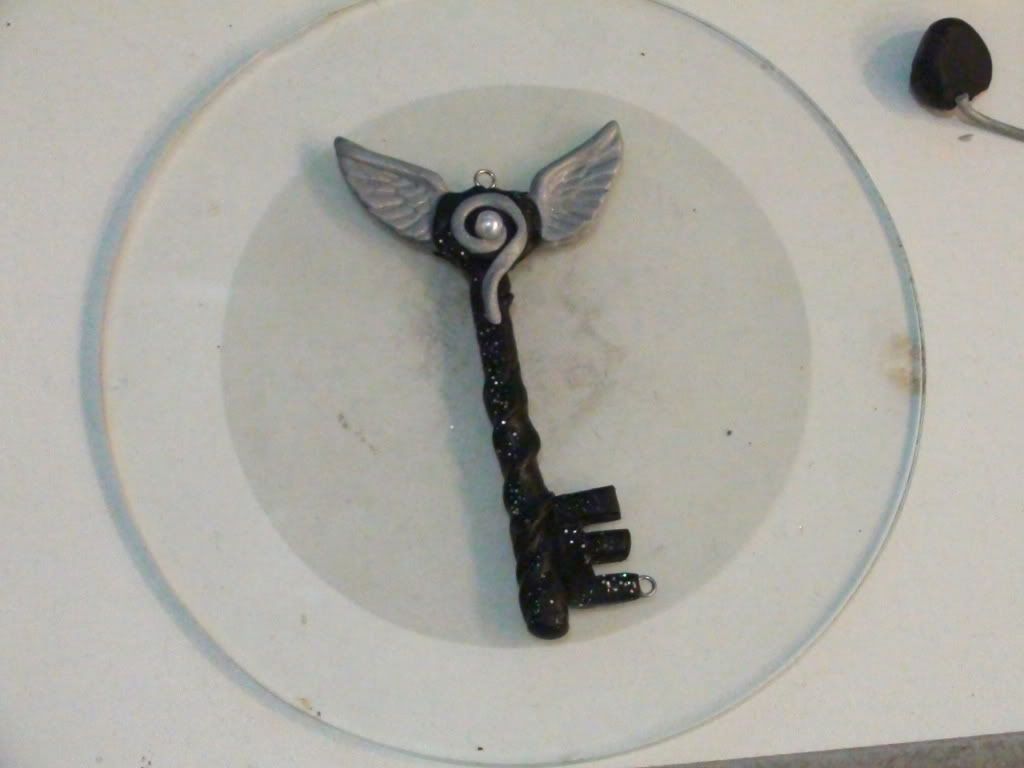
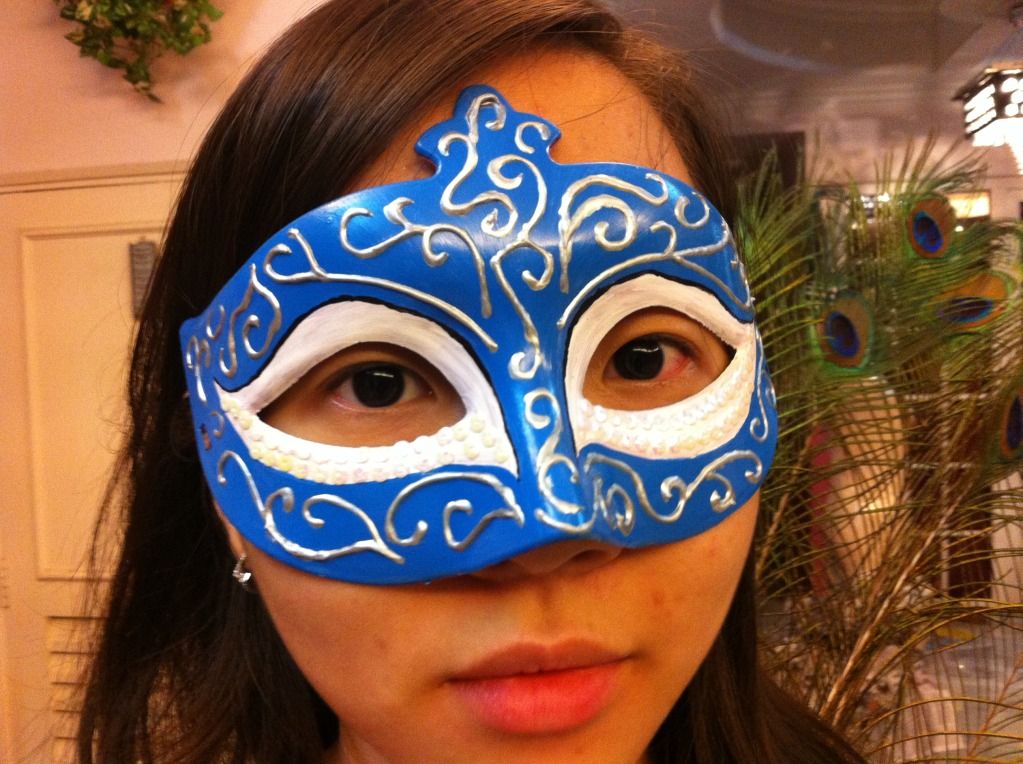
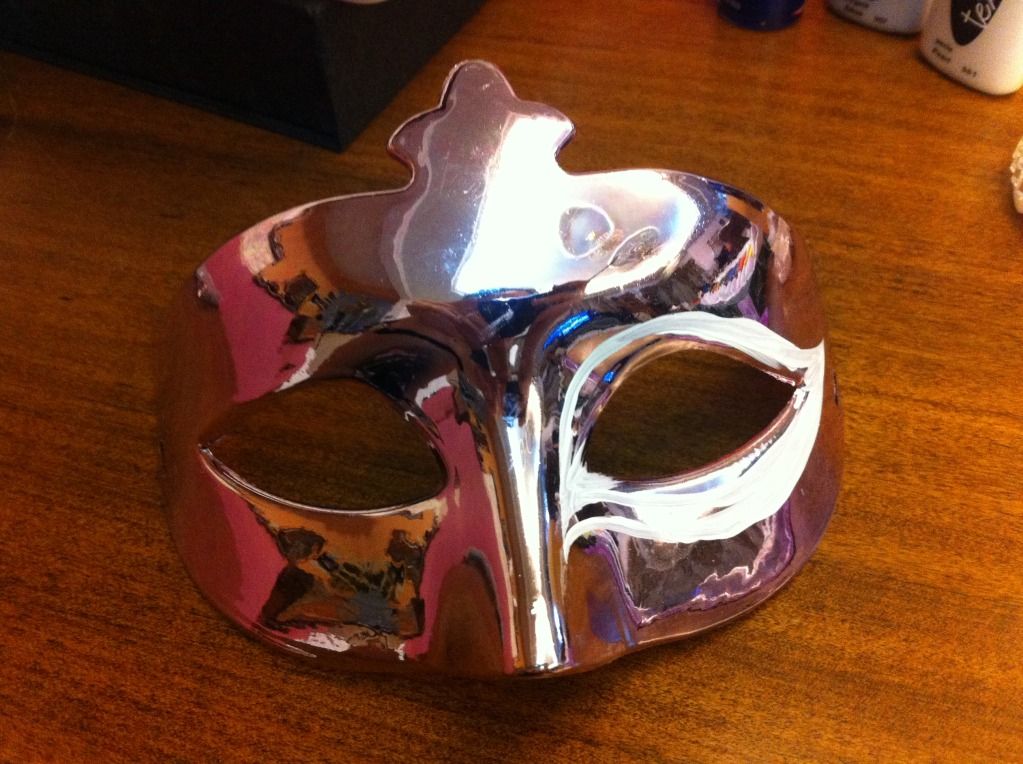
Here's something else I did a couple of weeks ago. Didn't get a chance to post it up then.
 Drew myself with a black Sharpie and punched a hole on top.
 Then it was baked in the oven and it shrank!
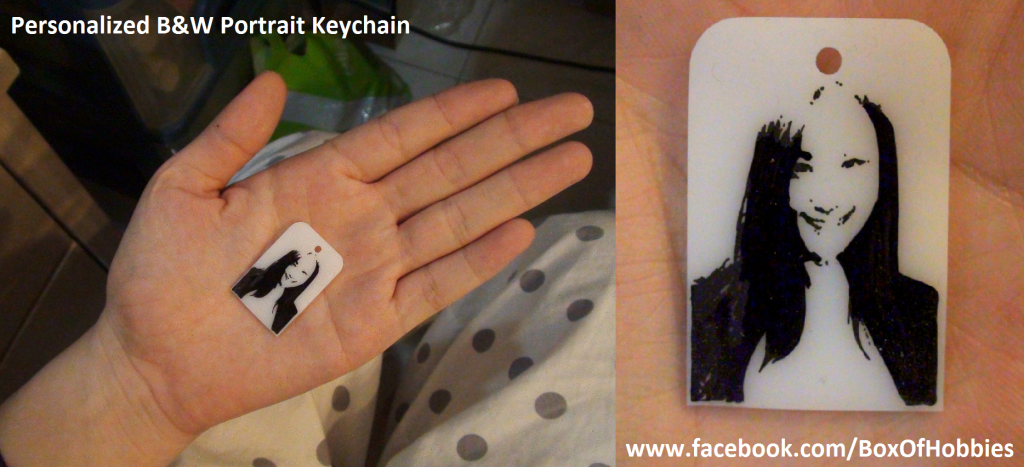
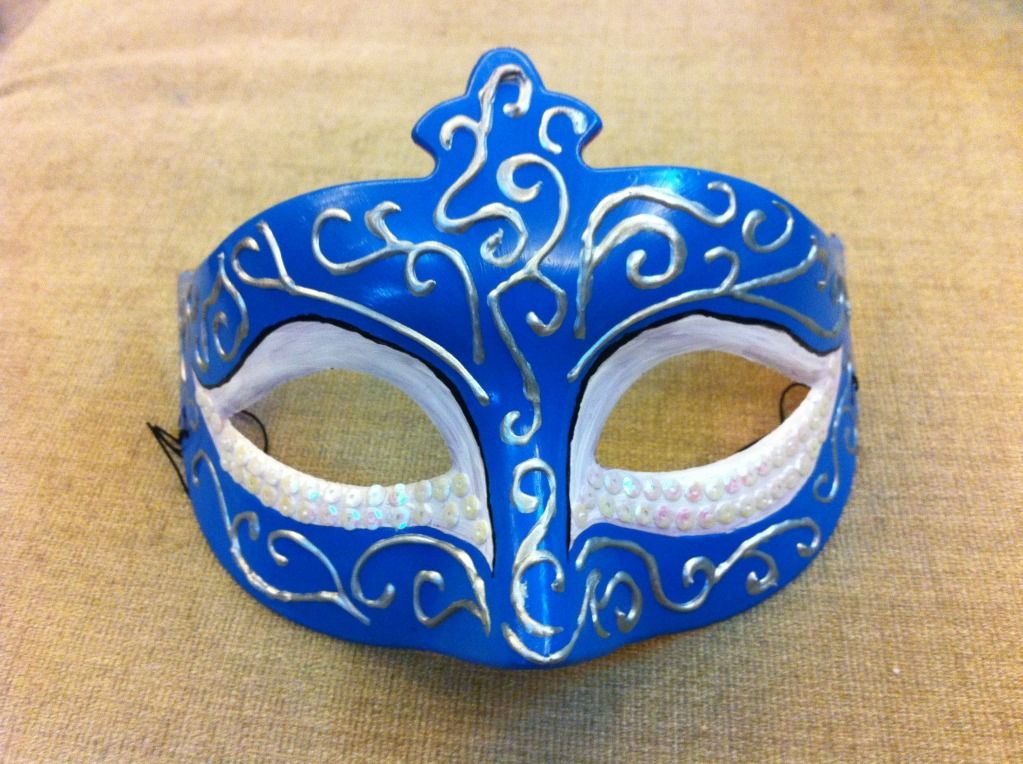
Tadaa! How lovely is that?! I think it's really nice to have this as a keychain or pendant. What do you think?

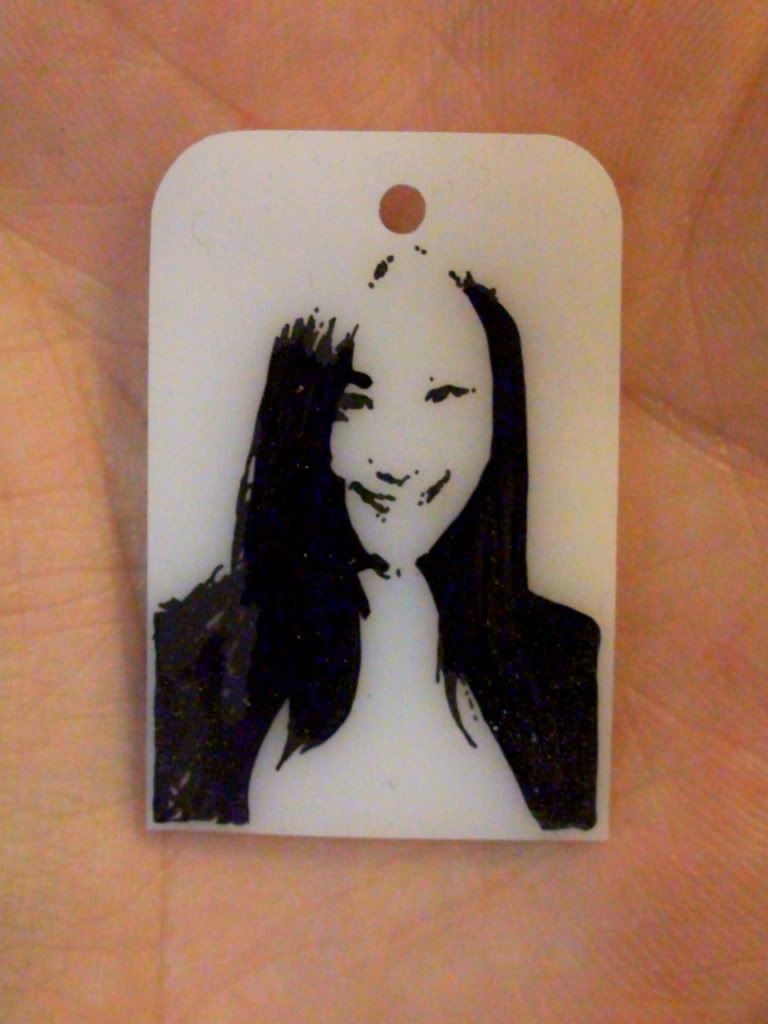
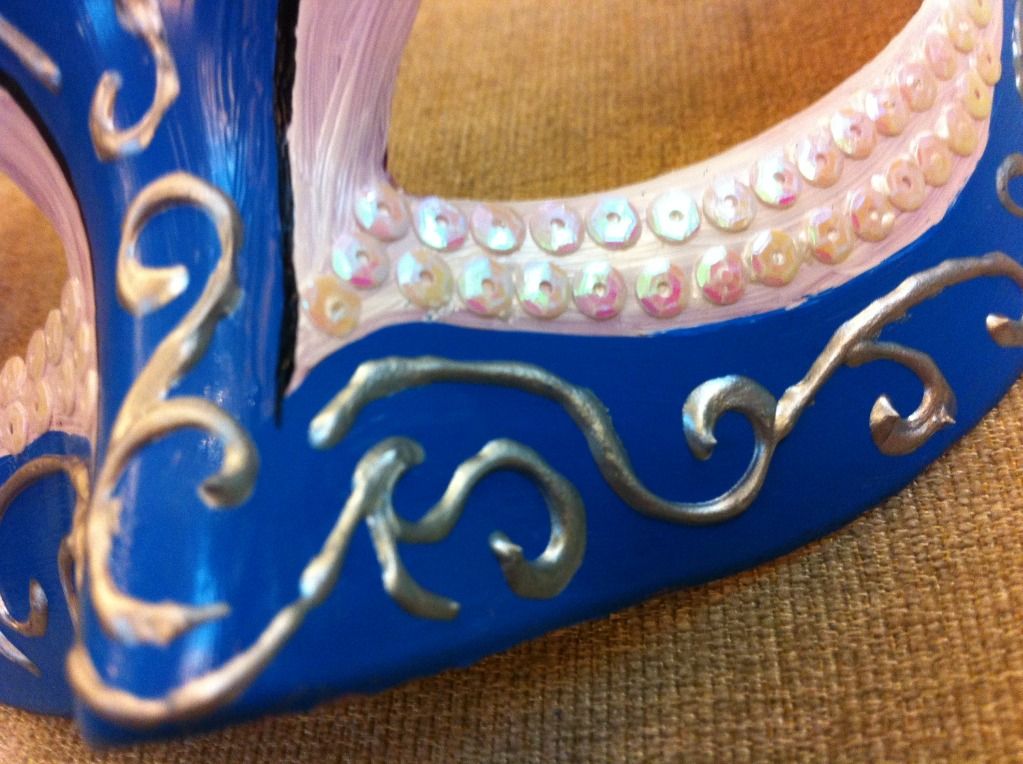
Close up on how it looks. Loved how everything turned out.

Well, that is all for now. Thanks for dropping by. Note that I may not be posting stuff as regularly these couple of days. It's been a challenging season. A challenging but great season. Alright. Time to go! Bye!

Saturday, 7 July 2012

Clay Anime Inspired Keys

Hey everyone! Sorry for not updating as often. I've been pretty caught up with an event - Emerge KL 2012! Click the link to find out more. There will be TONS of competitions for you to WIN great prizes!

Anyways, today's blog post are about handmade clay keys. Since the beginning of BoxOfHobbies, I've always wanted to have a giveaway. Sadly, due to the 'debt' BoxOfHobbies had, I wasn't able to do so. The 'debt' is still uncovered, but had been lowered by 50% and I thought a giveaway would be fun. These two items below will be part of the giveaway.
 The pictures above were taken when they weren't baked yet. It was so tough to get them in shape. I think both looks extremely gorgeous but are of a different style. What do you think? Do you like them?
After varnishing, I hung them this way to allow it to dry. Later on, i twirled the chains around them and fixed them there. It looks amazing! This will be going out as a giveaway real soon, so stay tuned!

Wednesday, 4 July 2012

Tutorial : Woven Bracelet

Hi Everyone! Today's post is about a woven bracelet! I've only ever tried it once in my life and thought it was pretty interesting. Here's a very brief tutorial on it :

What you will need :

1. Bracelet chain
2. Different coloured yarn strings(preferable 3 colours)
3. Clips
 First of all, prepare your yarn by tying them all together. Make sure the length is longer than the chain. It tends to get shorter as it is woven.
 Get your clips to clip the very top to keep it still.
 Hoop through every single chain loop and braid it just as you would've done so on hair. I loop the strings once every 2 chain as my chains are a different kind that has a flat surface.
 Clip as far as possible to keep the string tight in place. Continue till everything is done, tie a knot and cut the excess.
 
 
Tadaa! And you're done!
 
How lovely does that look? Best of all, you can match your own favourite colours!
Hope you enjoyed the post. See you again soon! Bye!

Monday, 2 July 2012

Blue Moon Princess' Mask & Boots

Hey everyone! How do you like the mask in the picture above? Well, guess what! It's all HAND PAINTED. I got the base and painted it blue with white eye frames and a black liner with acrylic paint. Here's how it looked like before it is painted : 
What a huge difference eh? I never thought of how the mask would look like. I just knew that I want her eyes to be shown and the main colour to be blue. I'd love to show you the steps on this, but sadly, I was rushing too much on this that I forgot to take the photos.
I stick those sequins on one by one. And for the silver lining, I used a fabric pen that I already had at home. It turned out amazing. I love the mask and am planning to make more to sell in BoxOfHobbies! I heard the cost for the plain mask is Rm15 though. I shall scout for cheaper ones.
The completed mask. Simply lovely.
These eyelashes was worn by the mascot together with the mask during the launch pad. The sequins on them were stuck on ourselves.
That is all for the mask. Here are some pictures on the making of the boots.
 A slave was hired to help wrap the feet. Thin stockings were bought to be used for the base (to prevent the duct tape sticking to Jennifer's skin.
A little fun with the picture! Princess Jennifer and the slave.
 When the wrapping is done, a slit is cut on the back of the boots. More duct tape was added in order to be able to velcro them together (the duct tape layer has to overlap). Once that was done, we sprayed paint the entire thing and attached the velcro. We chipped off some blue spray paint in order to make the rustic feel we wanted in our mascot's outfit. It shows the fighting spirit of the people of S.M.U !

This is the end of the post! Thank you! If you haven't checked out the making of the mascot's dress, do click here! Other than that, I have one last thing to say : Bye!


Sunday, 1 July 2012

Blue Moon Princess' Dress

 The amazing Blue Moon Princess of SMU !
picture taken by Derrick Chia.

Hello people! Isn't the picture above simply gorgeous? Well, that is the mascot of SMU! One of the clusters in an event - Emerge KL 2012. Click here to learn more about it!

Note : We won 2nd place with this mascot! Woohooo!!! Proud of everyone in SMU, especially the committed committees!

Today, I'm going to show you guys how the dress for the character above is done! We made it all from scratch and the idea is ORIGINAL!
 First of all, we bought TONS of duct tape. Then, we started wrapping the model layer by layer as she wears an old clothing.
 When part of the shape is done, I slit the middle so that it could be removed from the model.
 Our beloved cluster's colour is blue. We decided to get blue spray paint instead of blue duct tape as that would be too dark. I tested it out first before buying more cans of them.
 We continued on the next day with the skirt. In order to save duct tape, I got garbage bags as the base and taped all around it. Newspapers had to be stuffed around her hips before taping to make a puffed up shape. We wanted it puffier, but it was pretty hard to do so with duct tape.


 We sprayed the top blue before we continued on.
 The next day, I woke up early to stuff the bottom of the mannequin with newspapers before making the full skirt. It was pretty hard as each diameter of the skirt was different. This caused wrinkles in the outfit. That afternoon, when Jennifer - the model came, I started drawing out the pattern and cut the design out. I love how it frames the collar bones and how the skirt's curves is unique and different. I did one side longer and the other shorter on purpose. Sadly, it's not as obvious. I still love it though.
 
Peacock feathers were added! How lovely! They eyes of the peacock feathers are just beautiful!
 
 Towards the end of the dress-making, the guys started to work on the LED lights. They solder everything themselves and took nights to keep checking that all is fine.
 A couple others helped me in chopping up CDs with pairs of scissors.
 Look at all the shiny surfaces!! I love them!

 All the extras that were not used. Many of them are not used because they have extra cuts in them. CDs are not that easy to work with at times. I don't know where the idea came from, perhaps from my love of mosaics, but I randomly decided to use these CD pieces to do the lining of the dress. It wasn't in the sketch that I submitted in. The idea only came much later. I did decide to have a lining, but not with CDs.

  
 Yeap, every bit of the CD pieces were stuck on ONE by ONE. It took about 4hours plus to finish the entire BOTTOM lining (excluding the collar area). Note that to match the mosaic lines, you have to stick it on from one side and continue on without skipping spaces. Also, some pieces need to be re-cut to fit nicely.

The committee members only went home at 6am that day. Some of them had work at 7:30am. I slept around 7:45am after a little cleaning up and a nice bath.

 The first part of the lining DONE.
 This was how messy the place was. CD pieces were all over the floor. Note that duct tape is stiff and unlike usual fabric that is easy to fold over smoothly. The dress has to always be opened up flat to be worked on. 

Well, that is pretty much what I have to share about the dress for now. The mask and the boots would be posted up tomorrow instead as this post is already really long.

Before you go, let me show you what my living room has turned into for the couple of days:
 
 Yeap. A garbage bin. Everything was everywhere. From the small hall area right to the doorstep! Even the tiny alley to the kitchen has some stuff crawling about. Well. That's it. I shall stop here for this post. Stay tuned for the mask and the boots! Bye people! Keep smiling and be jolly!