Saturday, 16 June 2012

Galaxy Cross Charms

Hey lovelies! I pampered myself today! Well, just a little. I seldom actually take out money to buy accessories and what not because I don't really wear them. But this little one caught my heart for quite some time now and I just HAD to get it.
I don't know why I love it so much. I suppose it's because of the adorable pattern and the lovely sweet colours. Peachy pink, how sweet. Other than pampering myself with this, I was working on this :

 A customized birthday gift! I can't show you what is inside yet as the gift-receiver has not actually received the gift. I promise to post photos and such for you guys after though! Another thing I've been up to is making clay crosses. I really wanted to use up some of the old clay. So, yeah.
A couple of black based crosses
 I love these. They have this galaxy look don't they? Some of them have turquoise in them which makes it like the ocean too. I think they're lovely. More colours will be out soon though. When they do, they'll be available at BoxOfHobbies !

Some of you might find these crosses pretty familiar. That is because similar ones were also sold in Adorable Size Adorables last year. You can check them out at Album1 & Album2 (Everything is sold out though)! At that time, I was the little elf helping Stephanie MJ (My teacher in high school then). It was so much fun working with her. Monday was our 'secret mission' day where the factory starts to craft all these adorable products.
 While making the crosses then. The pink one is one of my favourites. I bought it on the spot once it was made. Cheers! It's now sitting in my Ferrero Rocher accessory box.
3 little foxes which I've made. The first one is adopted already! Get yours now at BoxOfHobbies !
Alright. That is all I have to share today. It has been a lovely day. Bye people! It's time for me to have some shut eye. Goodnights!

Thursday, 14 June 2012

Joy Of Winning A Giveaway

Dear people who reads my blog! ♥
I'm extremely super duper uberly filled with joy today! I feel like lifting off and jump right to the moon to celebrate! Want to know why?
Gosh I'm so excited!
Here's why : 

Hmm. Can't really see it huh? Well, here goes again :

Woots!! I actually WON a giveaway! How exciting is that?! All I did was comment on the site, and tadaa! I got it! Best of all, it's something I would actually LOVE to have! It's all the goodies that involves crafting, and it totals up to more than USD100 ! I am so blessed! Thank You Lord! ♥

If you want to check out what I'll be receiving in the whole package, click here!

I am really extremely happy when I received a mail regarding this. God is amazing isn't He? I am indeed very blessed. Well, my post today would just be this. I have something else too, but let's save that for tomorrow. (It's only half done anyways).

Here's a beautiful + adorable song to brighten up your heart!
I love it! I love how they made it so bouncy and fun! Well, enjoy and toodles! Thanks for dropping by! I love you guys! ♥ I really do!


Wednesday, 13 June 2012

Clay Truffles And Octopus

Hello beautiful! I love this gif above. It shows I-Love-You!
Anyways, here's what I got up to today! Chopping carrots!
 That's a lot of carrots now, isn't it?
 This morning, I woke up and starting crafting immediately. I was hoping to get more stuff done and more old clay used up before it grows TOO old. They tend to get harden and crumbly as they're left longer. Too late though, I end up having to condition clay for more than about an hour and a half or longer. Sigh. Oh well, at least I got something done!
Check out the two new little octopus! Aren't they adorable? There's only two of them though. They seem really easy to make in my mind, but they both actually took forever to be done! I gave up and move on to making truffles after that. I thought I would be able to make several different colours. Like some rainbow series or something, but I was wrong.
Using the extra conditioned clay to make some truffles. I only manage to make a couple of them. I used different colours to make as well. Orange truffles doesn't seem as yummy to me. Here's the caramel one.
 First, I got the filling done and roll it up into a ball.
Squish it here and there and add some chocolate waves. Then, I took a bite out of it! Yummy!
Other than the caramel one, I have two strawberry flavoured and 2 orange flavoured truffles. I think the small bite out of them made it even more tempting to get another bite out of it. Don't you think so? Well, they would be available on BoxOfHobbies, so remember to check them out!

That's my baby girl alright! And she says bye!

Tuesday, 12 June 2012

Mille Crepe Cake

Hey people! Today's post is not on any craftworks or so. I did do some more crafting today, but I wouldn't be able to show it to you till end of this month. It's a customer's special order. In the meantime, let me show you where I went!
 My dear sister brought my parents and I here to have a bite in their mille crepe cake! Yummy! I have heard loads about this cake, but I haven't had the chance to try it till now.
 This is how the place look like. It's pretty cosy and comfortable. There's a huge drawing of a squirrel on the wall to the right, but I didn't take a picture of it as there were people around there. Alright, on to the cake!
 We had two different flavoured mille crepe cake. Me being a vanilla fan insisted on getting the vanilla flavoured one. Sis said that the strawberry one was good too, so we got both of that.
 The cake is made up of tons of layers which I was so lazy to even try to count! It sure made the cake special. Yummy!
 Oh! And have a look at this adorable spoon! I told my dad that I'd love to try it on the spoons at home *wink*.
 Here's how the place looks like from the outside. Well, that's all for today's post. Real short and simple. 

Here are some details if you want to head over and try it out :

BG-8, Happy Mansion,
Jalan 17/13,
Section 17 Petaling Jaya,
Malaysia.

Contact no : 03-79553885
Facebook page: http://www.facebook.com/FoodFoundry

I copied the contacts and stuff from 10morebites' post. Feel free to check out her blog on places with yummy spots to munch.Tata!

Monday, 11 June 2012

Ret Velvet Rose Cake

Hey everyone! How are you? Today, I spent most of my time crafting, sleeping and snacking! The family and I went out to Food Foundry for dessert after lunch. When I came home and finished a customer's order, I decided to try making cake clay charms.

I made a Ret Velvet Rose Cake.
 I made the outside white with a marble flower look blending inwards.
 The plain cake with the insides.
 I added roses and eyepins before baking.
 Some of these cakes would grow up to be earrings, some into pendants and 2 of them would grow into rings. Will show you again once these items are done. They will then be displayed and sold at BoxOfHobbies.

Here's the result of the pheonix bird my customer ordered.
 Other than those, I've also tried another thing. Remember my sword from this post? I mentioned that I would want to fit it in a tiny bottle. And I did! It's after a very long time, but everything seems well.
Check out the sword in the rock! The sword is attached with the biggest rock inside while the other tiny ones are free to roll around in this mini bottle. It can be a keychain or a pendant. The pricing for it is still to be confirmed. I will be making more of these, and perhaps try a couple of different designs too.

Interesting? Well, that's it for today's post. I will update more often when I can alright? Toodles for now! Bye!


Sunday, 10 June 2012

Tutorial : Candy House

Wow! It's already the 11th of June! I haven't been updating for 3days now! Time flies so quickly, don't you think? Anyways, meet Jeanette. She's a little bubbly girl from CHCKL's Children's Church. Recently, CHCKL held a children's event called 'The Amazing Kid's Race'

The entire event took place from 10am - 3pm on the 9th of June 2012 and was a success! Everyone including the children, teachers and volunteers had a blast! Prizes were won by every team and huge smiles grew on the kid's face as their team names were called. Anyways, before I blabber on too much about this event (I shall talk about it in another post when more pictures are available), let me introduce my role in this event. I was appointed as a station leader. In my station, children are to work together and build a house model as alike as they could make it. The teachers are not allowed to help as this station is intellectual and the children are to learn to be more observant and find their way around things.  
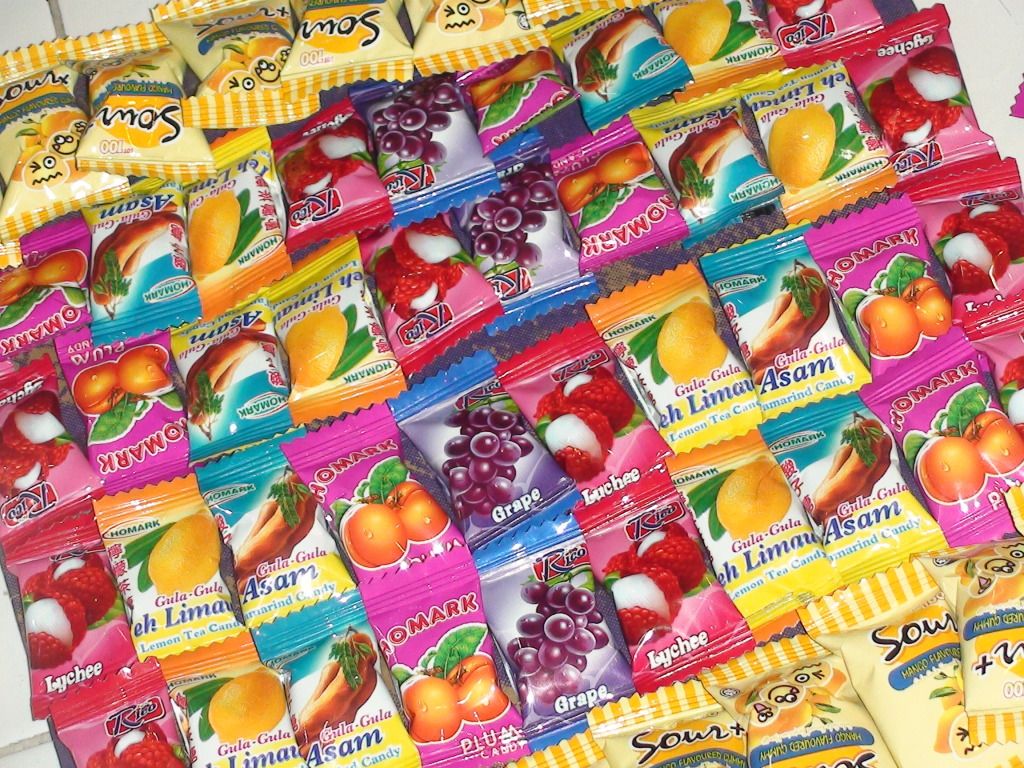
The best thing about this station is, it involved a total of 720 pieces of CANDY! (For 8 Groups). That is the largest amount of candy I've ever seen at once in my house! Well, because of this event, I've gotten this lovely opportunity to bring this tutorial to you - Building A Candy House. Let's begin!
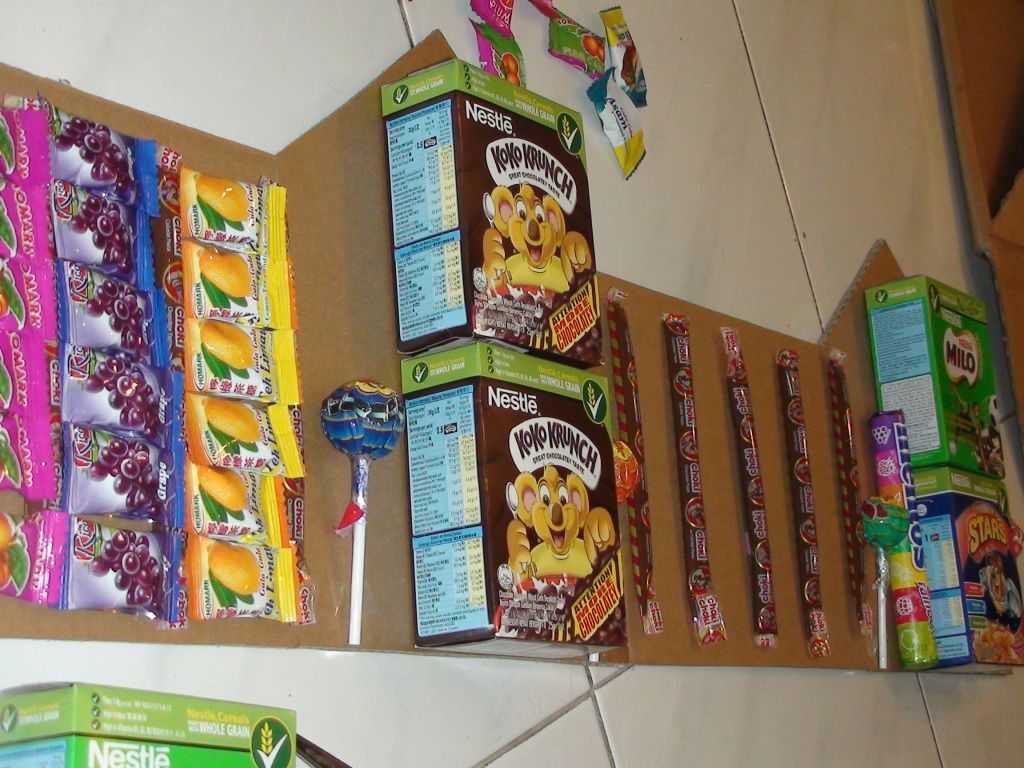
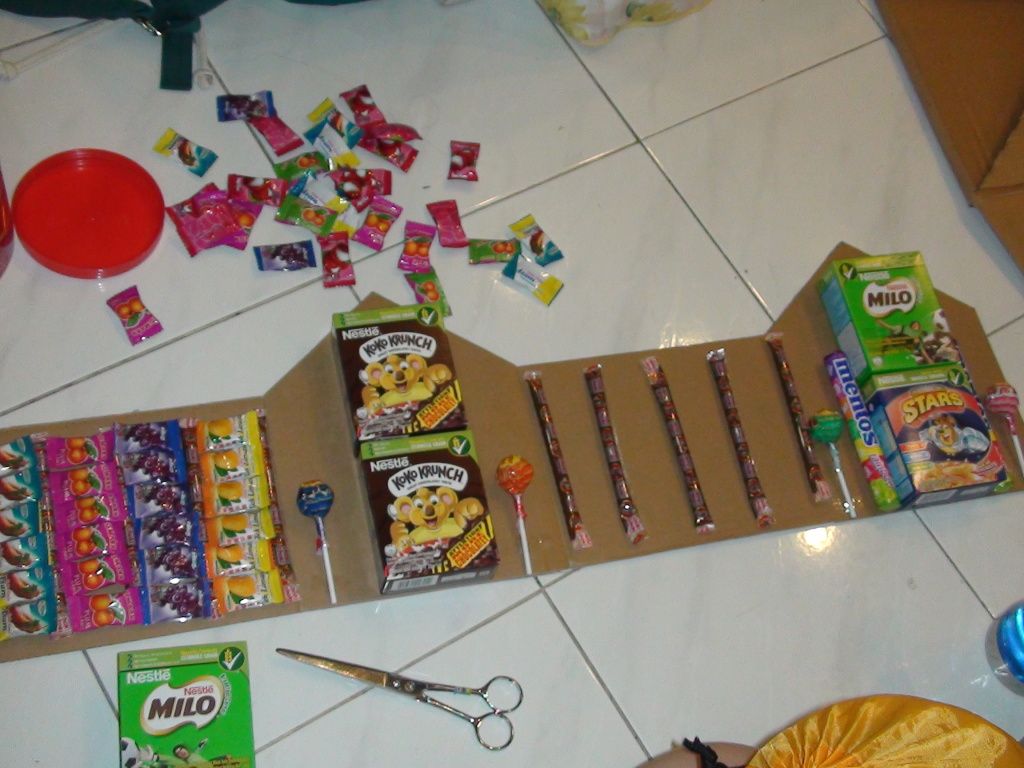
 Most important of all, you've got to prepare the CANDY. You won't need a total of 720 candies as that was for 8 groups, and you can also modify your own design if you wish.
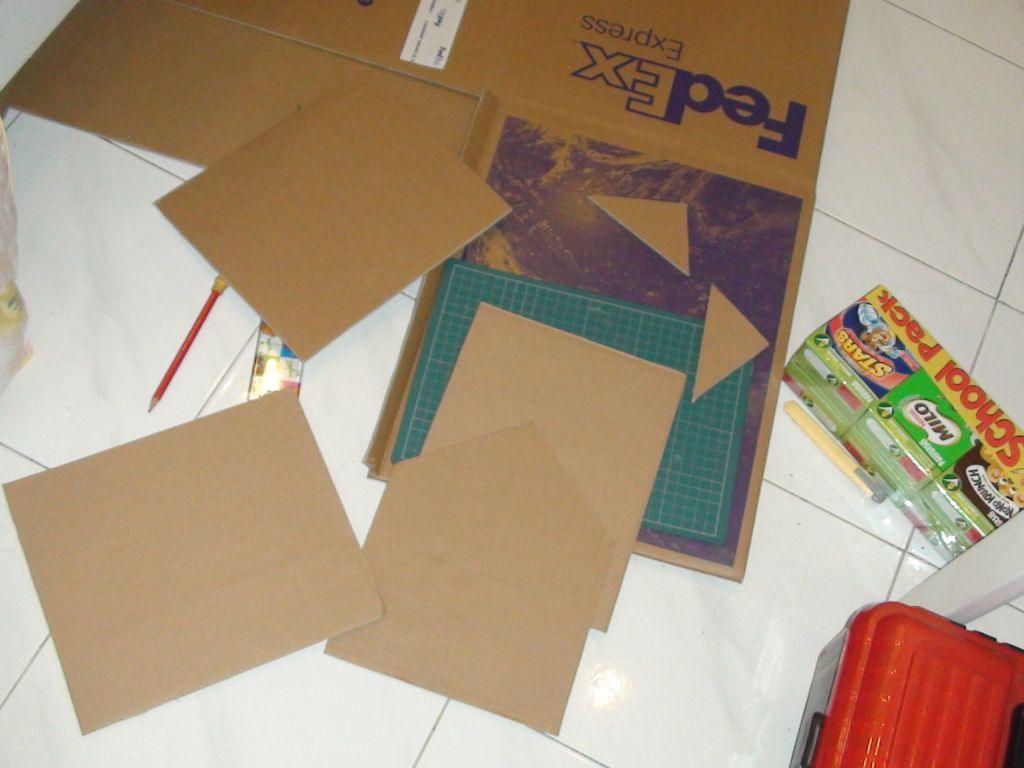
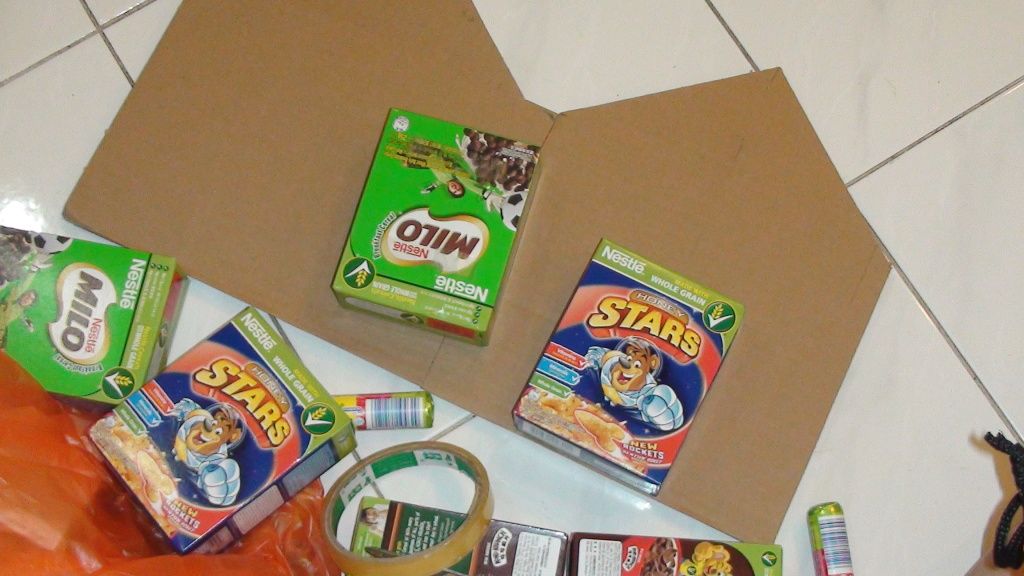
The first thing you would have to do is to cut out some cardboard pieces. Make 1 rectangular piece for the roof, 2 pieces for the front and back wall of the house (with triangle tops), and 2 rectangular pieces for the walls on the side. You can use your own measurement as to your likings of how big the house model should be. When you have your roof, you would need to lightly cut a slit in the middle of the board. Do not cut the whole way through, the light slit is just to allow the cardboard to be able to bend when placed on the walls of the house.
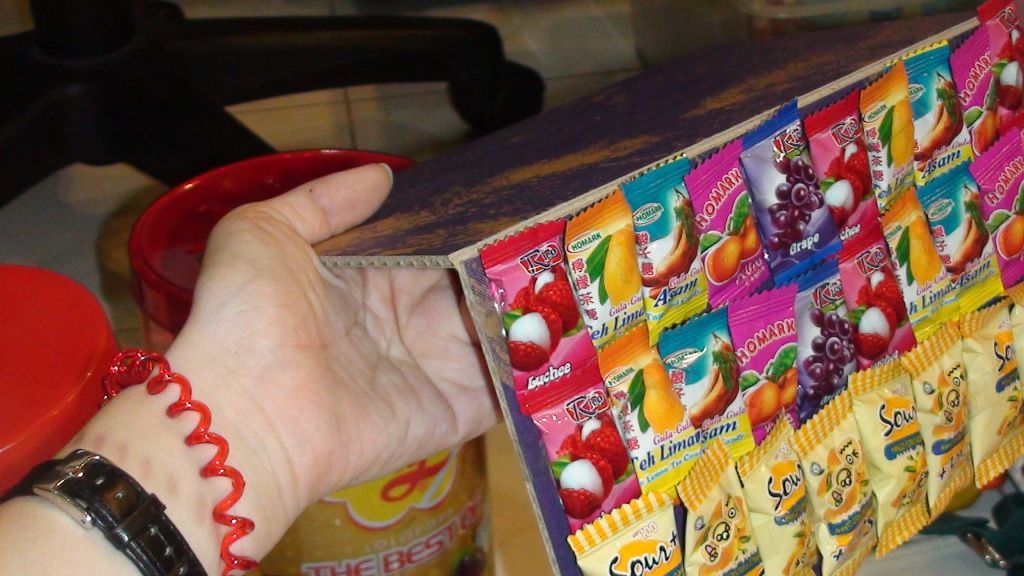
 I started out with by filling the roof with candy. In order to keep it staying on the roof even when it is tilted, I looped the cellophane tape so that I could stick it to the bottom first. Then, I'll add the sweets and finally secure them with a long piece of cellophane tape on top.
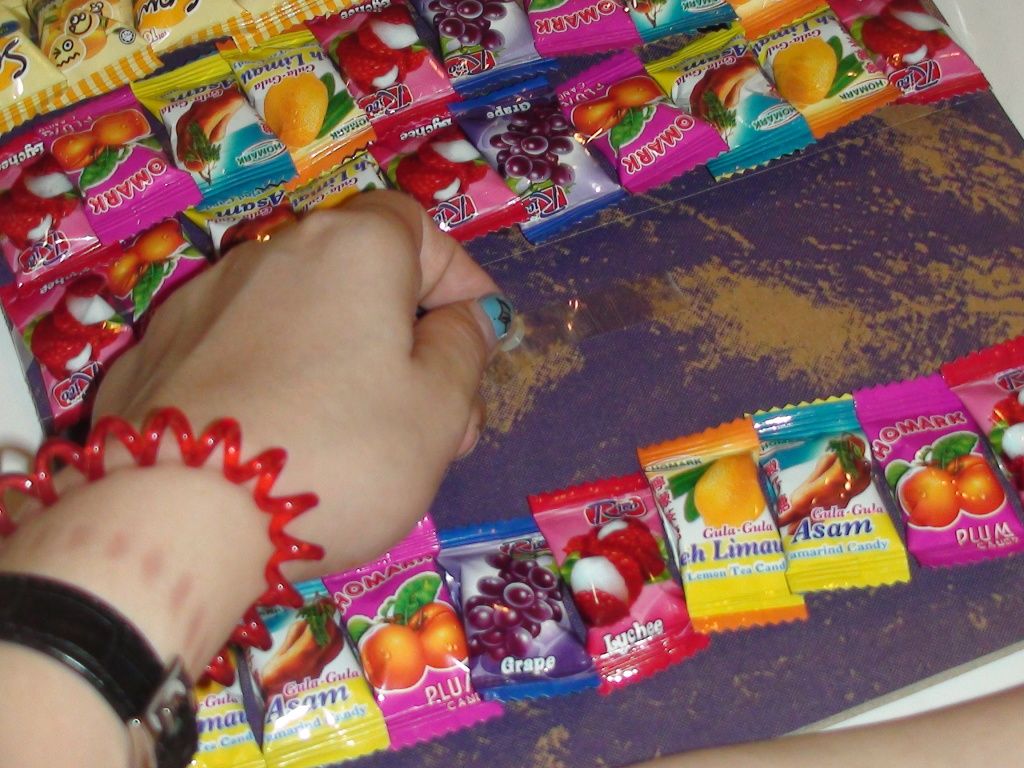
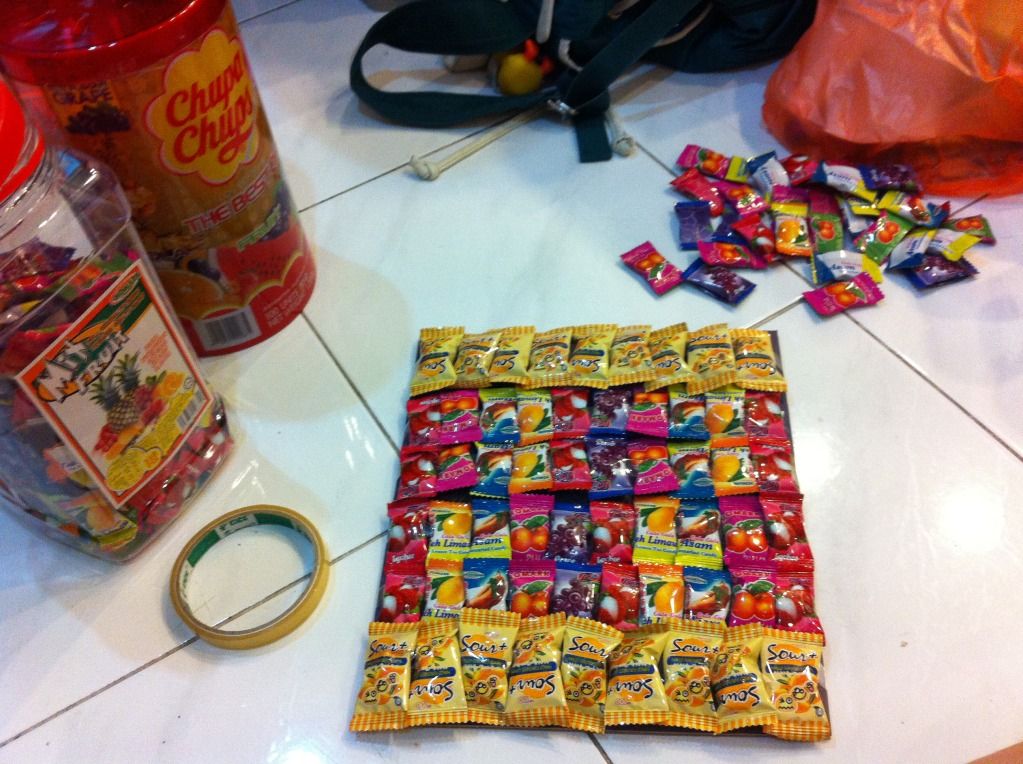
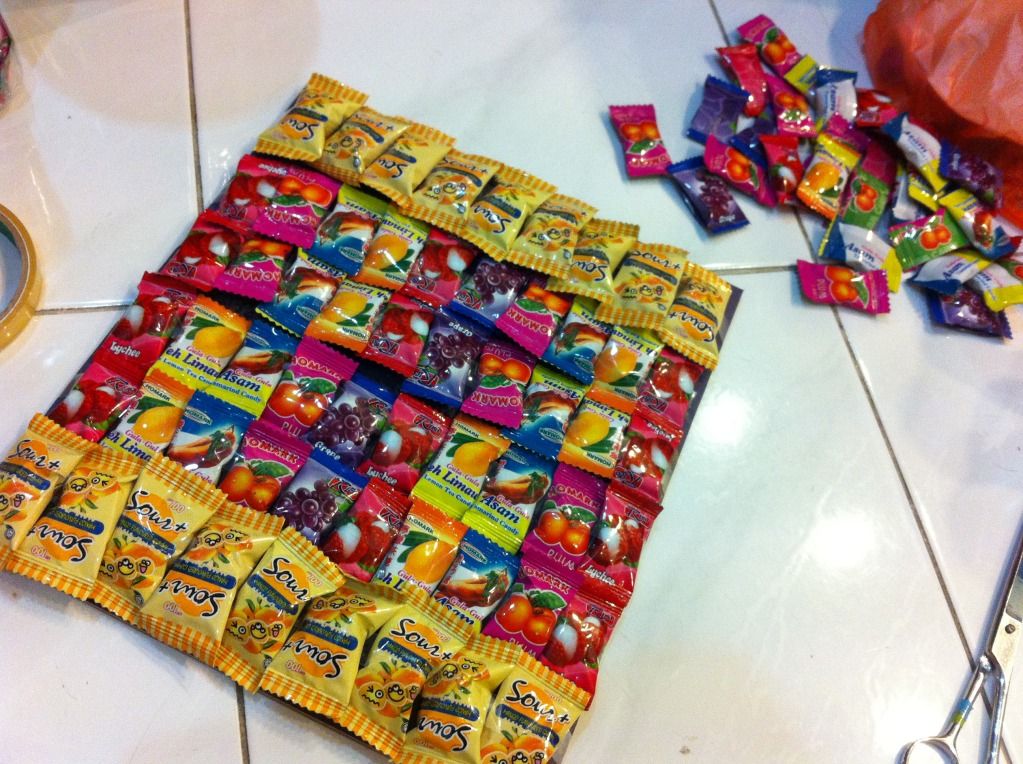
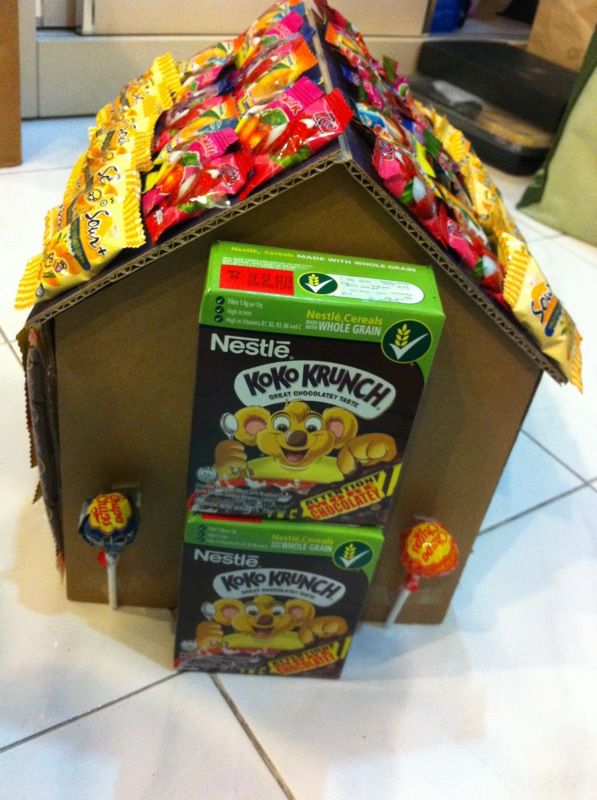
 Don't the candy look delicious? I love the colours. If you'd notice carefully, all the candy are placed facing outwards from the middle line except for the last row of the sour sweets. I placed the sour sweets facing in and out all the way as to see if the kids would be that observant.
 Once the roof is done, place it aside and start working on the body.
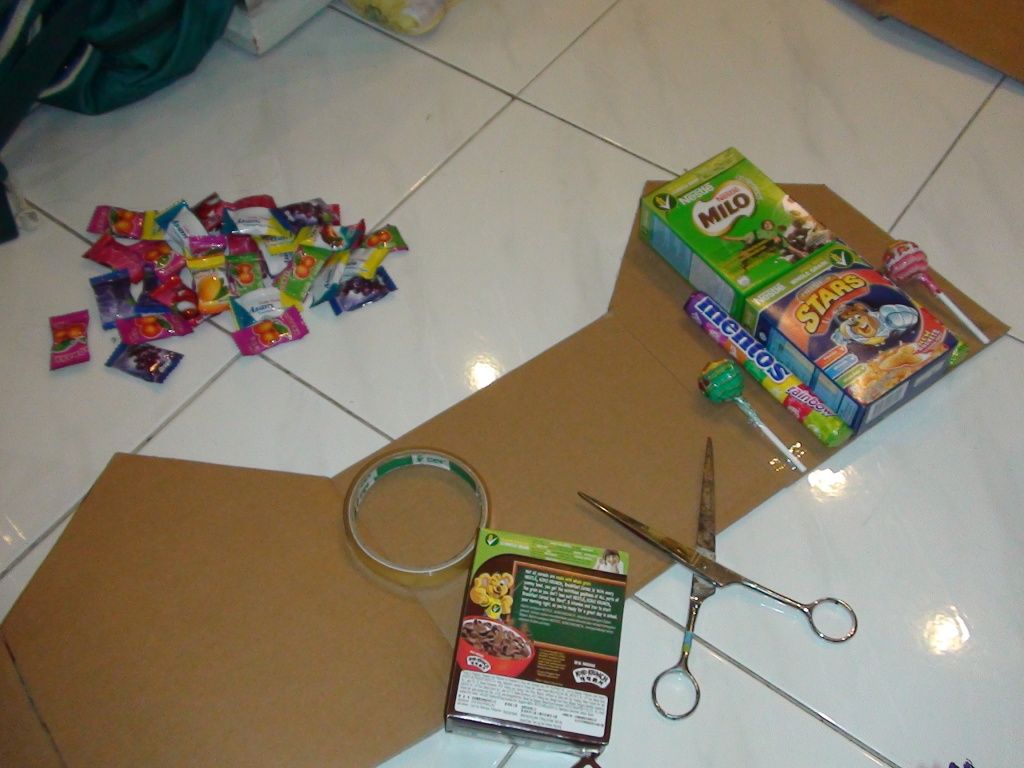
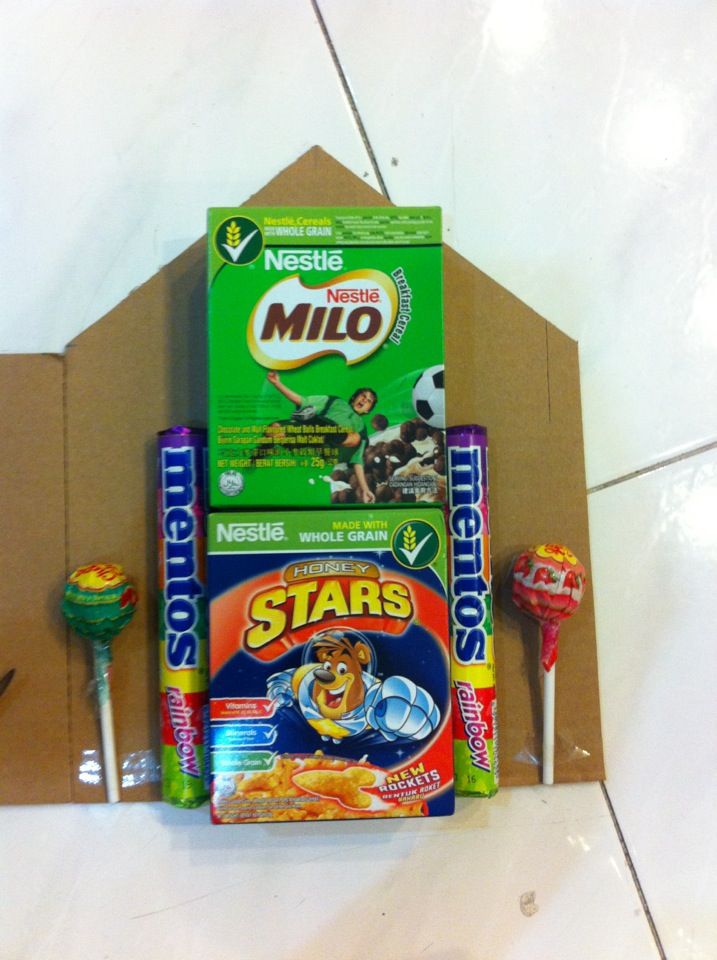
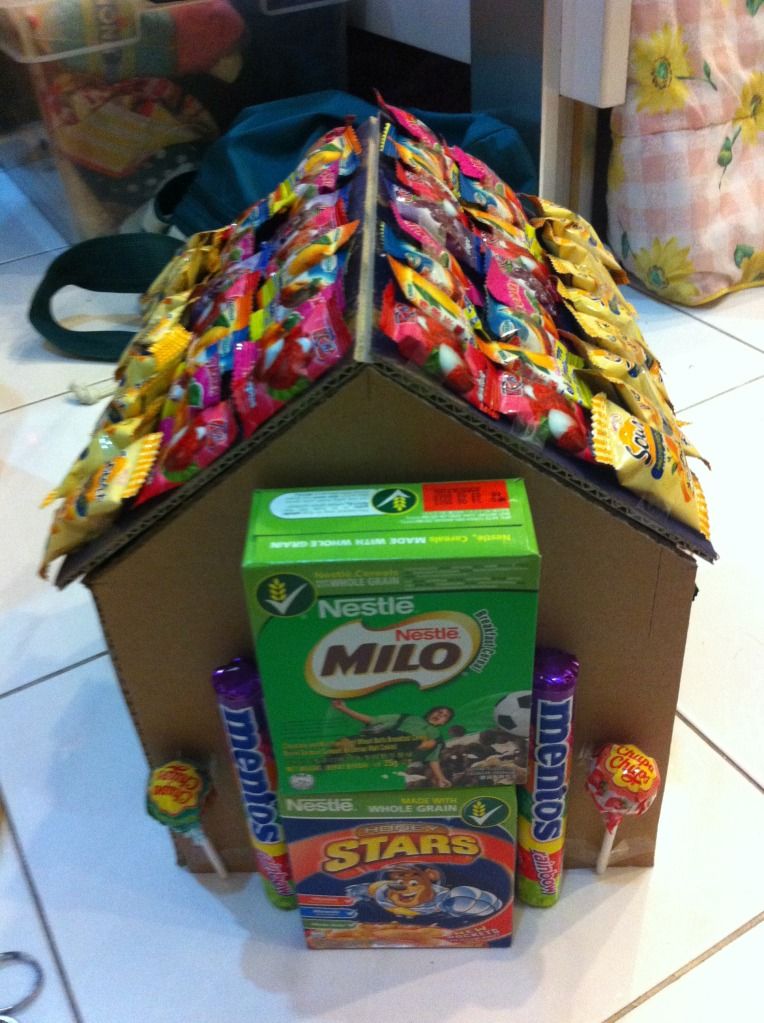
 I placed 2 mini cereal boxes on top of one another for the front sides of the wall. 2 rainbow mentos stood beside them together with different flavoured lollipops.
 This is how it looks like. You can have yours in a totally different design.
 I did the same for the other side. I did not have enough Mentos then, so I did not add them on the 2nd piece. It still looks as good.
 Choki Choki was added.
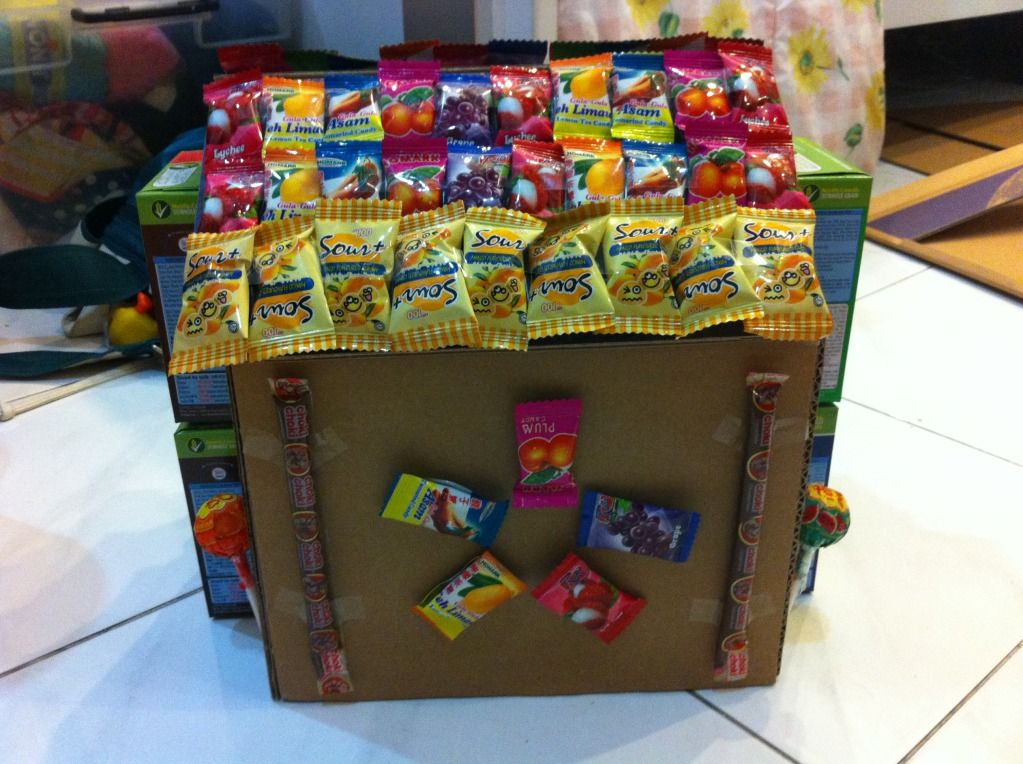
 Place more candies on the wall till it's filled. I changed the area with choki choki into a candy flower piece after. Here's the end results :
 The front & back walls.
The side walls. (Just noticed one of  my blue candy fell off.)

Well, this is it! The Candy house done for The Amazing Kids' Race 2012! Due to budget, there were modifications in the design for the ones in the actual event. Still, the children enjoyed it and had tons of fun building such a lovely colourful candy house!

Here are some photos from my station & such: 
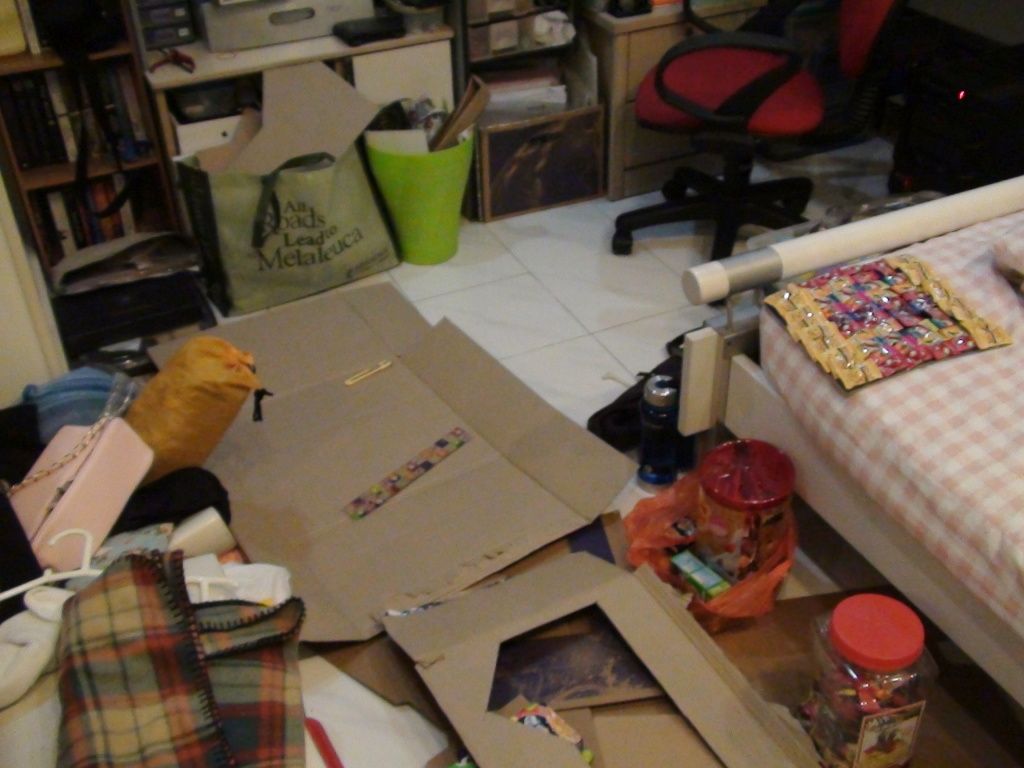
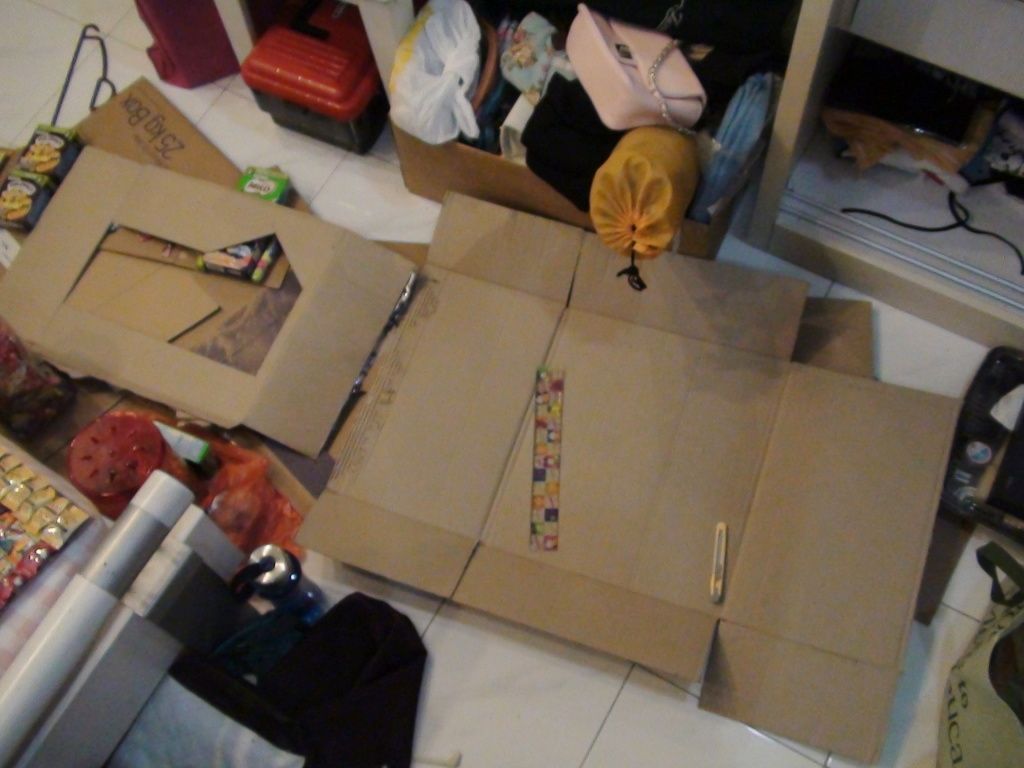
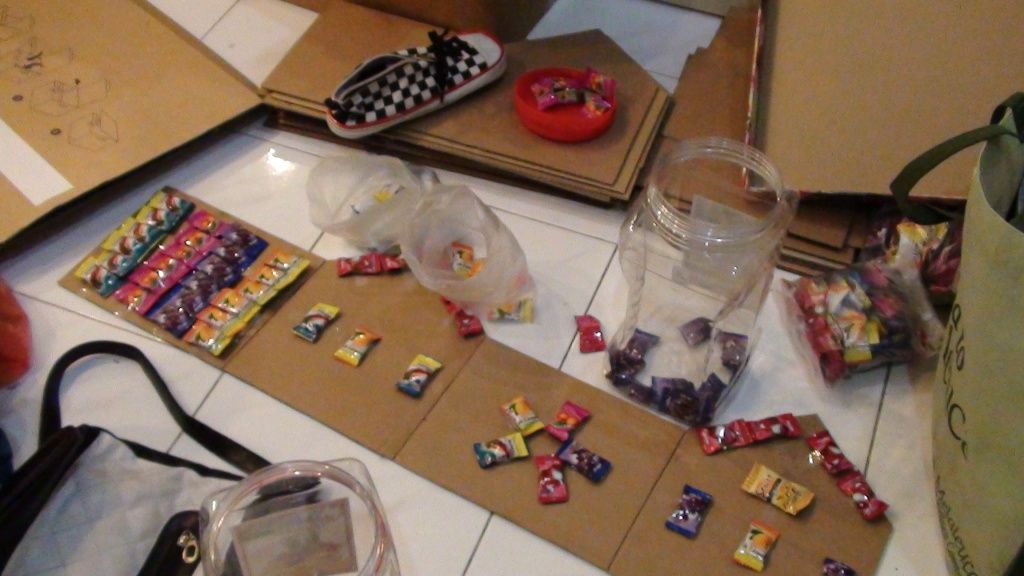
 Preparation for the station. I had to cut out a total of 8 sets of the cardboard pieces. This means 8 x 4 = 32 pieces of cardboard pices. And to squeeze them all in this small room of mine. Wow! It's not easy. Felt so crammed up those few days. Cardboard all over my floor.
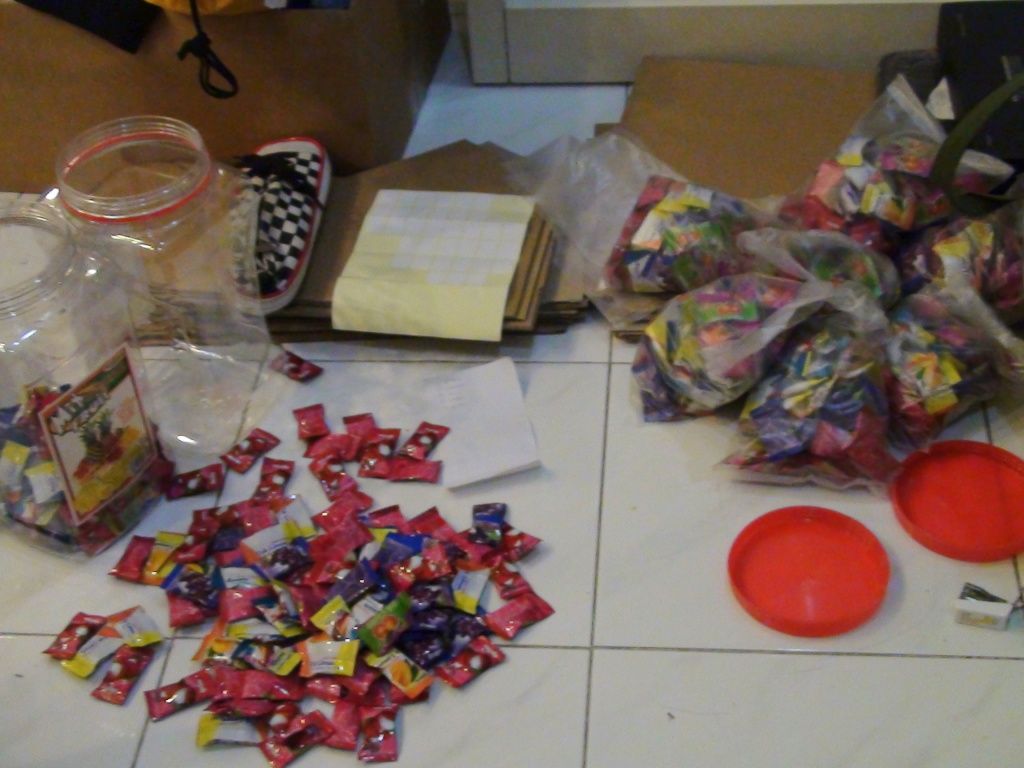
 Counting the candy and separating them into bags.
 The bags are packed and kept in a huge box placed on the side of my bed.
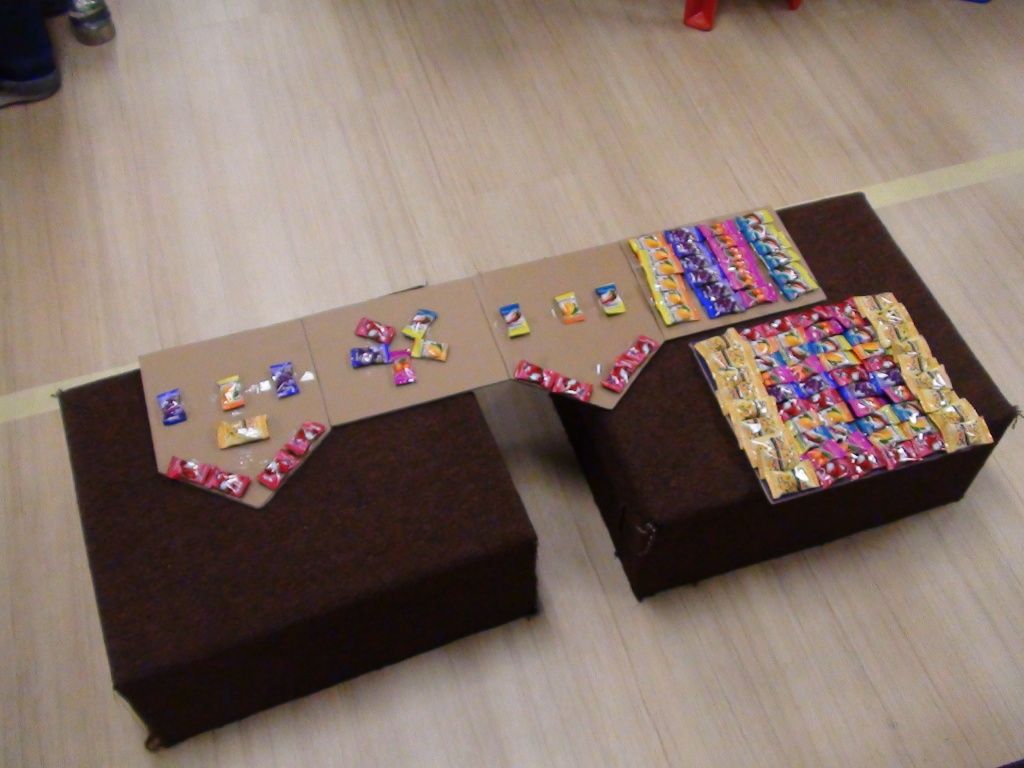
 Modified version. It's slightly simpler, but still looks amazing!
 The sample is placed like this so the children could see and go back to fix instead of touching everything.
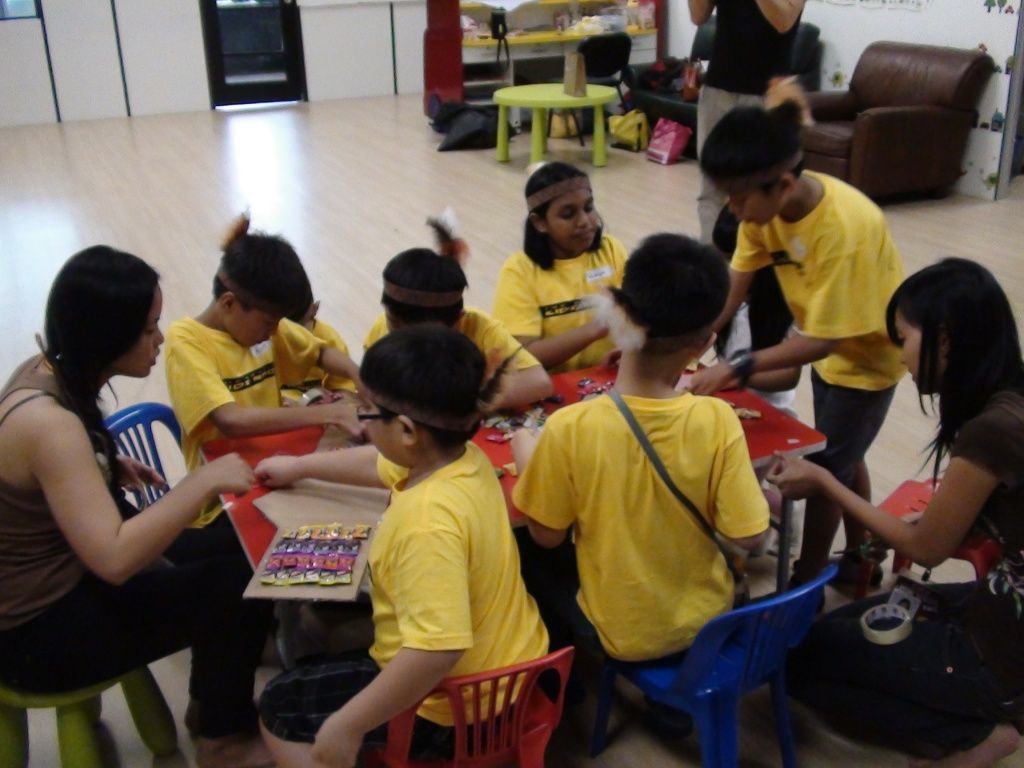
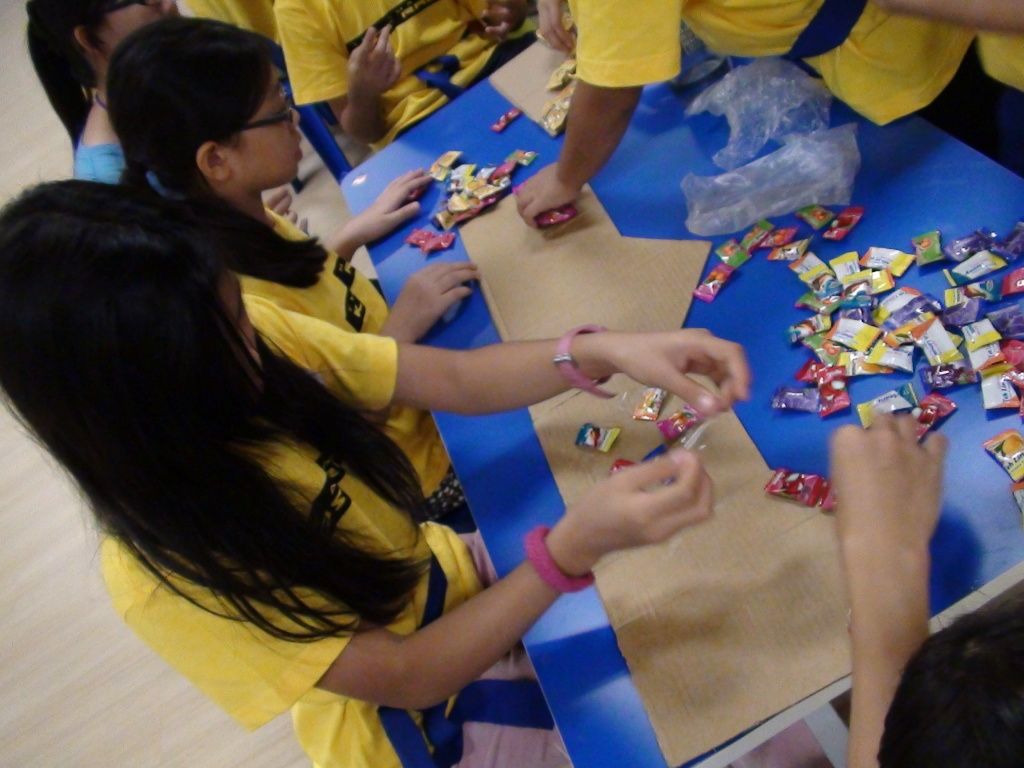
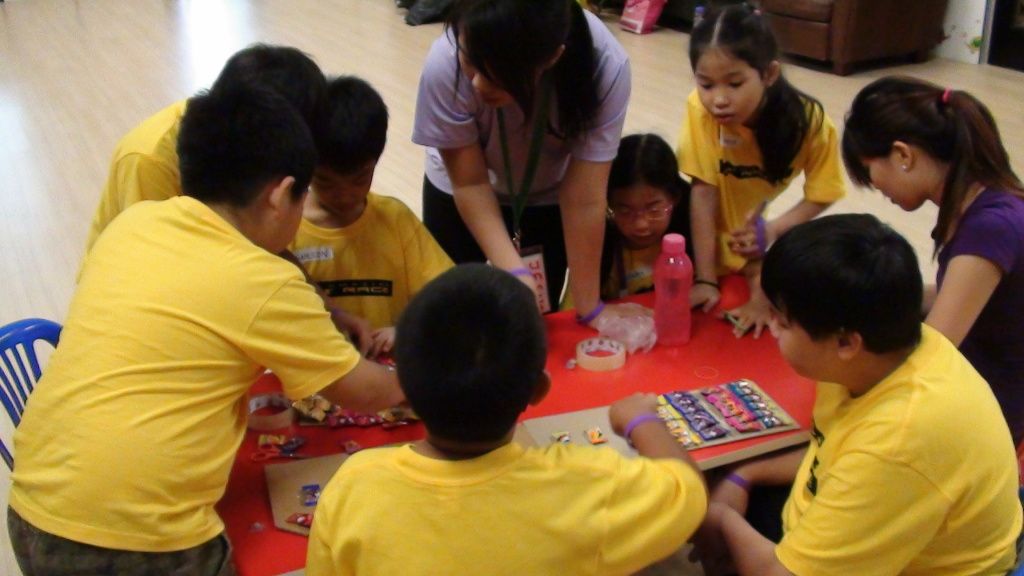
 The children at work with the teachers cutting cellophane tape for them.

Alright! This is such a long post. It shall end here. Thanks for dropping by! I'm off to bed right now! Toodles!