Tuesday, 17 September 2013

Tutorial : Needle Felted Guinea Pig

My very first try on needle felting.
It seems all too easy. Simply poking a needle onto the felt wool and forming a shape you want.

BUT, I was wrong. On my very first day of bringing felt wool home, I was really excited. Immediately, I  used my regular needle and came to realize that it doesn't work. I was curious to what I was doing wrong, since I am just following what people do online. And yet they've made dogs, birds, flowers and everything else the brain could ever imagine.

Then, on the back of the felt wool packaging comes a very tiny phrase saying "needle comes separately". That's when I realize there's a special needle for this sorta craft. I went back, purchased it, and here's what I did :
Trust me or not, but that fat ball of wool behind was needle felted into this tiny ball right in front.
I got to admit though, many others would make it much tighter, but I was a little tired poking throughout and not knowing where is done and where is not. Plus, I've poked my own finger several times doing this.

It's pretty cool to see how such a tiny ball was actually made from that bundle of fluff.
When the body shape is done (yes, that round thing previously), prepare to fix up the leg. This is slightly trickier. I did the legs before actually attaching it to the body. Keep needle felting till the wool becomes tight and thick.
Leave small bits of loose felt wool and poke the entire thing through the body of the hamster/guinea pig. It should be able to stay, if not so, just keep poking more till it does.
What you would wanna do next, is to give your hamster/guinea pig more colours. Take other coloured felts, tear out tiny pieces and poke into place.

This is my guinea pig so far. I've poked two little round balls to form the ears.
I tried to make the face chubbier by bending the needle, placing it in the middle of the mouth area and poking it to keep it in place.

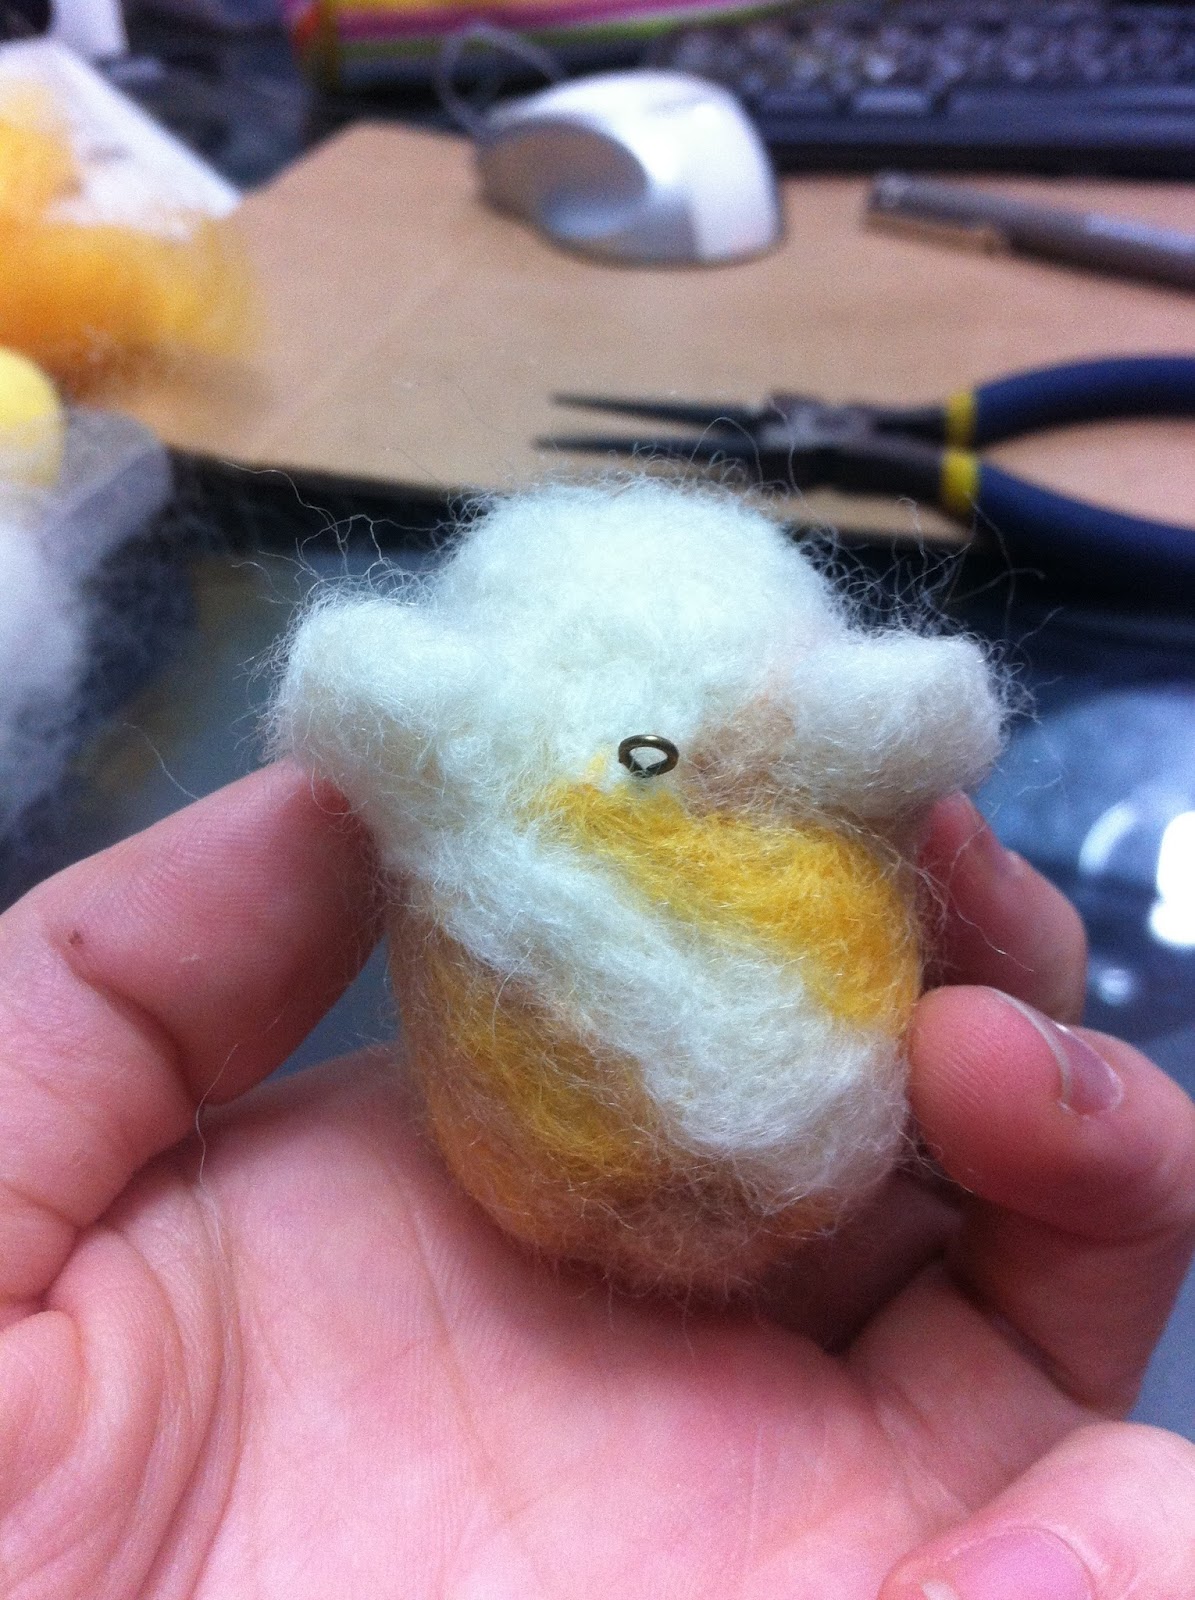
I tried adding the eyes by using black marker, but it doesn't look nice. So i trimmed them off. Black felt wool wasn't available them so I didn't get any. Anyways, after all was done, I added a hook for my little guinea pig. I plan to make it into a little keychain. Hopefully, it doesn't fall off. What I did was, I took an eyepin and bent the bottom a little into a rounder hook. I tried to part open the guinea pig's neck side to push the pin in and added more felt wool on top. I tried my best to needle felt through the hole inside the neck and definitely around it as well. Make sure it's pretty steady and you can lift up the guinea pig/hamster with the eyepin's head itself.

 Added the keyring and tried lifting it up again. Pretty good.
Well, that is pretty much it. The guinea pig wags its little tail goodbye.
Thanks for dropping by!

Thursday, 12 September 2013

Tutorial : Doodled Goal List

Hot dogs' anyone?

Hello all living breathing thing, I've recently got inspired by Pinterest to make a really awesome goal list! Best yet, you can doodle it anyhow you like and add any goals you want and change it. Let's begin!

What you need :
1. Clipboard
2. Masking Tape
(I used cellophane tape, but masking tape would work much better)
3. Eraser
4. White Spray Paint
5. Permanent Markers
6. Sticky Notes
7. Newspaper/Recycled Paper
 First of all, get your chipboard and use masking tape to cover the clip on the very top.
Make sure you cover throughout. What I did was I covered the base, then wrapped the entire top with the tape as well. Make sure there are no holes around. If you need help, find a ruler to assist you and press down all the holes.
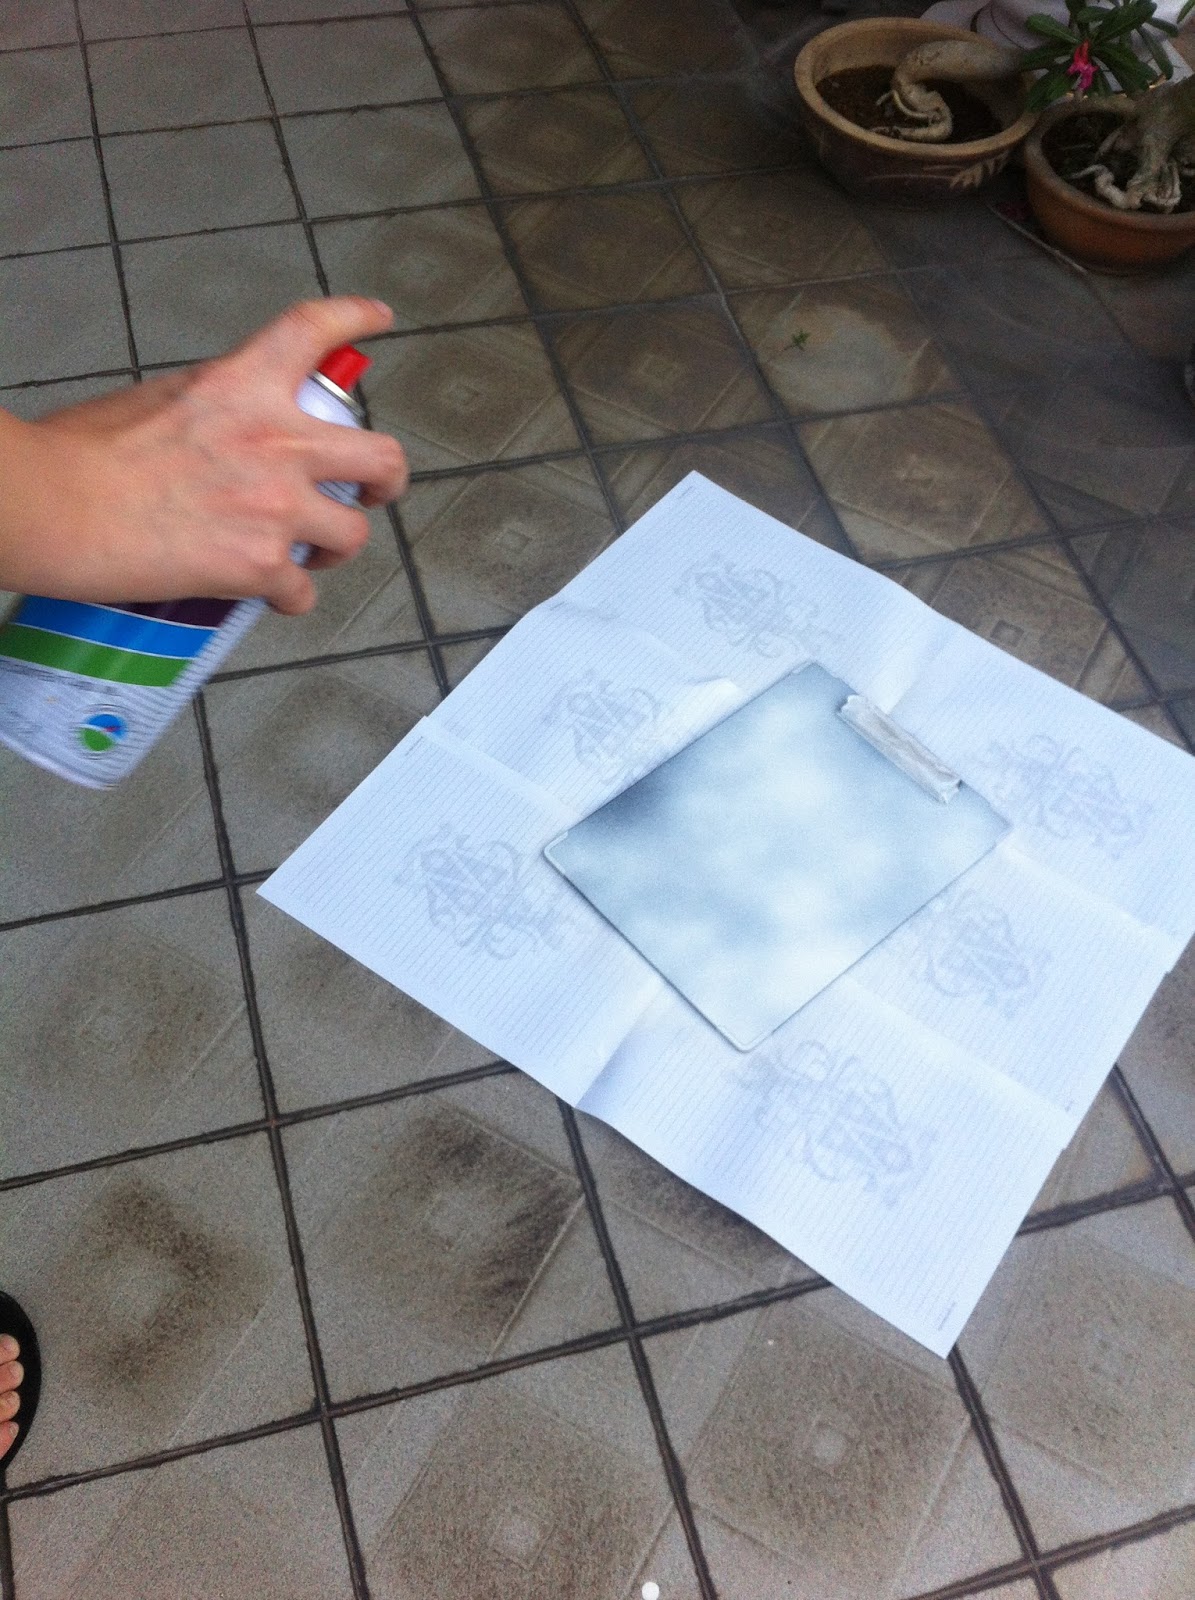
 Place it on newspaper/recycled paper outside. (Preferably AWAY from the grass. Those bugs are 'blind' and keeps flying into the wet spray paint if you do it on/near the grass)

You can do so however if you want bugs on your clipboard goal list (eww).
 I used a white Anchor Spray Paint. You can get yours from your local hardware store. Feel free to go crazy with your own favourite colours.
 Spray furthur to cover more area, but go a couple of layers to cover entirely.
If you are too near, the paint would appear too damp.
 As you can see, the tape protected the metal clip from changing to white.
 Bend down and spray along the sides as well. (Be sure there are tape covering where it's needed)
If you skipped this step, there's bound to be a little line on the bottom edge of the original colour. Leave it to dry.
 When everything is dry, peel off the tape. Cellophane tape leaves more sticky residue while masking tape doesn't. I lack masking tape at home and was pretty lazy to go out and get 'em.
If that's the case and sticky residues stayed on the metal, put your eraser into good use!
Keep going back and forth erasing all the residues. It might take a while, but it works.
 Next, you would want to visualize how your board would look like in your mind.
I had four big boxes for goals and the very top tells me when it needs to be done by. I simply take a sticky note in the size that I want and draw around it. You need not have it entirely square, you can do squiggles, circles, basically anything! Let your creative juices flow!
 This is what I came up with.
 Used my black sharpie permanent marker for writing and drawing everything.
I also bought a CD permanent marker for drawing thinner details.
"Goal List for : _____"
 I drew with the CD marker and realize it's too light. I then drew over with the sharpie marker.
 Keep doodling anyhow you want.
I'm making this as a gift for a friend - Ethan as he will be leaving to further his studies real soon, and included his name into the doodle. It gives a more personalized feel to the goal list.
 This is how the goal list looks so far. I've added in the sticky notes with some short messages and drawings.
 The full picture of the 'Goal List'. I quite enjoy it's simplicity of black, white and a touch of orange. What about you?
Here's a closer look at the sticky note messages and drawings.
1. Learn to cook
2. Shopping
3. Hunt down your friends (basically hanging out with them, not literally hunting)
4. Play futsal

and that is all! I plan to make my very own one as wel. Just got a little lazy to do it at the moment.

Wednesday, 4 September 2013

Tutorial : Union Jack Mustache

 Union Jack Mustache Necklace.
Believe it or not, this union jack mustache necklace was once plain black.
 This was how it started...
 I didn't paint the background first as the background is blue and the stripes white.
I roughly drew the white lines, and then touched up each stripes' sides.
 Then, blue paint was painted on the mustache curls. I used the tip of a brush to carefully paint near the white lines. Touched up with the help of a sewing needle. To use a needle for touching up, dip in paint and dip on the spot you want to paint gently. Do not paint like a normal brush, you might scrape of existing paint instead of adding.
 As for the red stripes which are even thinner, I completely used my sewing needle to draw that. Brushes are harder to control and may spoil the other painted surfaces.
 Add some gloss and tadaa! The union jack mustache is done!
Here's a summary photo :
That's all for today!
Thanks for dropping by!

Monday, 2 September 2013

Betty's Midwest Cook-a-like

Hello! Few weeks back (or maybe a month?), I went to Betty's Midwest for dinner.
It was my very first time, and my boyfriend was drooling over how yummy the 'Pigs In A Blanket' were. I came home thinking if I could actually make it. It didn't seem very hard, and I quite enjoy experimenting with food. And so, I tried making that along with the famous 'Dog Food'.

Here's what I did :
1) Dog Food
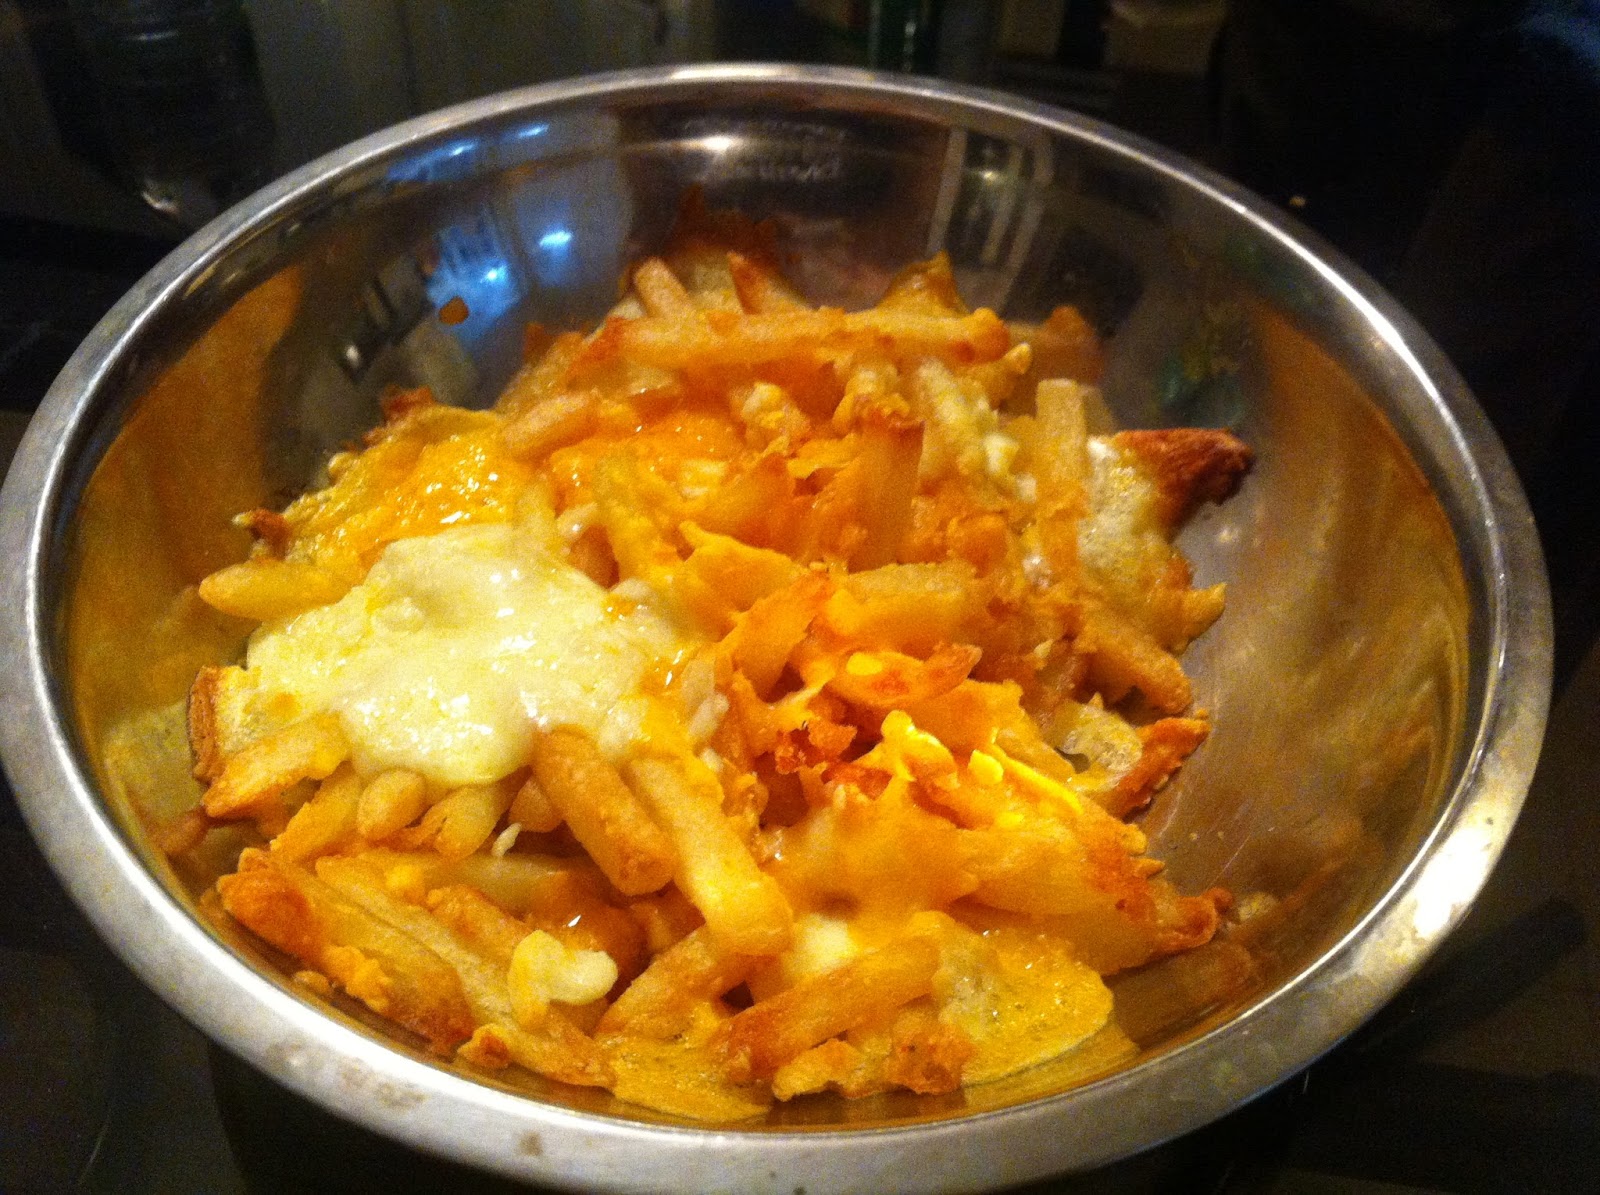
I put aside the chedar and mozerella to defrost while I fry the fries. I was hunting for cooking cream, but couldn't find any at home. So I didn't get to fully experiment on this dish. The one at Betty's had a more creamy texture to it. Anyways... I crumbled some cheese with the already cooked fries, mixed them up and crumble more cheese on top.
Then, I just baked it.
Mmmmm (: Yummy!
Wasn't as satisfying though. I think the gravy would play a big part to its yumminess. Shall experiment again real soon!

The 'Pigs In A Blanket' however, turned out extremely awesome! And it's soooooo simple to make!

2) Pigs In A Blanket
 Instead of regular cocktail sausages, I used cheesy cocktail sausages.
Grab some strips of bacon, wrap them around the cocktail sausages and put a little toothpick to hold them in place.
Fry it till it looks like cooked sausages crispy brown (especially the bacon).
Place them on top of kitchen tissue to absorb the excess oil.
They should look something like that.
Then, bring out your best honey! (different honey would give a different result).
Drizzle some honey on your marvelous creation.
And there you go! You're ready to munch!
If you're using cheesy cocktail sausages like I did, you'll find the sausage center soft while the bacon covered skin is crispy! The perfect match!

That's all for today! Hope you enjoyed it (: