Sunday, 27 May 2012

Lindworm, A Wingless Dragon

Hey everyone! Just to let you know, my exams are starting tomorrow. Alright alright, it's only on Monday and Thursday actually, but I really should be studying shouldn't I? I came across a dragon sculpture online and I just couldn't keep my itchy hands off the box of clay. And so, you have this post...
I started out making the body.
 I continued on trying something new. I made flat pieces stacked on each other and roll em up. Then, I cut slices of it and place it on top of my blue glitter clay.
 I added it to the legs and it turned out like that. It looked funny at first and I kind of regretted it, but that was before the horns and the green pearl bead was added. I kinda like how it looks now. The green stands out and looks lovely.
 The eyes are added! Look how beady and adorable it is! So much for dragons being cool eh?
 I think one of my favourite part is the tail. I love how it curls up holding the pearl bead.
 Well, I actually did not add wings to this so called 'Dragon'. And so, it is a Lindworm. 
Sometimes used simply to mean dragon; specifically, it refers to particular two-legged, wingless Asian dragon.
 ♥ The tail! The glorious tail! ♥
Ain't this creature just adorable? I like the green curl patch below the eyes too! Satisfied with the result. It's just a display item now. Should I make it into a note holder or something more practical? This will be up on sale at BoxOfHobbies soon!

That's it for the post today! I actually made something else, but I'm not as satisfied with that and this post is already pretty long. I'll post the other thing tomorrow or Tuesday. Thanks for dropping by! Love you guys!
If Lindworms were to exist, at least I'll still have Captain America to save me!
*Captain America visited Sunway College, Malaysia, 2012*

Thursday, 24 May 2012

Turning Coins Shiny Again

 Today, I'm going to show you a magic trick! Well, not really, but it still seems 'Woah-ish' enough.
 Here are some dirty icky coins!
...and here's the Magic liquid!
 Mix the coins and the magic liquid! Look at what happens later!
 Could you see how different the coins outside and inside the jar look? The ones inside are shinier in a way. Perhaps it's because of the jar huh? Well, let's continue scrolling down! I did this a couple of times and the pictures shown are not really in order. Check this out. For these 2 pictures below, I placed the coins in first, then poured the magic liquid without shaking the jar.
It's OH-SO-SHINY! ♥
The 'TUB & TILE' thing really works extremely well! Who knows, I may shine all the coins I have. haha! It was fun looking at the coins get shinier. Well, this post was rather random. Nevertheless, I hope you enjoyed watching the 'magic' too! haha. Watching it live would probably be more interesting though.

Wednesday, 23 May 2012

Tutorial : A Simple Paper Rose

 Hey everyone! How do you like roses? Well, now you can make your own paper roses! I find it pretty simple so I thought of sharing this with you guys! Enjoy!

Here's what you need :
1) Round piece of paper (I used art block paper)
2) Scissors (preferably patterned)
3) Satay stick
4) Tape/Blue tack
 Firstly, you'd have to draw swirls in your circle till it reaches the middle. I was lazy so I just got on to cutting without really drawing. You can do this if your estimation is not bad. If you don't have a patterned scissors, use a normal one and cut waves instead. They need not be all the same.
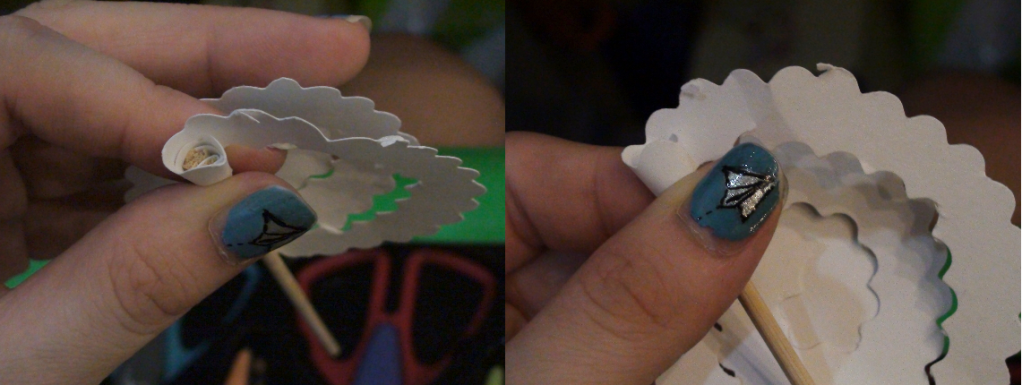
 Take your satay stick, and pull it both ways vertically so that a slit forms in the middle. With the slit, place the end of the paper in like the picture above.
 Start twirling!
 This is how it looks like at the end of twirling! See the satay stick holding on to the paper with its slit? Try to loosen your rose a little and take the satay stick out. Be careful not to tear the paper!
 After you loosen the paper a little, it should look something like this. 
 
Isn't it pretty? You can tape it at the end, use super glue or use blue tack to keep it in place. If you like, you could even keep the satay stick there! Just loosen your grip on the rose before you tape firmly on the satay stick. Well, that is all for today's little post! Hope you enjoyed reading!
 Roxy : Dance with me before thou parts from this very land, shall we?

Tuesday, 22 May 2012

Assignment : The Supermom Life

Oh dear, oh dear! I haven't been updating this blog have I now? Bad Jolene! Anyways, that's the very reason I'm back. To give you some updates! Today's post will be filled with my assignments. 

For my final project in my comm tech class, I am to make a movie trailer, a movie poster, a logo and a website. The whole assignment is 30% of our marks - that's pretty big. We could do a movie trailer on anything, and so, I being me, chose to make a SUPERMOM theme for my assignment!
 Here's the making of my SUPERMOM logo and the end result!

♥ I simply LOVE it.
Up next, is the SUPERMOM movie poster. Here goes :
 
I took vintage papers from google and blended them all together one on the other. I smudged the sides and masked some of them. For the lace border, I used layer mask to dot out each white spot so the vintage paper shows. The lace itself took about 30minutes. I love the end result of the poster as much as I love the end result of the SUPERMOM logo! ♥

This is one of my most loved one. I love how everything turned out in my final assignment, but still, this website is uber cool! How I wish it was a real website of mine.
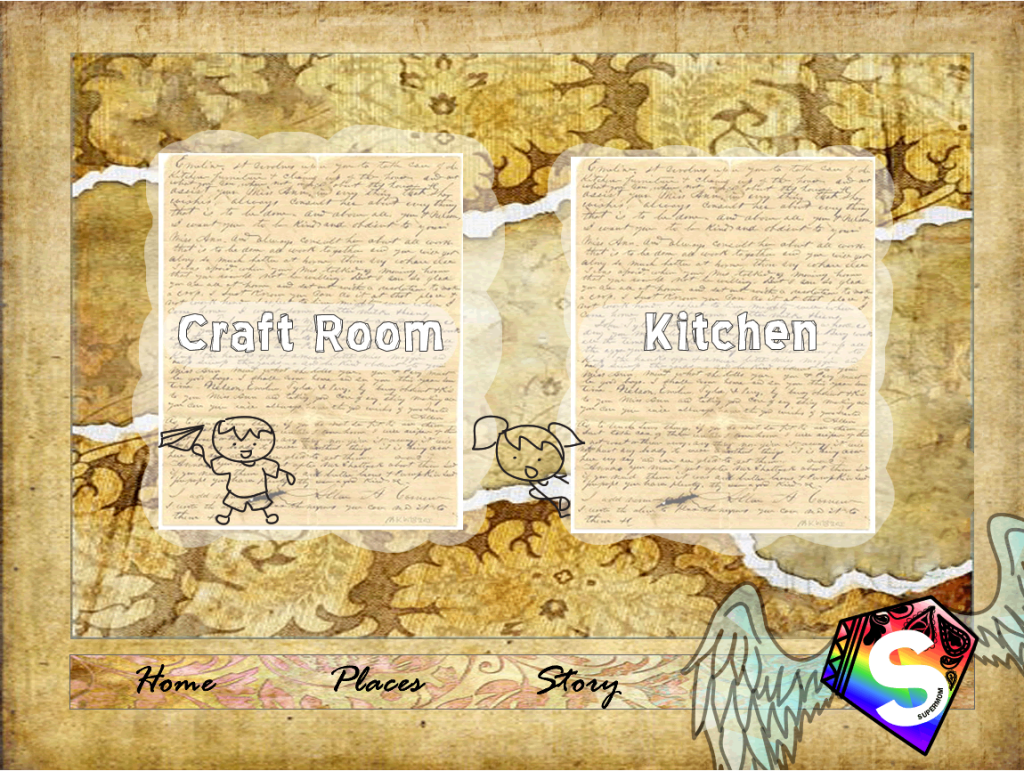
 This is the homepage. (above) The picture belows shows what it's like when you click 'Places'.
 as you scroll over to 'Craft Room' or 'Kitchen', the doodled boy throws the paper place and the doodled girl changes her expression. When your mouse rolls off 'Craft Room' or 'Kitchen', the doodles change back to normal. Isn't that uber adorable? I thought it was.This part of mine got a little stuck last minute. Thank goodness I had Ling Wai to help me fix it!

Here's where it brings you as you click 'Craft Room'
 Scroll over to the white rectangle and this is shown.
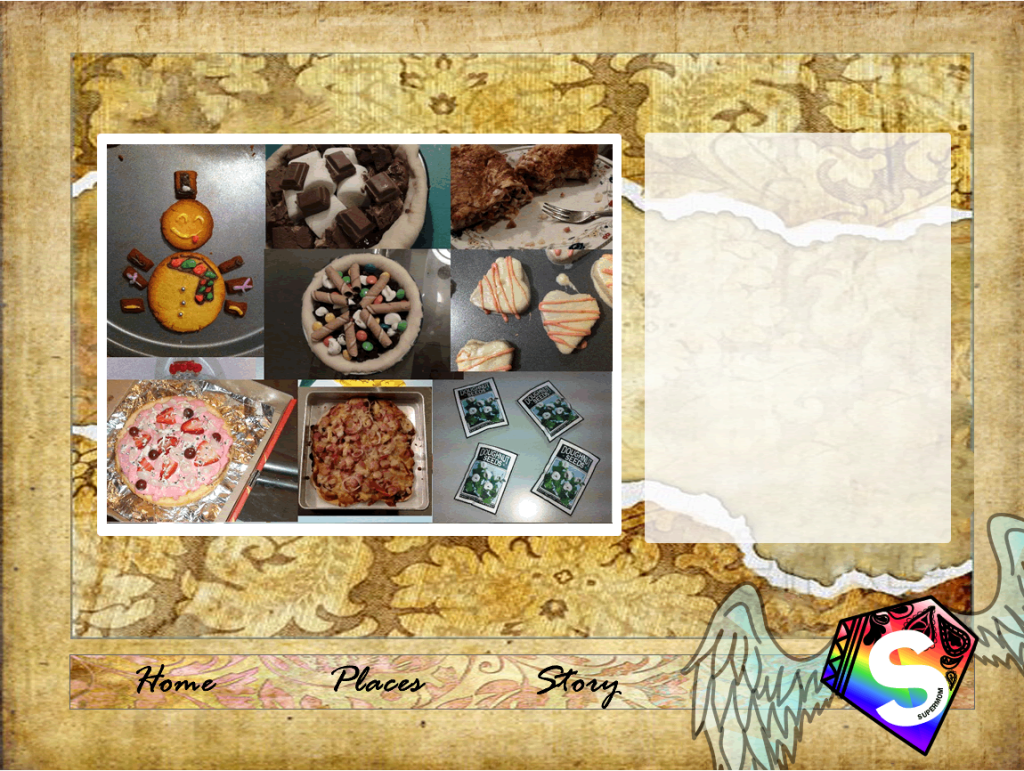
 Scroll to the picture of the craft room and it changes to several works that I've done before.

Here's where it brings you as you click 'Kitchen'
Same as the above, this is shown as you scroll over to the rectangle.
 And this is shown as you scroll to the picture of the kitchen. 


 Another doodle that dances as the mouse rolls over it. You can make the doodles dance and jump several times by moving your mouse. I love how it turned out!

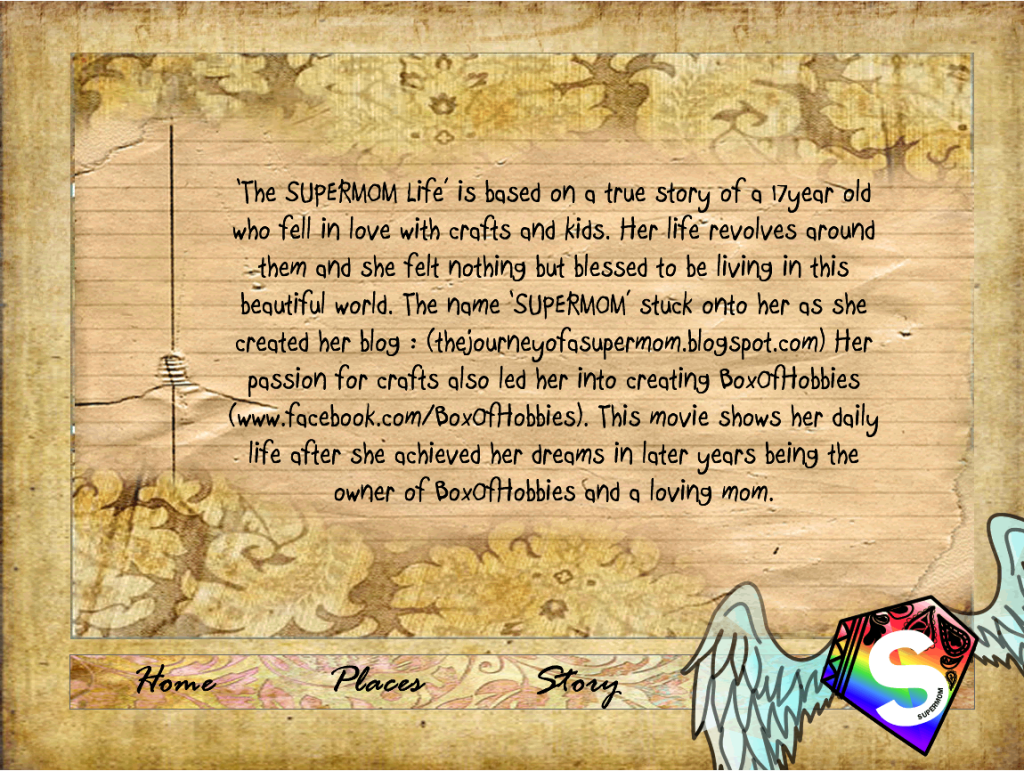
And last but not least, the 'Story'. That's all for my website. I've shown you my logo, poster and website. There's one last video to show you : 

Thursday, 17 May 2012

Tutorial : Swirl Card

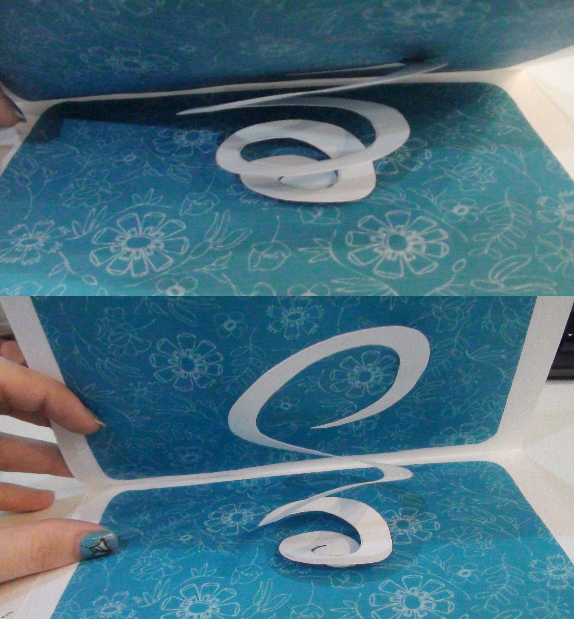
Hello! Today, we're going to learn how to make another special card! It has a little pop up swirl in the middle. Silly me forgot to take a full picture of the card in the end. It looks like this :
Swirls when you open the card! Let's get started!
What you need :
1) Blade
2) Long Ruler
3) Card
4) Patterned paper [you can print yourself from pictures in google]
5) Scissors
6) Something round
7) Double sided tape or glue
 First of all, cut out your card piece. Then, take a patterned paper that matches to 'decorate' the card in any way you like.
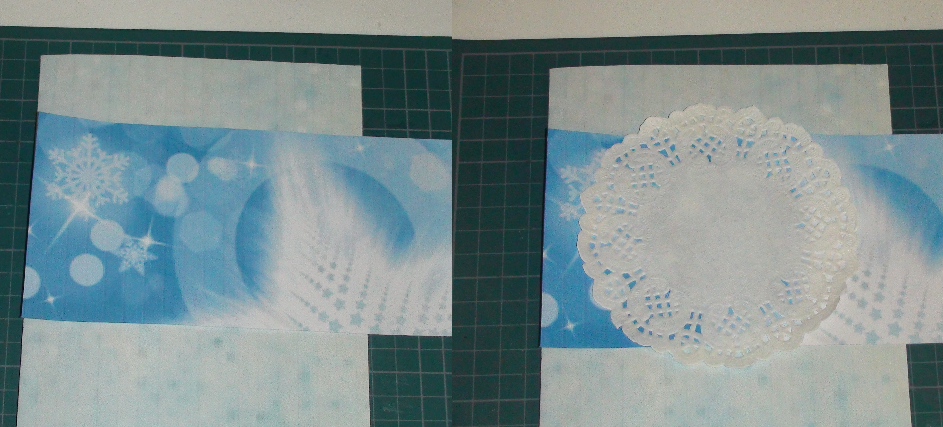
 All I did was place a strip of it across. I added a dolly in the centre.
 
 If you have patterned scissors, you could do this.
 Tape/Glue the patterned semi-circle, then the rectangular piece, and lastly, the dolly. You can use other decorations too. Like a fake piece of flower, a picture, or ribbons.
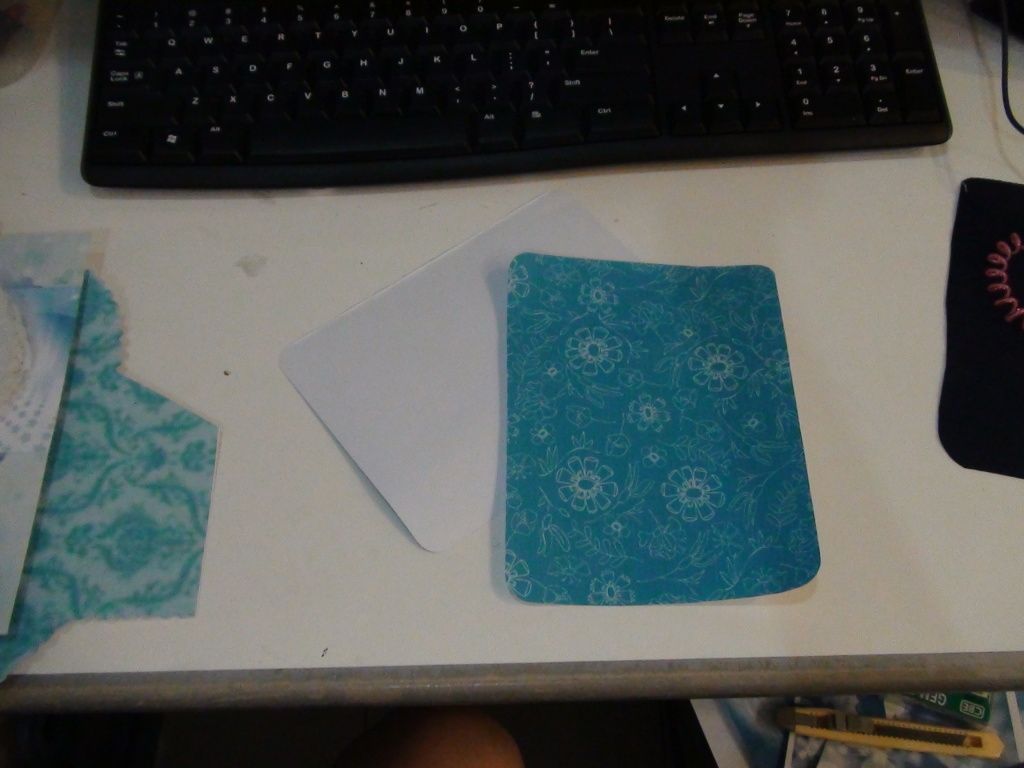
 I didn't want the inside of the card to be plain white. So I cut out 2 piece of patterned paper and taped it inside.
 The base of your card is done. Now, grab something circle to drawn around it. Next, you have to draw a swirl inside. One that goes round and round till it reaches the middle. Cut along that line with a normal scissors.
 This would be the result of it once u tape both ends.
If you decided you want a card that is portrait instead of landscape, the result would look like this. Swirls from one side to the other.
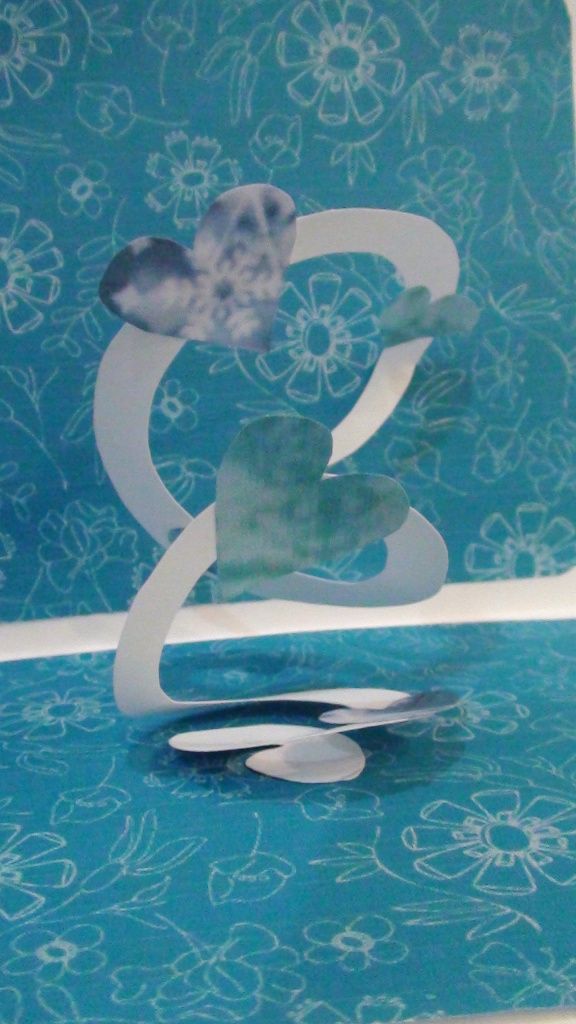
If you want to keep it in landscape, it'll looks like this. I added some cut out paper roses to the swirl. Ain't it adorable?

Oh! Before you leave! Check out these 2 awesome gifbooms!!! hehe!
at Carl's Jr.
and my favourite one so far :
*poof!* Ling Wai and I ! ♥
Okay! That's all! Bye!!

Wednesday, 16 May 2012

Sewing Some Love Into Work

  BoxOfHobbies! There's so much to talk about! Lately, I've been putting things together in my mind thinking about how everything would be like in the future. There's so much I want to do! 

I've always wanted to sew my own dresses, clothes, bags, pouches and all. I think it'd be a lovely idea to have and wear things that were handmade by yourself! Don't you think so? Even if I never got to sew for myself, I'd at least love to design something for myself. It gives the item a personal touch and extra special dose of love knowing it uniquely came from yourself! That's what I feel. 
  I believe that many others would feel this way too. Especially children I suppose. They'd find it magical that their designs came to life. And so, my dreams of BoxOfHobbies grew even greater from there. One of my dreams for BoxOfHobbies is to have a small company where one's design would be brought to life. People would need to bring in their sketches for us and we'll make the plushie or the clothes accordingly. Children have a very creative imagination, they actually design a lot when they're younger. Parents could bring in a couple of their sketched drawings and we would find the materials and bring it to 'life'. It won't look exactly the same, but we'll make it as close as we can.
Because all of the designs are personalized by the customers, I wouldn't be able to get a factory to do the job. I'd have to hire people to sew for me if the 'company' grows bigger. I wouldn't have enough hands or time to finish everything myself, even if I'd love to. I plan to start this dream of mine once I have my sewing machine. I've just went on a sewing machine hunt again yesterday. Hopefully I'll get one soon. Next year, my plan is to take a course on sewing that I may learn how to do proper measurements for clothing and such. Then, I'd practice and make my own clothes! I'll also start this little project (making for others) if opportunity comes. The price range would be about Rm40-50 at first I suppose, then when my skills get better and the quality improves, the price would most probably go higher and possibly even up till Rm100+. The price would also vary from the size and the design requested of course.
Well, that's one huge dream of mine for the future and I'm very proud of it. I really can't wait for the time to come when I can start doing all these. Doing crafts related to children would be a dream come true. (Of course, teens and adults could send in their designs too, but my main idea is to bring the children's work to 'life').

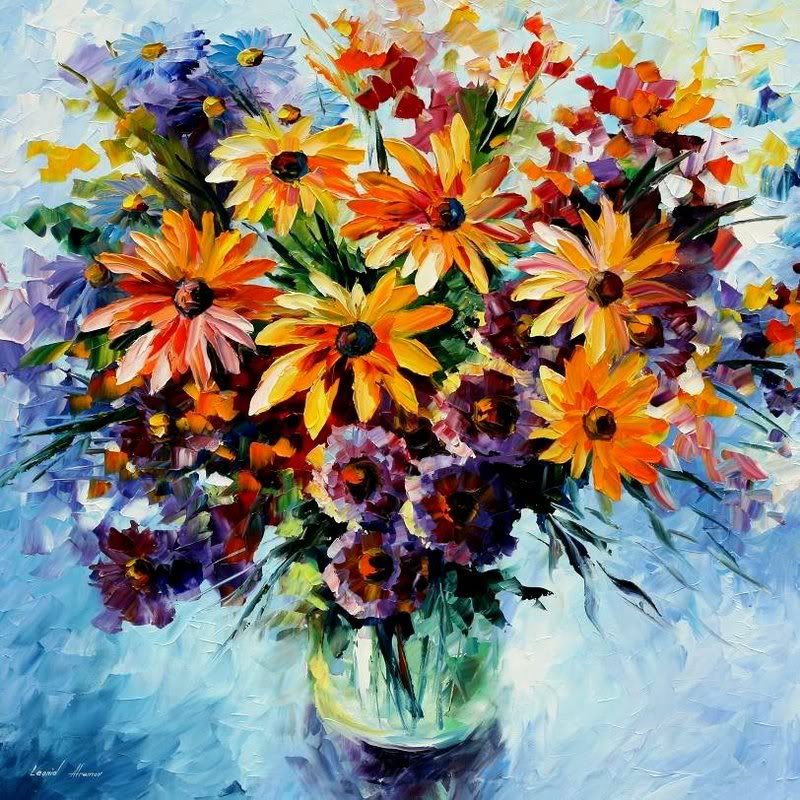
A lovely painting filled with life! (not done by me)
Another dream of mine is to have a costume rental service. I've always loved role playing and dressing up completely different from who you are. (I never really bothered taking time to dress up a little more myself to go out, but when it comes to theme days and events, I'd really go ALL out). Acting is another thing I love, and acting in all these costumes would be simply perfect! I really would love the idea of having a photo shoot of myself all in different characters. I think it's real fun! Though, if I ever make the costumes for myself, I'd only wear them once or twice and never again. Thus, I've thought about renting them out as well for a cheaper price. If they go for Rm50 a day outside, I'd go for just Rm20 a day. This way, I could at least gain back some money to cover part of the cost, and continue making more costumes! Perhaps I wouldn't have a physical shop for this, but I'd definitely have the rental service one way or another for those costumes that I have personally made.


  My dreams for BoxOfHobbies are growing each day! BoxOfHobbies is currently still in debt - Rm898, but I believe that BoxOfHobbies will be able to grow more real soon, cover it's debts and survive on its own earnings without borrowing money. Thanks everyone, for all your love and support! I truly appreciate it! ♥

 Several things I'm working on for BoxOfHobbies :
1) Postage service
2) Proper order form
3) Giveaway
4) Online Etsy Shop
5) Homemade Yummies (I used to sell choc cookies during CNY)
That's all for this post! Thanks for reading! Toodles!